
 Save
Save
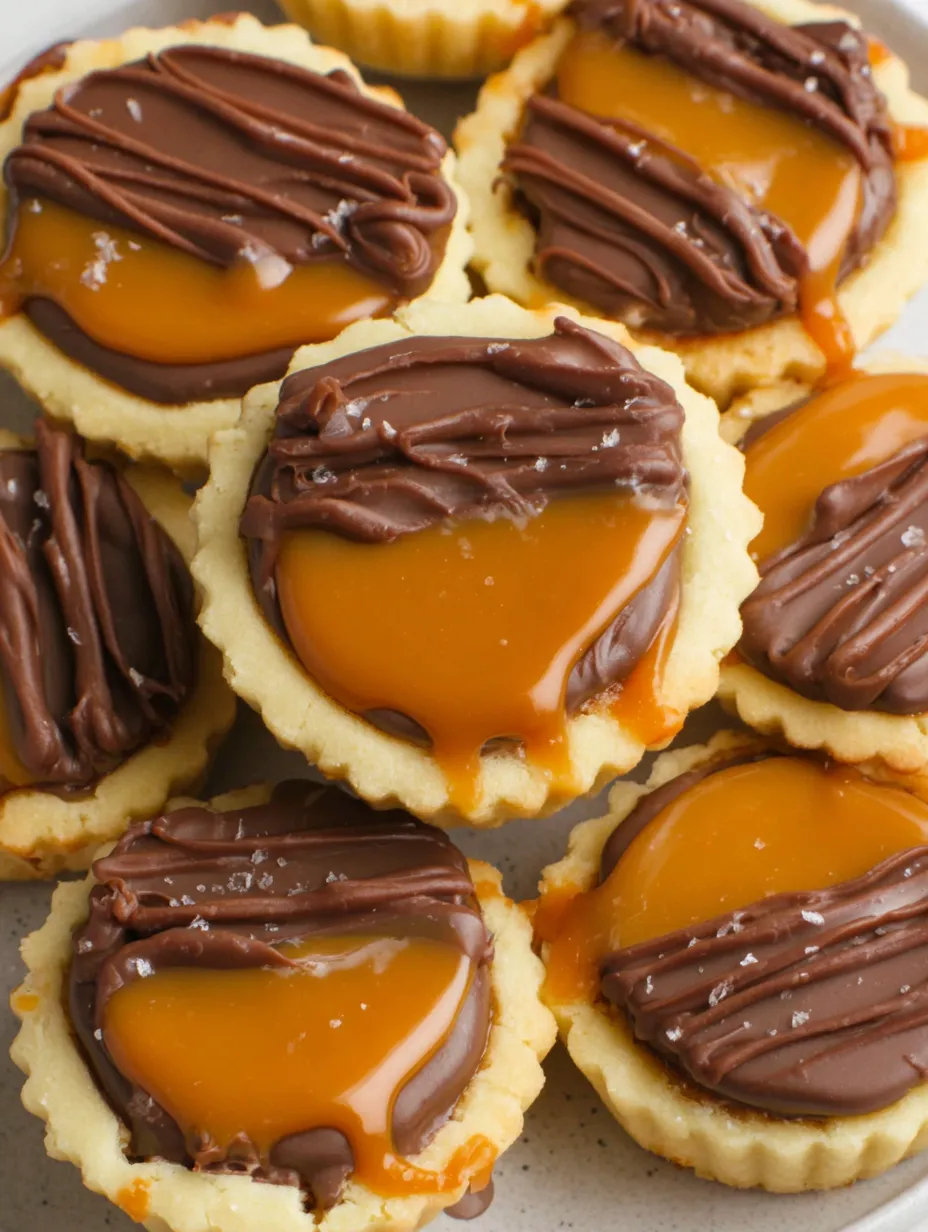
If you love the taste of a classic Twix bar but crave something a little more homemade, these Twix Cookie Cups hit the sweet spot. A buttery sugar cookie base forms the perfect bed for a creamy caramel blanket and a glossy milk chocolate finish, making each bite irresistibly decadent. They are a hit at parties, fun to whip up with kids, and far fresher than anything you can unwrap from a package.
I first made these for a bake sale at my son’s school and they vanished before I had a chance to sneak one myself. Now they’re my go-to homemade treat anytime a crowd is expected.
Ingredients
- Salted butter: for a rich flavor and natural saltiness that balances the sweetness use good quality European butter if you can
- Granulated sugar: provides sweetness and structure look for fine granules for even creaming
- Vanilla extract: gives warmth and enhances both the cookie and caramel flavor pure vanilla delivers the best aroma
- Egg white: binds the dough without making it cakey at room temperature coats ingredients best
- All-purpose flour: forms the soft tender structure always scoop and level for accurate measuring
- Baking powder: gives lift so the cookies are light and not dense make sure yours is fresh for a good rise
- Caramels: create that signature creamy layer choose soft high-quality store-bought caramels for easy melting
- Milk: used to loosen the caramel just enough for spreading whole milk is best for a silky texture
- Milk chocolate chips: melt into a smooth shiny finish opt for high cocoa butter content for easier melting
Step-by-Step Instructions
- Make the Dough:
- Cream together the softened butter and granulated sugar for at least three minutes. This step ensures a light texture and starts the flavor development.
- Add Wet Ingredients:
- Mix in the vanilla extract and egg white until fully combined. The dough should look creamy but not too loose.
- Incorporate Dry Ingredients:
- Sprinkle in the flour and baking powder. Mix on low just until you see no dry streaks. Over-mixing makes cookies tough.
- Shape and Bake:
- Roll out the dough to just under half an inch thick. Use a small circle cutter to make rounds then place them on an ungreased cookie sheet giving a little space between each. Bake at 350 degrees Fahrenheit for six to eight minutes. The cookies should be softly set and not browned.
- Cool the Cookies:
- Transfer the baked cookies to a wire rack the second they come out of the oven. Let them come to room temperature before adding any toppings.
- Melt the Caramel:
- Combine the unwrapped caramels and milk in a microwave-safe bowl. Heat for one minute pausing halfway to stir. Keep stirring until silky with no lumps.
- Add Caramel Layer:
- Drop about two teaspoons of caramel onto each cookie and spread almost to the edge. Chill cookies for about fifteen minutes so caramel firms up.
- Melt the Chocolate:
- Microwave the chocolate chips in short intervals stirring well each time. You want a glossy pool with no chunks left.
- Finish with Chocolate:
- Dollop a small amount of melted chocolate on each cookie spreading gently to cover the caramel. Let cookies sit until the chocolate sets shiny and smooth before serving.
 Save
Save
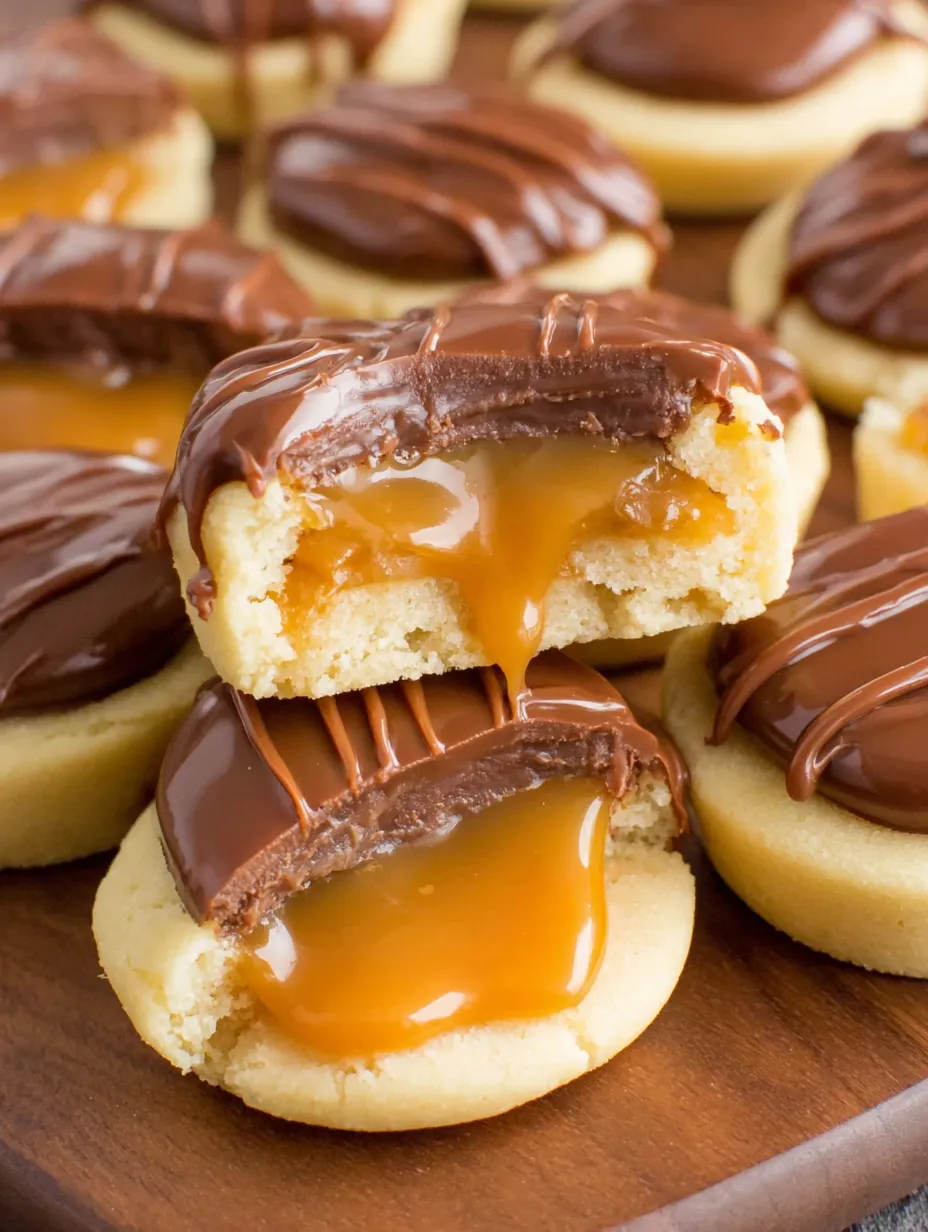
Caramel is my always-favorite part of this recipe. The way it oozes and stretches as you take a bite brings me back to my childhood kitchen where my mom always let me stir the pot when melting candies for special treats. Now it is my daughter’s favorite job.
Storage Tips
Store Twix Cookie Cups in an airtight container at room temperature for up to three days. If you need to keep them longer tuck them in the freezer between layers of wax paper. They will thaw quickly on the counter and still taste fresh.
Ingredient Substitutions
No milk chocolate chips Try dark or semi-sweet chocolate for a richer bite. You can also use gluten-free flour blends to make these treats celiac-friendly. If you are avoiding eggs a flax egg works well though the cookies come out slightly softer.
 Save
Save
Serving Suggestions
Serve these cookie cups with a glass of cold milk or hot coffee for the ideal snack break. For parties arrange them on a big platter with a bowl of extra caramel sauce for dipping. These also make lovely edible gifts tucked in treat bags for birthdays or holidays.
A Little Cookie History
The inspiration for these cookie cups comes from the iconic Twix bar invented in the UK in the 1960s. The beauty of this homemade version is that you get to control the quality of the ingredients and enjoy every gooey crumb while it is still fresh from your oven.
Recipe FAQs
- → How do I prevent the caramel layer from running off the cookie cups?
Let the cookies cool completely before adding caramel, and spread the caramel gently so it doesn't reach the edges. Chilling after each layer sets it nicely.
- → Can I use homemade caramel instead of store-bought caramels?
Yes, homemade caramel works well. Ensure it has a thick but pourable consistency for easy spreading over the cookie base.
- → What's the best way to melt the chocolate chips for topping?
Microwave chocolate chips in short bursts, stirring after every 30 seconds. Alternatively, use a double boiler for gentle, even melting.
- → Can I make these cookie cups ahead of time?
Absolutely. Store finished cookie cups in an airtight container at room temperature or refrigerated to keep the chocolate layer firm.
- → Is it possible to freeze Twix Cookie Cups?
Yes. Arrange them in layers with parchment between, freeze in a sealed container, and thaw at room temperature before serving.