
 Save
Save
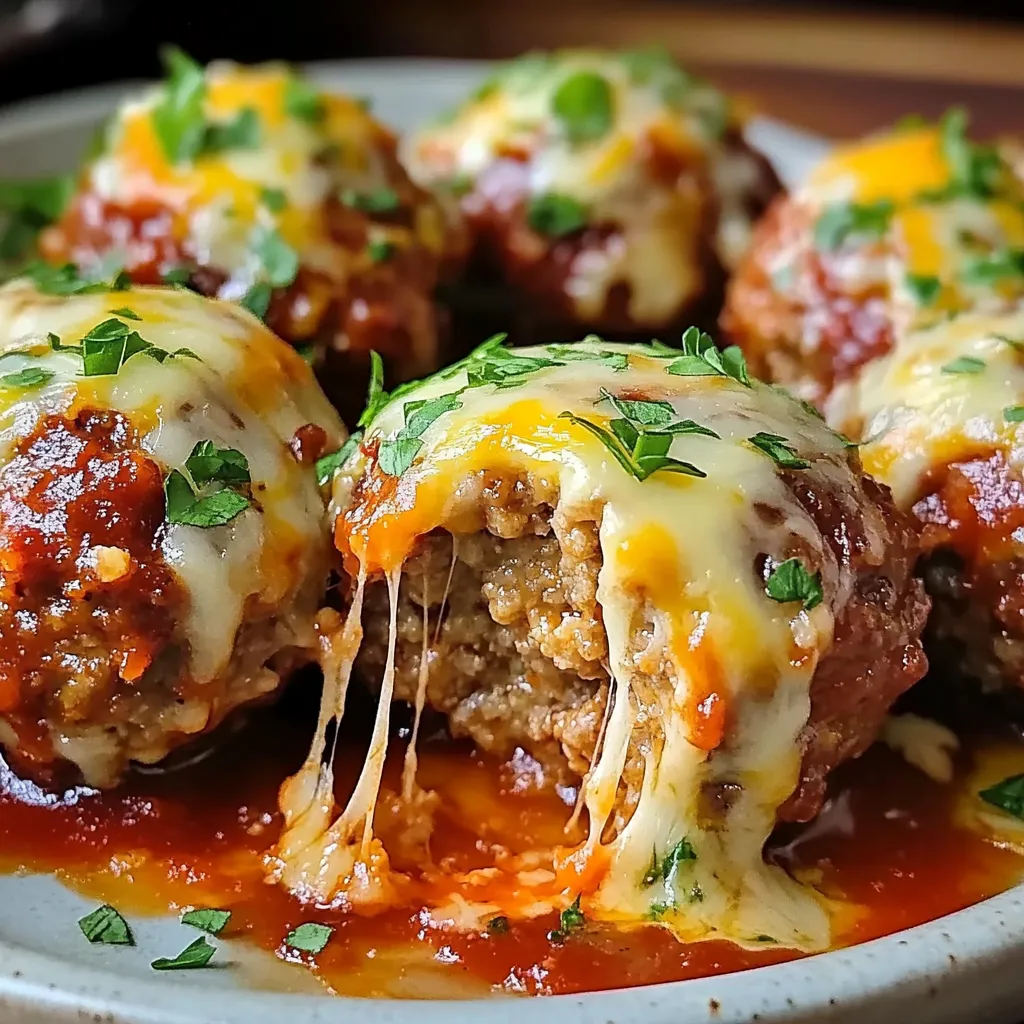
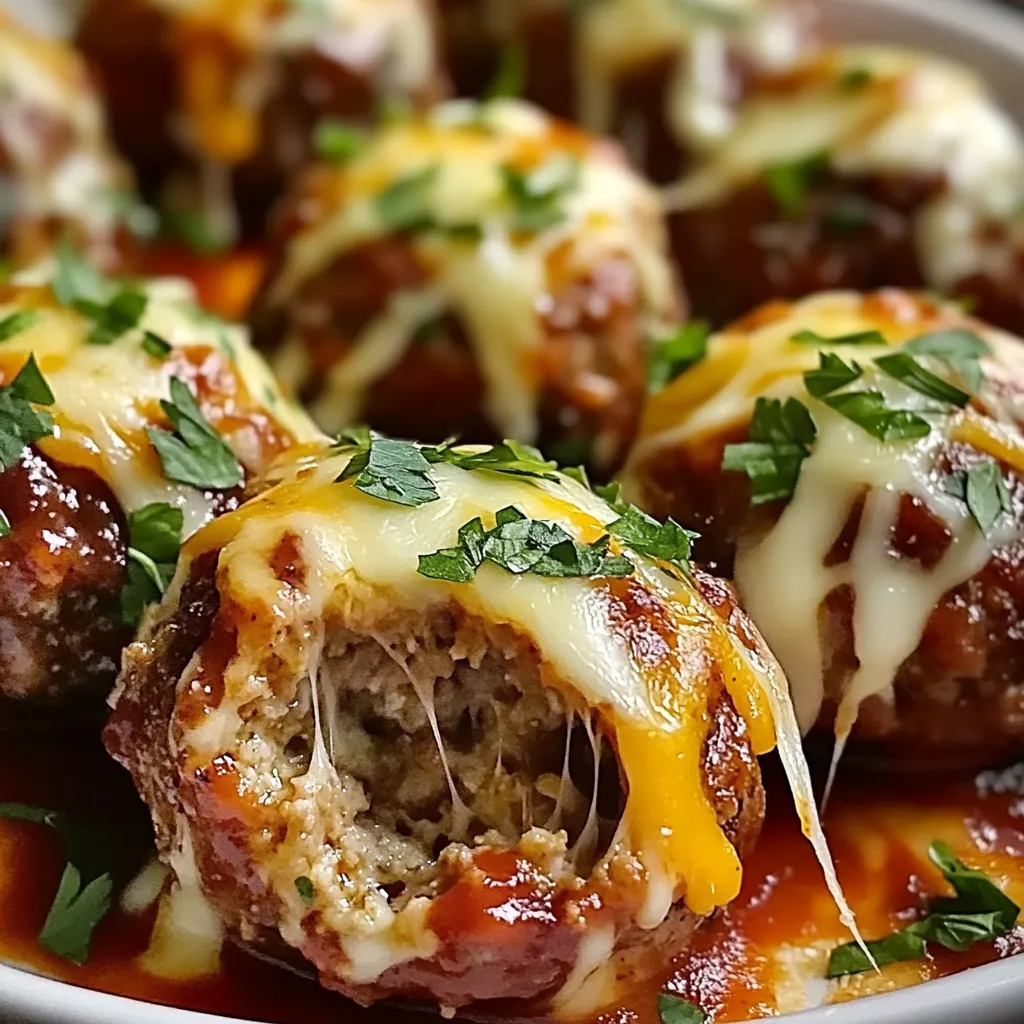
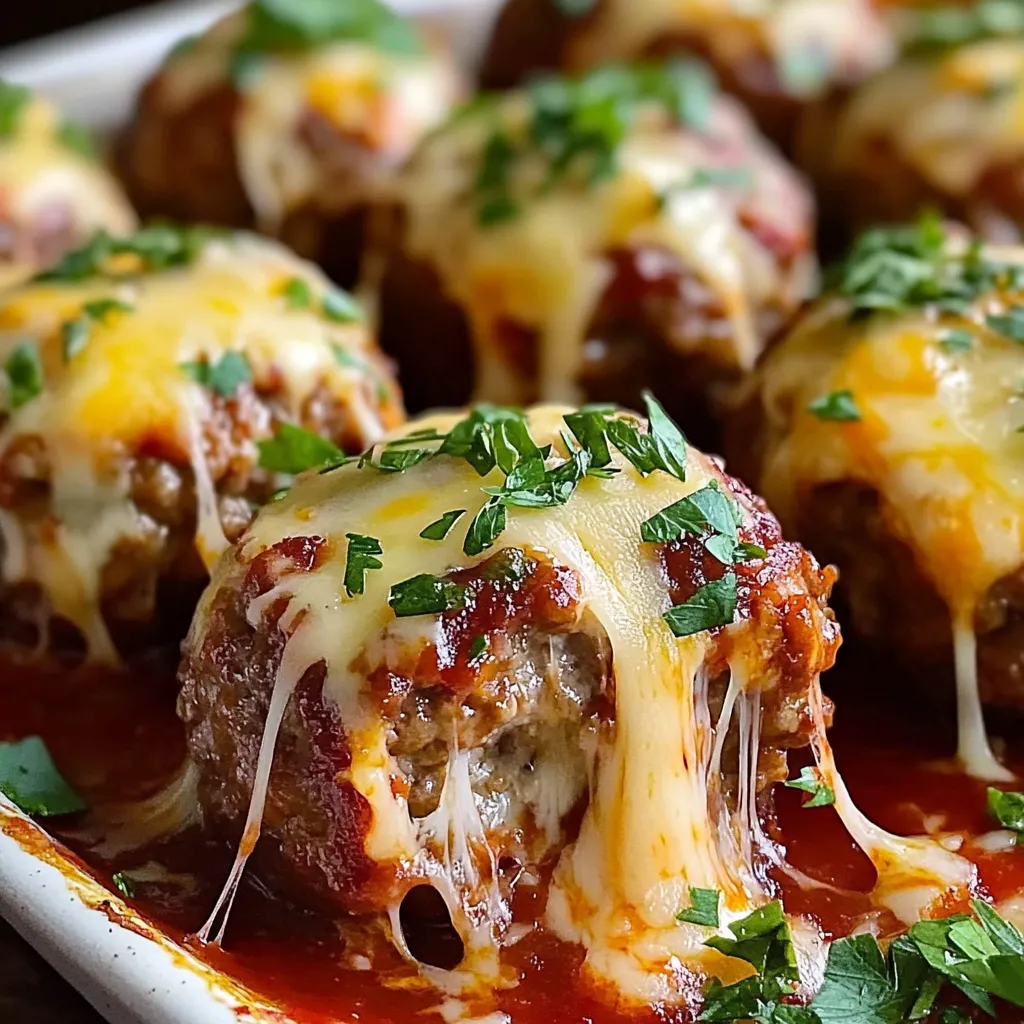
These tasty meatloaf bites pack a cheesy surprise in the middle that'll make your mouth water. They're small enough for parties but filling enough for dinner, bringing back that cozy meatloaf feeling in a fun, bite-sized package. When you break into them, the gooey cheddar center makes for an amazing texture against the seasoned beef. The sweet and tangy glaze gets all caramelized during cooking, adding a whole new flavor dimension to every bite.
I came up with these little guys when I needed some substantial finger foods for a casual get-together. I didn't want everyone sitting down for a formal meal. The moment people tried them, they couldn't stop coming back for more. Everyone kept talking about how the cheese inside was such a fun surprise. What started as party food has now become something my kids beg for at dinnertime because "they're way more fun than boring old meatloaf."
Stocking Up on Supplies
- The right beef mix: Go for 85/15 beef for just the right amount of juiciness without swimming in grease
- Bread bits: Grab fresh breadcrumbs as they soak up moisture better, giving you softer, more tender bites
- Cheese options: Sharp cheddar works great for that classic taste, but try pepper jack if you want to add some kick
- Flavor boosters: A dash of Worcestershire sauce brings out rich, meaty flavors you can't get any other way
Crafting Your Meaty Morsels
- Getting started:
- Turn your oven to 375°F and put some parchment on a baking sheet so nothing sticks and cleanup's a breeze.
- Making your mix:
- Throw your beef, breadcrumbs, milk, egg and spices in a big bowl and mix with your hands – but don't overdo it or they'll get tough.
- Adding the cheese:
- Grab about two tablespoons of your meat mix, flatten it in your hand, and put a spoonful of cheese right in the middle.
- Keeping the cheese inside:
- Wrap the meat around that cheese completely so it doesn't leak out while cooking, then roll it gently between your hands to make a nice ball.
- Topping them off:
- Mix up some ketchup and mustard until it's smooth, then brush it all over each meatball, covering every bit of the outside.
- Cooking them up:
- Put your meatballs on the baking sheet about an inch apart and bake until they hit 160°F inside.
- Finishing touches:
- Take them out when the tops look caramelized and the meat's done, let them cool for a minute, then move them to your serving dish.
 Save
Save
We found out by accident that if you don't completely fill the meatballs with meat, you get an even better cheese pull when they're hot. I was in a hurry once when unexpected friends dropped by and didn't portion things out carefully. Now we make them this way on purpose because watching that cheese stretch when you take a bite makes them totally worth posting on social media!
Health Benefits
Don't let how good these taste fool you – they're actually pretty balanced. The beef gives you plenty of protein that helps build and fix muscles. You can sneak in some chopped peppers or carrots for extra fiber, vitamins and minerals. Since they're already portion-controlled, it's easier to enjoy this comfort food without going overboard on your diet.
Serving Suggestions
Make these bites look amazing by arranging them on a wooden board with fresh herbs scattered around. Try putting them in circles with small cups of dipping sauce here and there. For a family dinner, serve them with colorful roasted veggies and creamy garlic mashed potatoes to make a complete meal that looks as good as it tastes. During the holidays, stack them on a tiered stand with spots of cranberry sauce for a festive touch.
Tasty Twists
Don't get bored making the same recipe over and over – mix things up! Try Mediterranean flavors by using feta cheese in the middle and adding lemon zest and oregano to the meat. Want something with a kick? Mix taco seasoning into the meat and stuff them with pepper jack and chopped jalapeños. Got dietary concerns? Switch to ground turkey instead of beef and use dairy-free cheese. Each version keeps what makes these bites special while giving you totally new flavors.
Storing Leftovers
Keep any extra meatloaf bites fresh by storing them the right way. Put them in shallow containers in the fridge to help them cool down quickly, and try to eat them within three days for the best flavor. If you're freezing them, lay them out in one layer, using parchment paper between layers if you need to stack them. Always thaw frozen bites in the fridge overnight instead of on the counter to keep them safe to eat. When reheating, use a 350°F oven instead of the microwave so they stay nice and the cheese doesn't get rubbery.
These little meatloaf bites really show how comfort food can be fancy too. They might seem simple at first, but there's so much flavor and technique packed into each bite. Whether you're feeding your family on a Tuesday or hosting a party, everyone goes crazy for them. There's something magical about that moment when someone bites in and discovers the melted cheese center – it just goes to show that sometimes the tastiest foods come in small packages.
 Save
Save
Recipe FAQs
- → Can I prepare the meatloaf bites early?
- Of course! Mold them into balls and store uncooked in the fridge up to a day ahead. When you're ready, glaze them and cook 2-3 minutes longer than usual. You can also bake in advance and reheat in a warm 350°F oven for 10 minutes.
- → What side dishes match these bites?
- Serve them on their own using toothpicks for starters. As a main, they're tasty with mashed potatoes, baked veggies, or a fresh salad. If you're avoiding carbs, try zucchini noodles or mashed cauliflower.
- → Can I substitute the beef with another kind of meat?
- Definitely! Ground chicken, pork, or turkey work just as well. Even blending meats like pork and beef is fine. For lean meats like turkey, mixing in a little olive oil helps keep them juicy.
- → What's the best way to check if they're done cooking?
- Use a thermometer—beef or pork needs to hit 160°F, while turkey or chicken should reach 165°F. No thermometer? Just cut one open; the meat shouldn't be pink, and juices must flow clear.
- → Is there a gluten-free twist for this recipe?
- Sure! Swap out breadcrumbs with gluten-free ones or crush gluten-free crackers. Double-check your Worcestershire sauce for gluten, but everything else is naturally gluten-free.