
 Save
Save
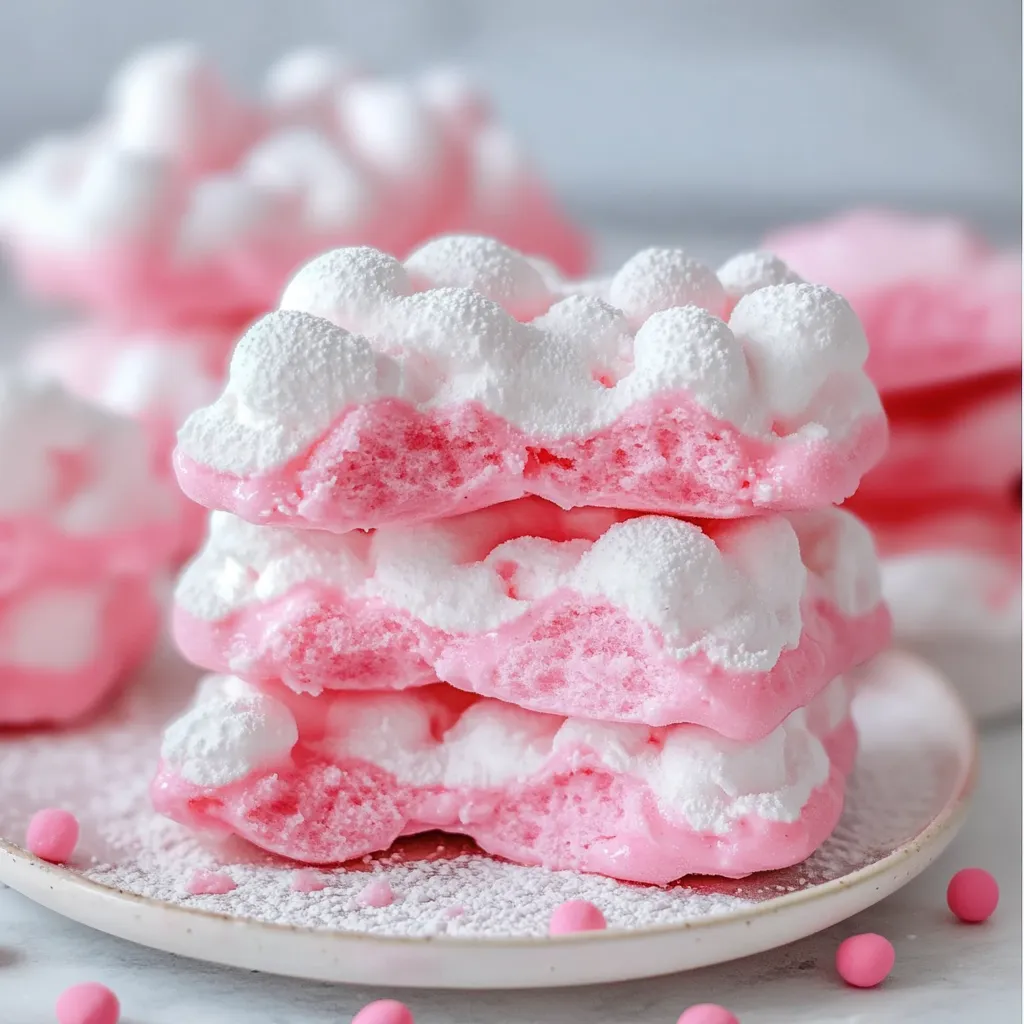
You know those lazy summer days when we'd pop bubblegum until our cheeks got sore? I whipped up these fluffy slices after stumbling across bubblegum syrup at a fancy food shop. Just one taste sent me right back to my kid years, but without getting sticky stuff tangled in my hair. These soft treats have become my staple for my niece's friend gatherings – children can't resist the bright look and taste, while grown-ups quietly grab extra pieces when they think nobody's watching.
When I shared these at my buddy's little girl's birthday bash last month, I got cornered by three moms all wanting the instructions. One admitted she wolfed down four pieces while hiding from her kids in the storage closet. I've never felt so accomplished as a treat maker.
Essential Components
- Marshmallow Fluff - The core of our puffy treats. This gooey, sweet ingredient creates that dreamy soft texture. Let it sit out until it reaches room temp for smoother blending.
- Bubblegum Syrup - This key addition brings that unforgettable flavor. I grabbed mine at a baking boutique, but you can find it online too. Both Torani and Monin create solid options.
- Powdered Sugar - Does more than just add sweetness; it changes the gooey fluff into workable material. Run it through a sifter first to keep lumps out of your fluffy slices.
- Vanilla Extract - Just a small amount adds complexity, making the bubblegum taste more refined and less fake.
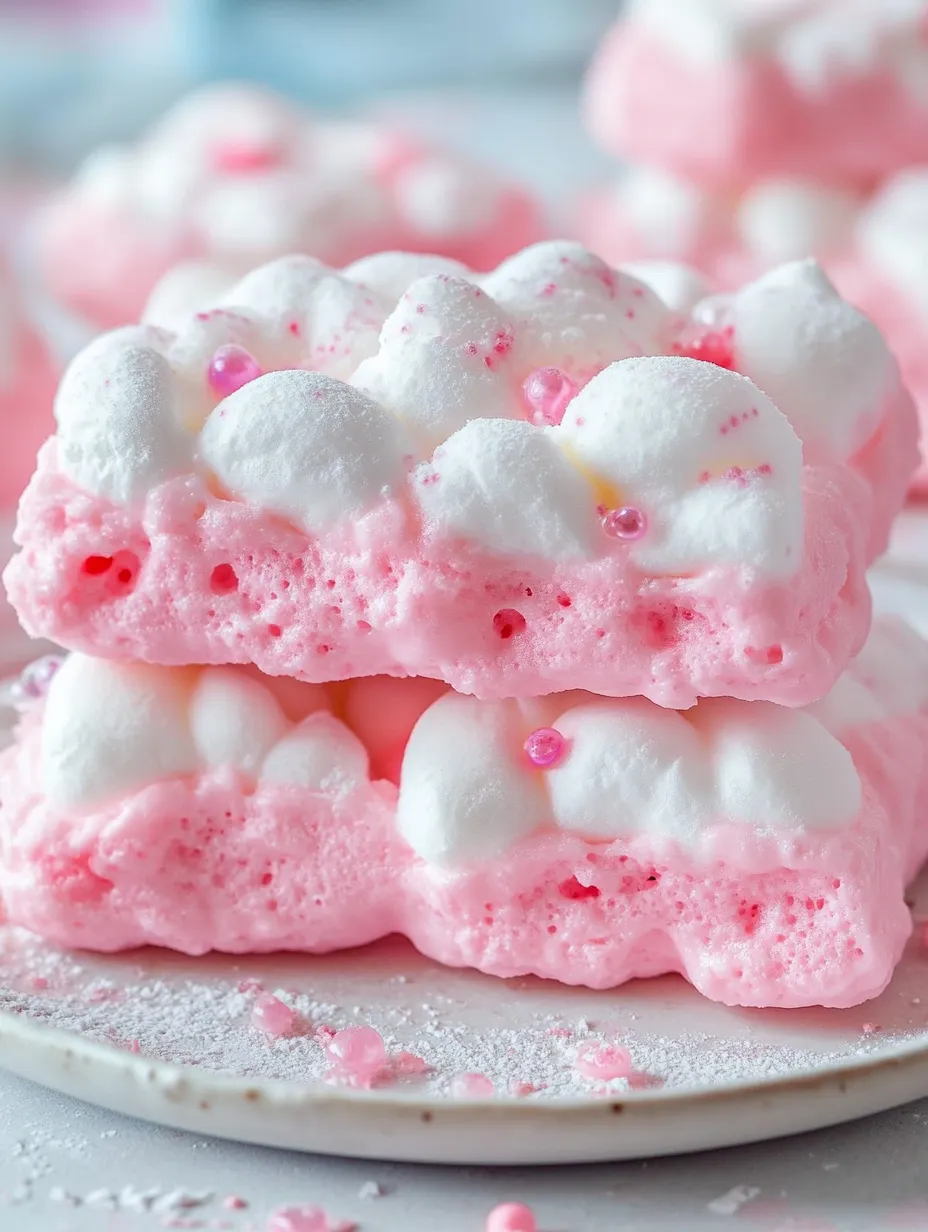
- Pink Food Coloring - Though not required, that familiar bubblegum pink makes these snacks instantly recognizable. Go with gel coloring for the brightest shade without adding too much moisture.
 Save
Save
Simple Steps
Get ReadyFirst, put parchment paper in an 8x8 inch pan, letting it hang over the edges for easy grabbing later. Take my word for it, trying to dig this sticky stuff out of an unlined dish is a messy disaster I've already gone through so you won't have to.
Mix Your FoundationIn a big bowl, stir together the marshmallow fluff and bubblegum syrup. This gets super sticky, so give your spatula a quick spray with cooking oil first. Combine until everything's fully mixed – you want a smooth blend with no white fluff streaks showing.
Form The MixtureSlowly add your powdered sugar, roughly half a cup each time, mixing well between additions. As you continue adding, you'll see the mixture change from shiny and sticky to something more like a soft dough. Keep going until it stays in shape when you press it but still feels somewhat stretchy.
Enhance The TasteMix in the vanilla extract and a few drops of pink food coloring if you're using it. Adding vanilla might seem weird with bubblegum flavor, but it really pulls everything together nicely. Stir until the color looks the same throughout – those random white patches might look cool, but they mean the flavor isn't spread evenly.
Set It UpPut your mixture into the ready dish and spread it out evenly with a spatula (again, cooking spray on the tool really helps here). Push it into the corners and flatten the top as much as you can. Cover with plastic wrap and stick it in the fridge for at least 4 hours or better yet, overnight. Waiting is tough, but properly chilled pieces hold their shape way better.
Cut And EnjoyWhen firmly set, pull the whole block out using the parchment edges. Put it on a cutting board and cut into squares or rectangles with a sharp knife. For really clean edges, wipe your knife with a damp cloth between cuts.
My kid's friend Lily can't have artificial colors, so I've tried these with natural beet powder instead. The shade is more subtle – think "faded rose" not "hot pink" – but tastes exactly the same, and Lily was so happy to eat a treat that looked similar to what everyone else had.
Ways To Serve
Make an ordinary birthday bash extra special by cutting these clouds into tiny cubes and offering them next to a hot chocolate station. The bubblegum taste creates a surprising contrast with the rich chocolate, and these colorful nibbles work as decorations until they're all gobbled up.
Put together the ultimate throwback dessert platter by matching these slices with other childhood favorites like chocolate-covered rice crispy squares, tiny cookie sandwiches, and fresh berries. The mix of textures and flavors makes a fun dessert experience that brings out the kid in everyone.
For a fun twist on afternoon tea, cut the bubblegum clouds into bite-sized pieces and serve with lemon cookies and cucumber sandwiches. The difference between traditional tea snacks and these playful pink treats creates a memorable get-together. My reading group still mentions this combo months after trying it.
Taste Adventures
Fairground FluffSwap the bubblegum syrup with cotton candy flavoring and use blue coloring instead of pink. You'll get a slightly different childhood memory that's just as wonderful.
Fruit Infused CloudsToss in 1 tablespoon of powdered freeze-dried strawberries along with the bubblegum syrup for a fruity spin that works really well with the candy flavor.
Party Cake CloudsUse vanilla syrup for half the bubblegum amount and mix in 2 tablespoons of rainbow sprinkles at the very end for a birthday cake inspired version. The sprinkles add fun splashes of color and tiny bits of crunch.
Keeping Fresh
Room TemperatureWhen it's not too warm, these slices stay good in an airtight container at room temperature for 2-3 days. Put parchment paper between layers so they don't stick together.
To keep them longer, store them in the fridge where they'll stay fresh for up to a week. The cool temp actually makes the bubblegum flavor stronger, so slices on day three sometimes taste better than on day one.
If your kitchen gets hot or damp, you must keep them in the fridge. I found this out the hard way during a summer playdate when my perfectly cut squares turned into one giant, still tasty, cloud puddle on the serving dish.
Freezer StorageThese clouds freeze amazingly well! Wrap single slices in parchment, then put them in a freezer container for up to a month. Let them thaw in the fridge for a few hours before eating. The texture gets a bit chewier after freezing, which some of my tasters actually liked better.
 Save
Save
Pro Tricks
Flavor FixCan't find bubblegum syrup? Try mixing vanilla syrup with a couple drops of bubblegum flavoring oil (you can get this at cake supply shops).
Texture TwistFor a different feel, try freezing the slices for about 30 minutes before serving. They develop an interesting stretchy texture that's somewhere between marshmallow and taffy.
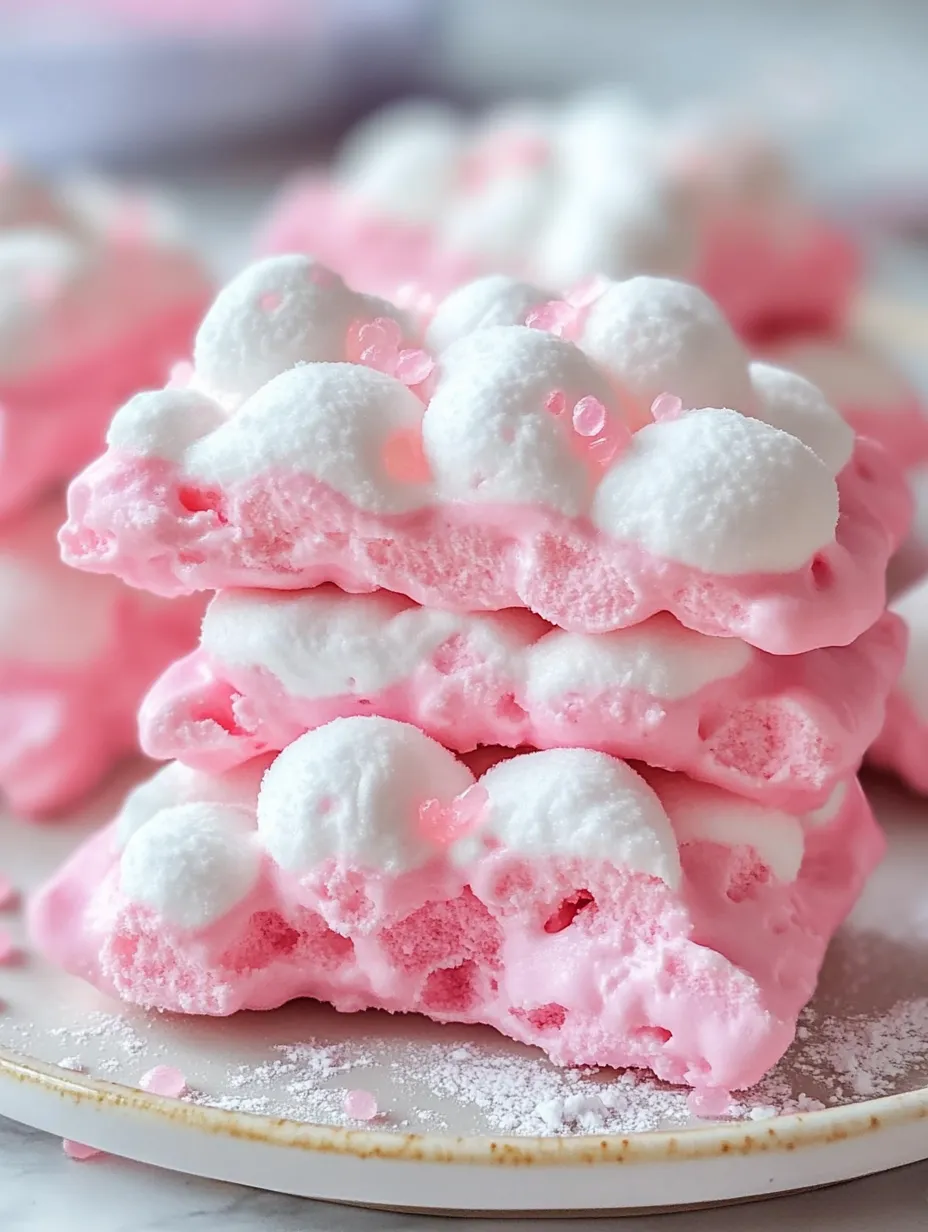
Looking GoodSprinkle the cut slices with a bit more powdered sugar for a soft finish that looks pretty and stops them from sticking when stacked.
I first created these for my daughter's "Candyland" birthday bash, cutting them into shapes using cookie cutters. Seeing the kids' reactions when they bit into these fluffy clouds was amazing – that perfect mix of wonder and joy that makes all the sticky fingers and powdered sugar on my dark shirt totally worth it. One small boy asked if actual clouds taste this good, and I just couldn't tell him they don't.
Recipe FAQs
- → Where do I get bubblegum syrup?
- You can find bubblegum syrup at baking supply stores, candy shops, or online. Coffee shop syrups might also work. As a backup, mix 1 cup simple syrup with 1-2 teaspoons bubblegum oil.
- → Can I skip the food coloring?
- Of course! The pink coloring is optional and just makes it look fun. Without it, the bars will be white, but still tasty.
- → How long do these bars last?
- Stored in a sealed container at room temperature, they’ll be good for up to 5 days. In the fridge, they’ll stay fresh for 2 weeks, though they firm up when cold.
- → Can I switch to another flavor?
- Sure thing! You can replace bubblegum syrup with other flavors like vanilla, cotton candy, or strawberry. Use the same amount as the bubblegum syrup for the swap.
- → What if the mix is too sticky?
- If it’s hard to work with, add powdered sugar a little at a time, about 1/4 cup, until it’s manageable. Chilling the mix for 15-20 minutes can also help.