
 Save
Save
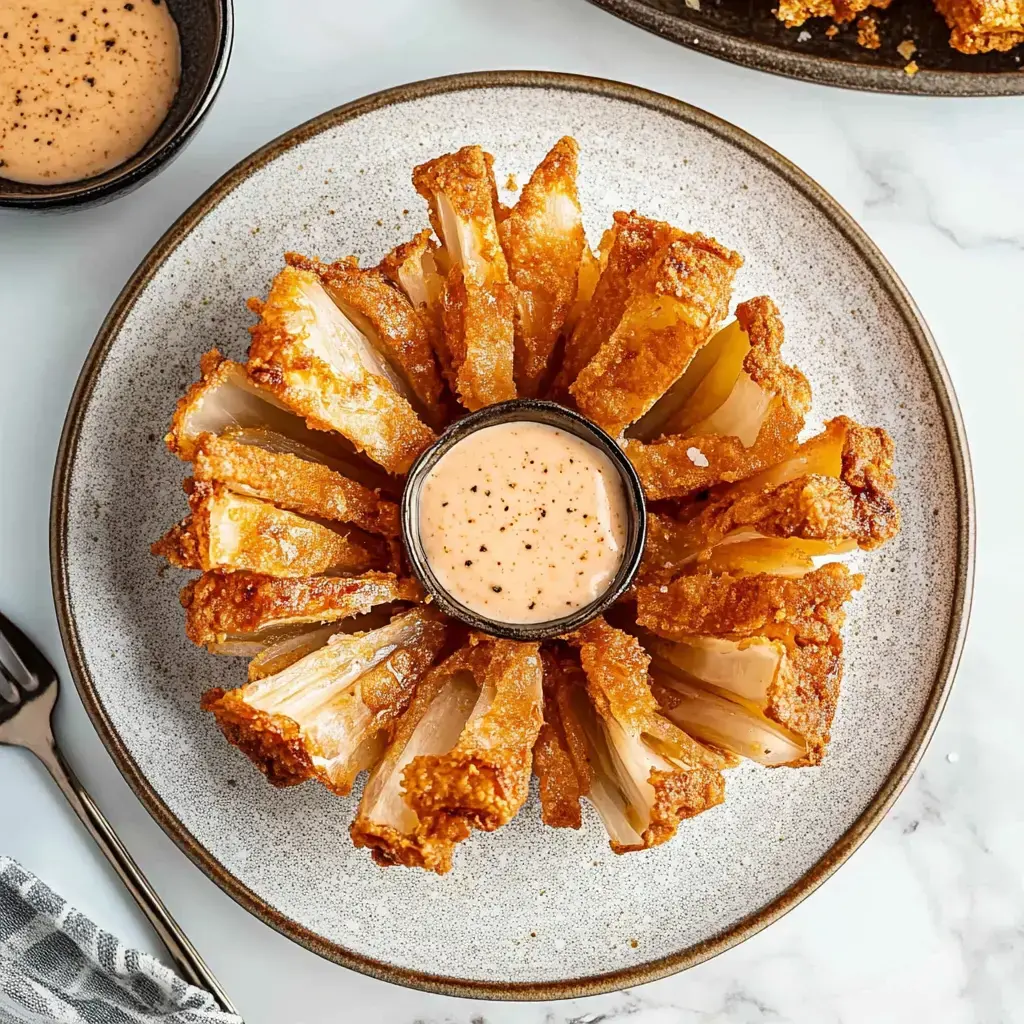
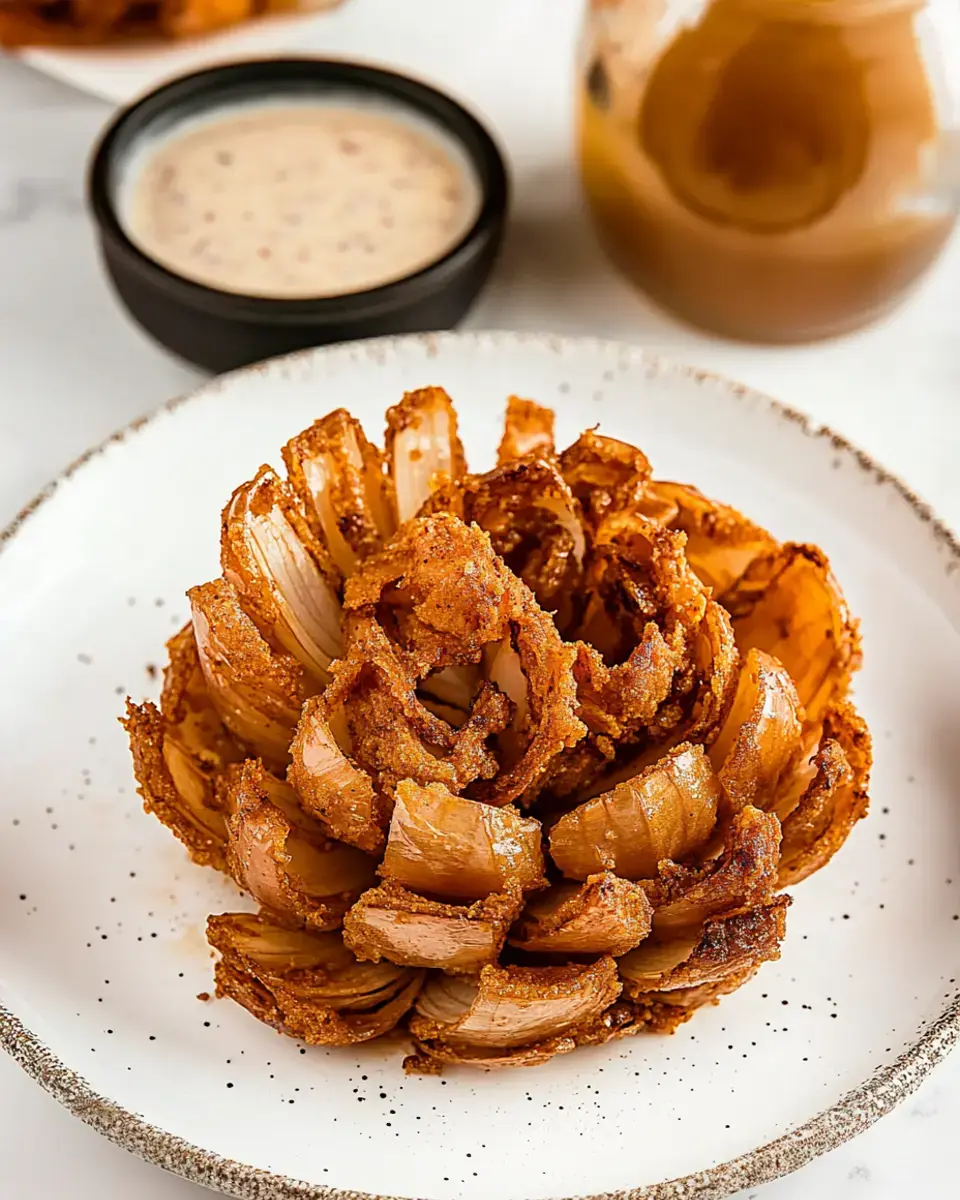
I finally figured out how to make that famous Chili's Awesome Blossom right at home. The sweet Vidalia onion blooms just like a flower and the crunch is unreal once it’s fried up. People lose their minds when I set it out with my homemade sauce—nobody believes I didn’t order it in.
Irresistible Reasons To Try This
The real magic here is how straightforward it is. Everyday pantry stuff and some spices come together for that crazy-delicious crunch. I make this for parties and game nights—the plate is empty every single time.
Grab These Ingredients
- Buttermilk: Makes the flour really stick everywhere.
- Flour & Cornstarch: Your secret for a shatteringly crisp bite.
- Oil: Use enough to let it float and fry all over.
- Cayenne: Sprinkle to your heat preference; I always go extra.
- Salt & Pepper: Simple but you need both.
- Vidalia Onion: The bigger and sweeter, the better it blooms.
- Sweet Paprika: Gorgeous color plus a touch of warmth.
- Mayo: Builds a creamy base for the dip.
- Ketchup: Adds a nice little zip.
- Sour Cream: Makes the dipping sauce pop.
- Horseradish: Totally up to you, but I love the punch.
- Garlic Powder: Gives the batter that savory kick.
 Save
Save
Effortless Blooming Onion
- Time To Fry
- Drop your onion right into that hot oil and watch for it to go crispy and golden in about five minutes.
- Dress It Up
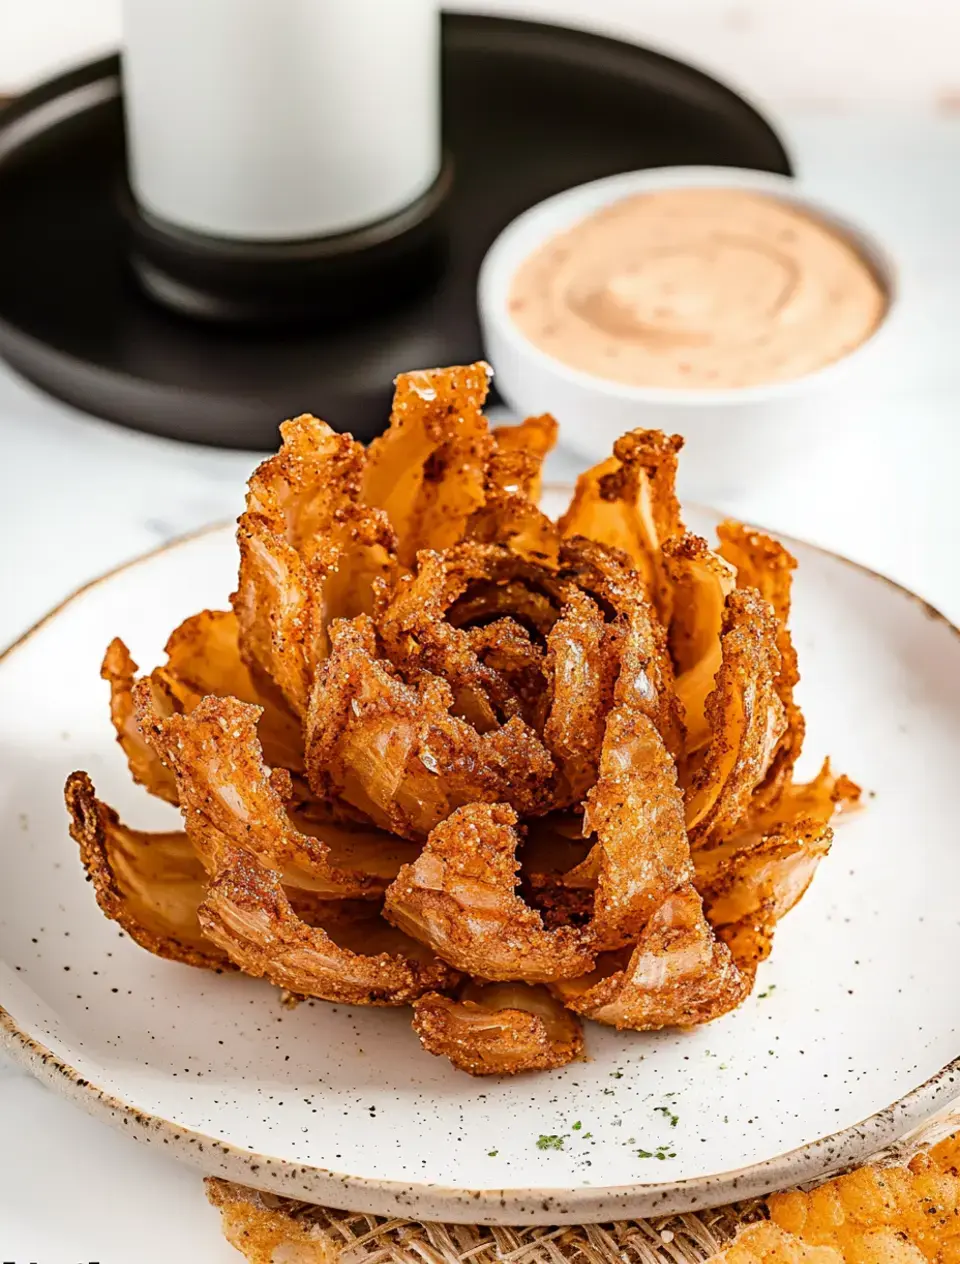
- Coat the petals with your seasoned flour, dunk the whole thing in buttermilk, then toss with more flour. Make sure every nook gets covered.
- Start With The Sauce
- Stir together all your creamy and spicy ingredients. Let it chill out in the fridge while you fry—flavors get even better.
- Get That Oil Hot
- Heat up enough oil so your onion has room to float. You want it right at 375°F.
- Ready To Share
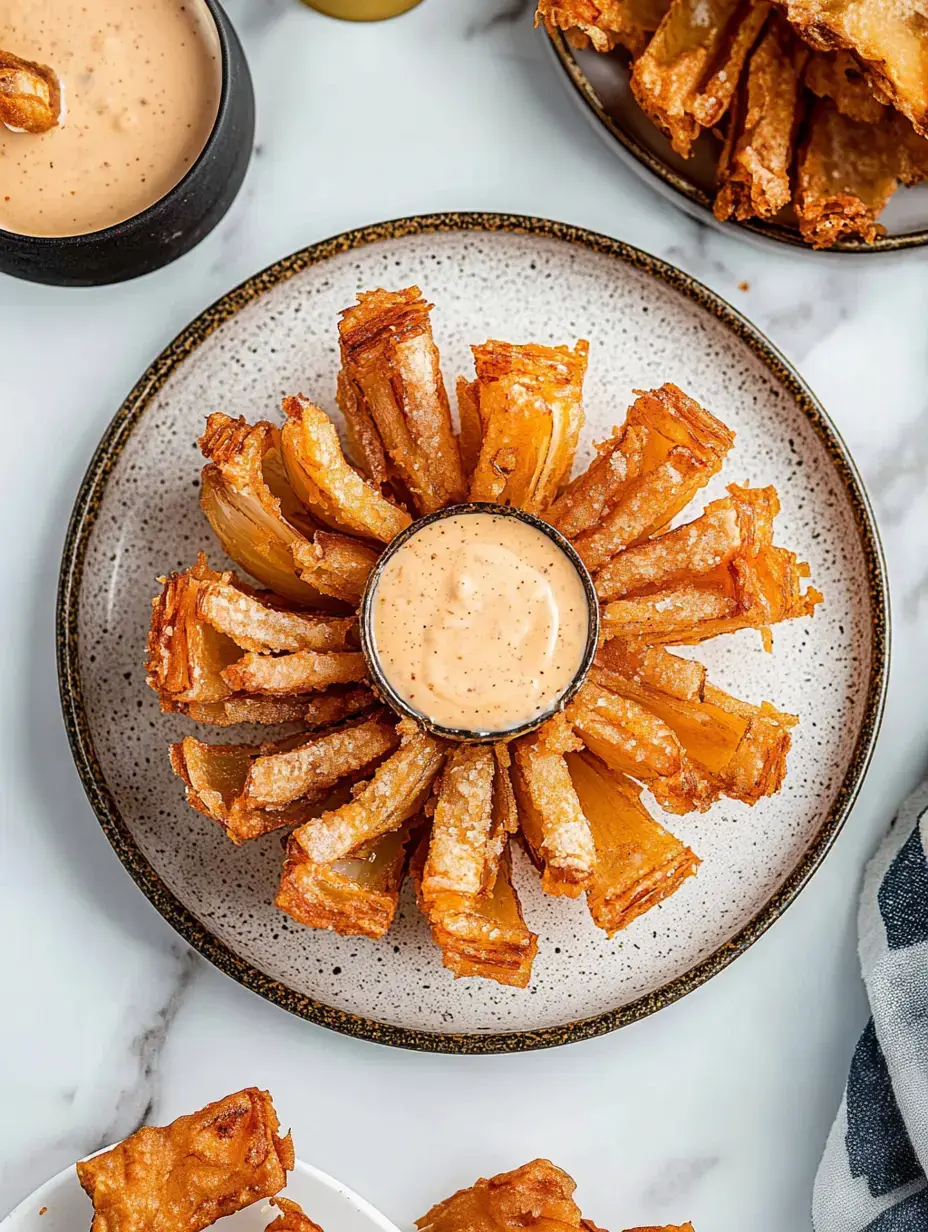
- Let it rest on some paper towels so it’s not oily, then dig in while it’s still piping hot with lots of dip.
- Create The Blossom
- Slice the onion into a flower shape, root side down, separate all the petals but don’t break them off. It’ll really look like a blossom now.
Beautiful Blossom Tricks
Here’s how I get that perfect flower. Chop about half an inch off the top and peel it so it’s clean. Start slicing from the top into quarters, then cut those into more petals but don’t cut all the way through that root. Keep the base together and spread the petals out gently—now it looks just right for frying.
Pro Tips From My Kitchen
Keep checking your oil so it stays right at 375°F—that’s the sweet spot. I love using a spider skimmer for dipping and pulling it out, keeps things tidy. Take a little extra time coating each petal, it really gives the blossom that crazy-good crunch.
 Save
Save
Easy Air Fry Method
Using an air fryer? This turns out awesome in there, too. Get it cranked up to 400°F. Spray the onion all over so it crisps, and check around the five-minute mark—most are done in about ten.
Change Up Your Dip
Make the dipping sauce your canvas. Don’t want horseradish? Ditch it. Want a new vibe? Try BBQ, honey mustard, or buffalo sauce instead. It’s a whole new thing every time.
Crispy While It’s Hot
The best way to eat this is right once it’s fried—don’t wait. Whip up your sauce a couple days early and stash in the fridge, but the onion’s petals taste best straight from the oil.
FAQ Time
You can swap in any big sweet onion if you can’t find Vidalia. Just be sure to use a pot that gives your blossom elbow room—the oil needs space to bubble. And that dipping sauce? Add the spice gradually ‘til you hit your happy place.
 Save
Save
Recipe FAQs
- → Why pick Vidalia onions?
- They’re naturally sweeter and softer. Their larger size makes them ideal for blooming.
- → How do I keep the bloom intact?
- Leave the root base connected, and coat or fry gently to avoid losing its shape.
- → What’s the best frying temp?
- Aim for 375°F—that way, it crisps up nicely but doesn’t burn. Use a thermometer for consistency.
- → Make the sauce ahead of time?
- Absolutely! You can mix it up two days early. Just let it reach room temperature before serving.
- → How can I slice the onion right?
- Cut about half an inch from the root. Start with four cuts, then slice each section further. Keep the root in one piece!