
 Save
Save
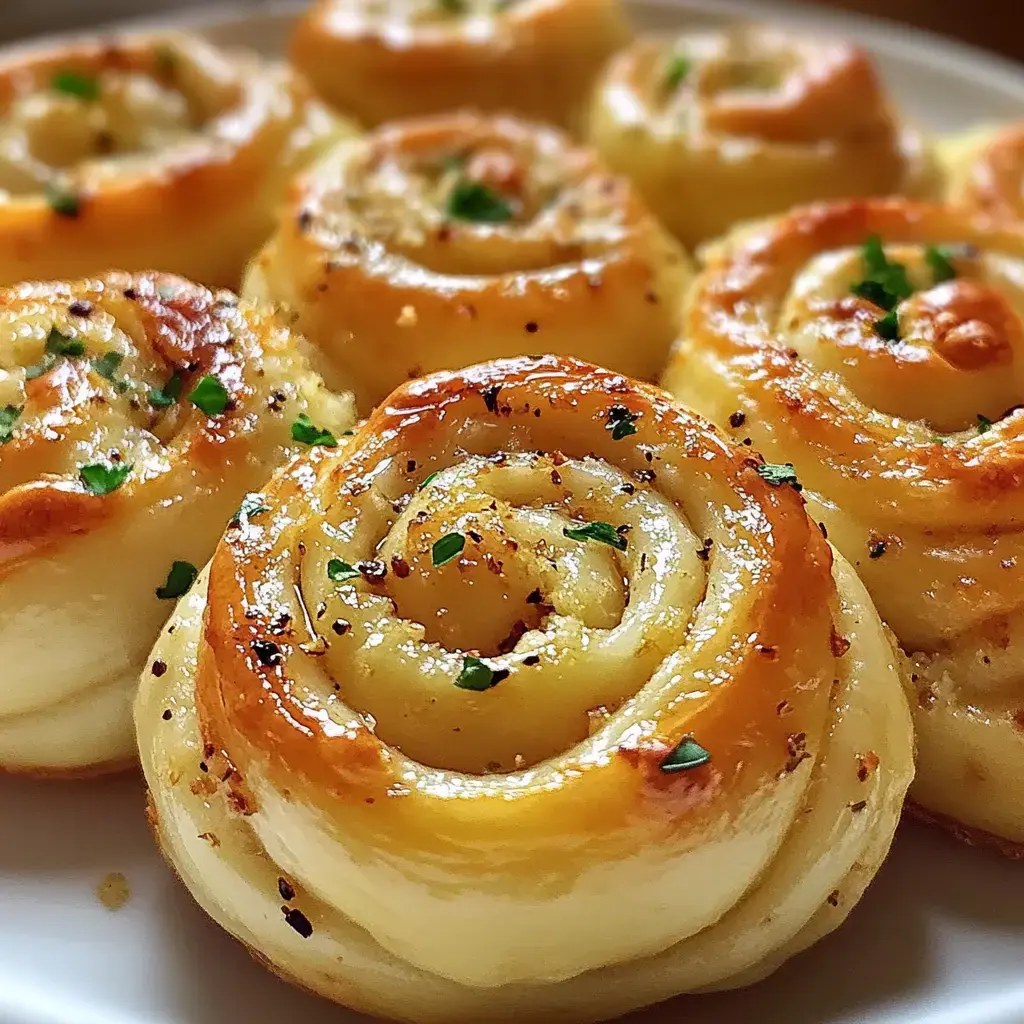
My Garlic Twirl Buns began as a lucky mistake in my cooking space. I was wanting something like garlic bread but fancier. These puffy buns loaded with raw garlic and leafy seasonings are now what everyone asks me to make. When they cook, they fill my home with such a wonderful smell that folks rush to eat.
Why These Stand Out
I'm crazy about how many ways you can use these buns. Sometimes they go with my pasta dinner, other times they help mop up a bowl of soup. What makes them truly special is the twist of garlic flavor running inside each one. At my table, everyone always grabs for the center bun since it's the softest.
About The Key Parts
- Flour: You'll need four cups of regular kind, with some extra for your work surface.
- Yeast: Make sure it's new active dry yeast for super soft buns.
- Milk: Get it just a bit warmer than your hand.
- Sugar: Only a small amount to wake up the yeast and add light sweetness.
- Butter: Pick a nice unsalted type for better taste.
- Eggs: Big ones left out till they aren't cold.
- Salt: This is a must to pull all tastes together.
The Tasty Middle Mix
- Butter: Half cup made soft so it spreads easily.
- Garlic: I chop six large cloves into tiny bits.
- Fresh Parsley: Adds a nice green kick.
- Salt and Pepper: Just enough to make everything taste better.
Last Little Touches
- Parmesan: A little fresh grated cheese makes them even tastier.
- Extra Herbs: I throw on some fresh parsley right before they're eaten.
Starting Your Yeast Right
First thing you gotta do is get that yeast all bubbly. I mix warm milk with a tiny bit of sugar and then put the yeast on top. It's so cool to watch it foam up. If you don't see bubbles after 10 minutes, your yeast might be too old – we've all been there.
Making The Bun Mix
After your yeast is bubbly, throw in the butter, eggs, and salt. Then comes the flour. I put it in bit by bit until everything sticks together. You'll know it's good when it doesn't stick to the bowl anymore. Then comes the fun part – working the dough with your hands. It's pretty relaxing, to be honest.
Whipping Up The Inside Stuff
While the dough gets bigger, I make what goes inside. Soft butter, tiny chopped garlic, leafy herbs, and some tasty extras all mixed into a spread. Just smelling it makes your mouth water. Sometimes I throw in more garlic because who doesn't want extra?
Spreading And Forming
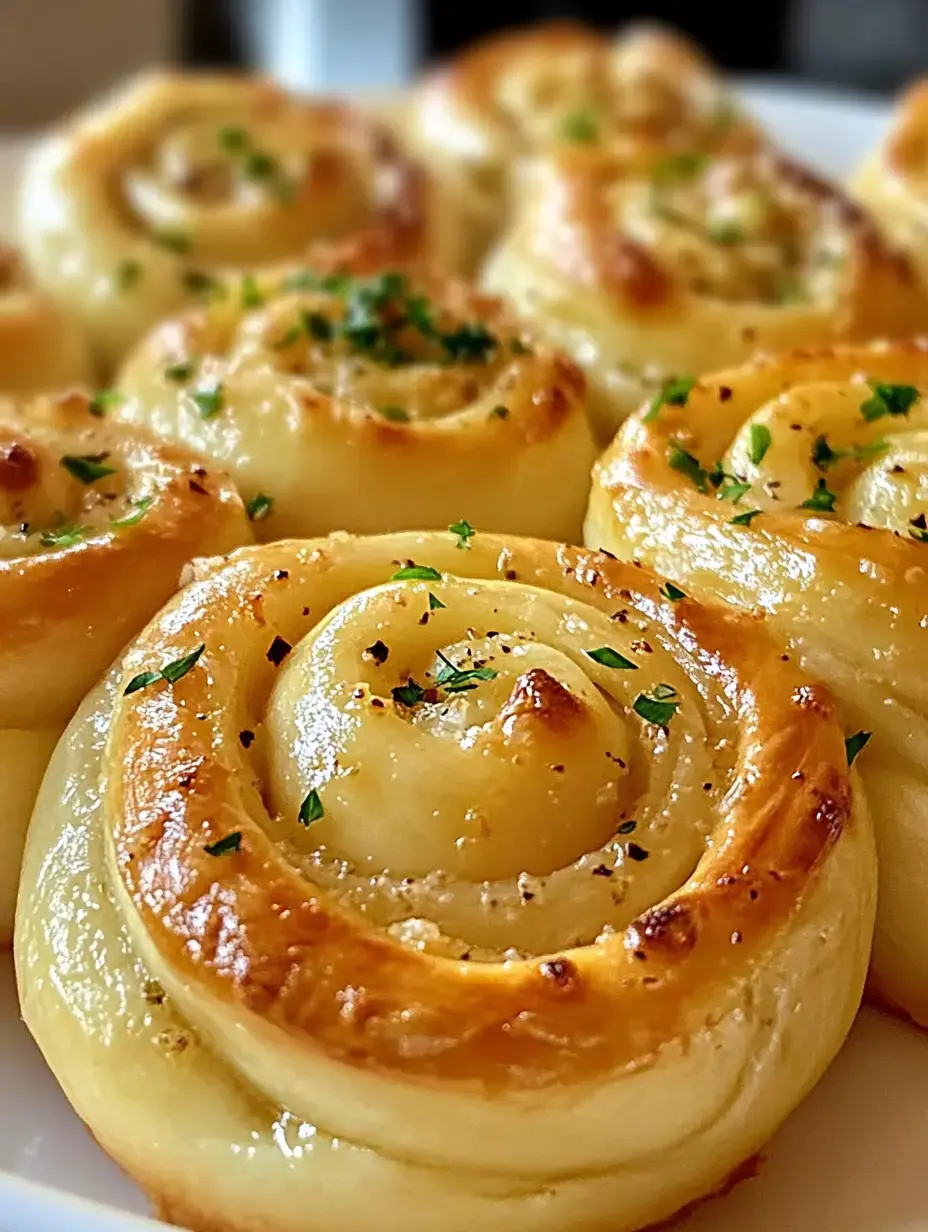
Now comes the best part. Flatten that puffy dough into a big flat shape, smear on all that garlicky mix, and roll it up tight. I like to cut the swirls with plain dental floss – it gives such nice clean cuts without pushing the dough down.
Letting Them Puff Again
Put those little swirls in your baking dish and wait for them to get big again. They should be barely touching when they're ready for the oven. While I wait, I usually make the main food or clean up my mess.
 Save
Save
Baking Time
Once they go in the oven, something amazing happens. Your whole place will smell like heaven with that mix of garlic and butter. Cook until they turn golden, and if you're using cheese, throw it on near the end. The cheese gets all crunchy on top.
Ways To Enjoy Them
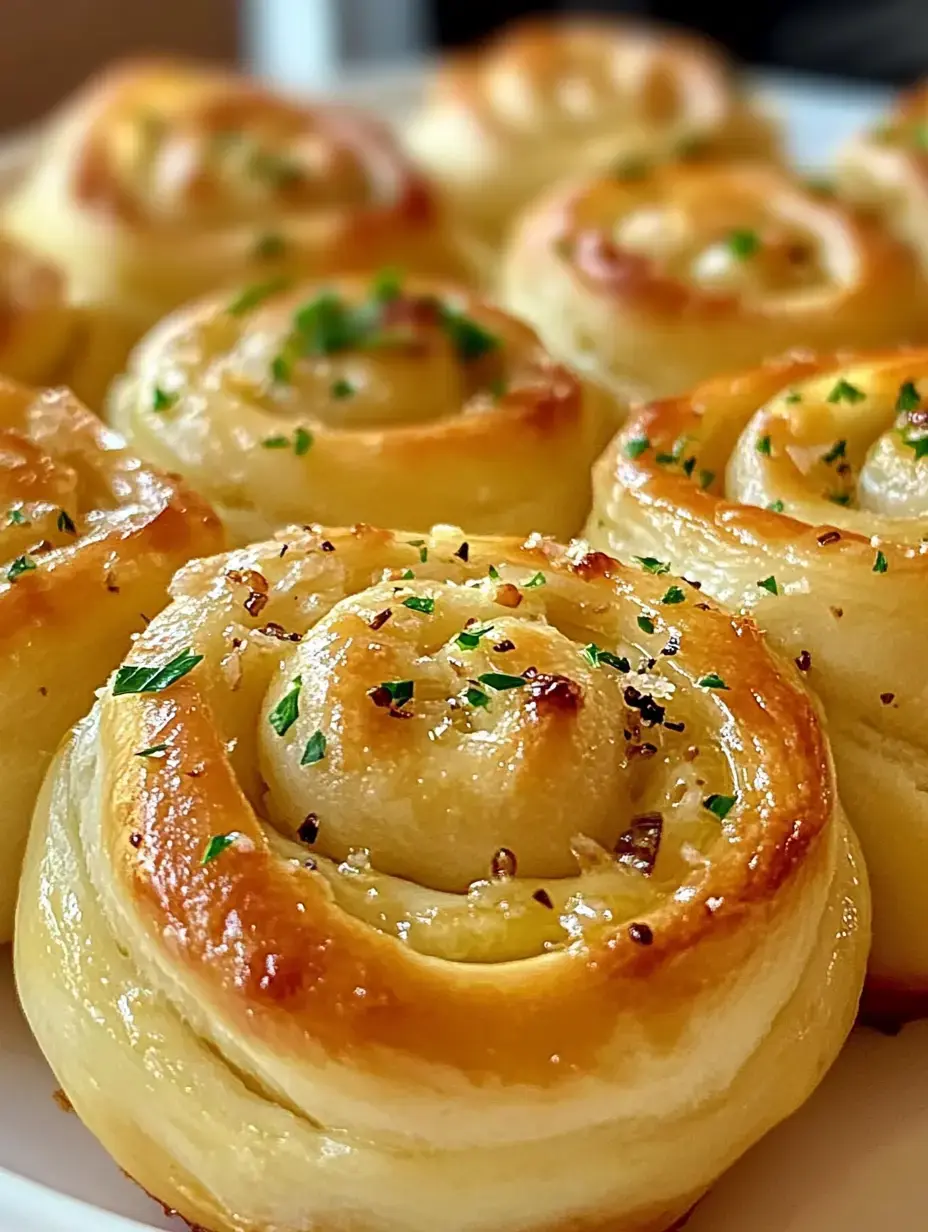
They taste best right out of the oven. We love eating them with noodles, but they're great with soup or just by themselves. I always save some garlic butter on the side for extra dunking.
How To Store
They'll stay good sitting out for a day or two, but honestly, at my house they never stick around that long. If you need to keep them longer, put them in the fridge. A quick warm-up in the microwave brings back that just-baked feeling.
My Past Goofs
Always check if your yeast is new and don't make your milk too hot. I found this out the hard way. Also, try not to add too much flour – your mix should feel soft and slightly tacky.
Smart Tricks I've Learned
Don't rush the dough mixing, it really matters. Using stuff that isn't cold makes a big difference. And don't cut short the rising time – good buns can't be rushed.
 Save
Save
Tasty Changes To Try
I sometimes add different kinds of cheese or sweet cooked onions. Fresh herbs like rosemary or thyme work great too. My kids go crazy when I mix in a bit of pizza spice with the filling.
Stuff People Ask Me
- Quick Yeast: You can totally use the instant kind – just toss it in with your flour.
- Checking If It's Ready: Just poke the dough gently and if the dent stays, you're good to go.
Solving Usual Problems
- Hard Buns: Usually means you didn't mix or let them rise long enough.
- Yeast Troubles: Look at that date on the package and keep your milk warm but not hot.
Expert Moves
Try using a pizza slicer for cutting. When baked right, they make a hollow sound if you tap them. Since all ovens cook differently, watch them carefully the first time you make them.
Why I Love Making These
These Garlic Twirl Buns have grown into something bigger than just food in my kitchen. They've become part of how we celebrate together. When that smell fills the air, I know everyone will soon gather around to eat, and that's what makes cooking so worthwhile.
Recipe FAQs
- → Can I make these rolls in advance?
Yes, you can shape the dough a day ahead. Cover it and refrigerate overnight. Bring to room temperature before baking.
- → How can I check if my yeast works?
Mix the yeast with sugar and warm milk; it should foam up in 10 minutes. If not, it might no longer be active.
- → Is freezing these rolls possible?
Absolutely! Freeze them baked or unbaked for up to 3 months. Thaw in the fridge overnight before baking or reheating.
- → Why didn’t my dough puff up?
The yeast might be inactive, or the dough might’ve been in a spot that’s too cold. Ensure the milk is warm, and keep it in a draft-free, warm area.
- → Can I swap fresh parsley for dried?
Yes, dried parsley works fine. Use about one tablespoon, as it’s more potent than fresh herbs.