
 Save
Save
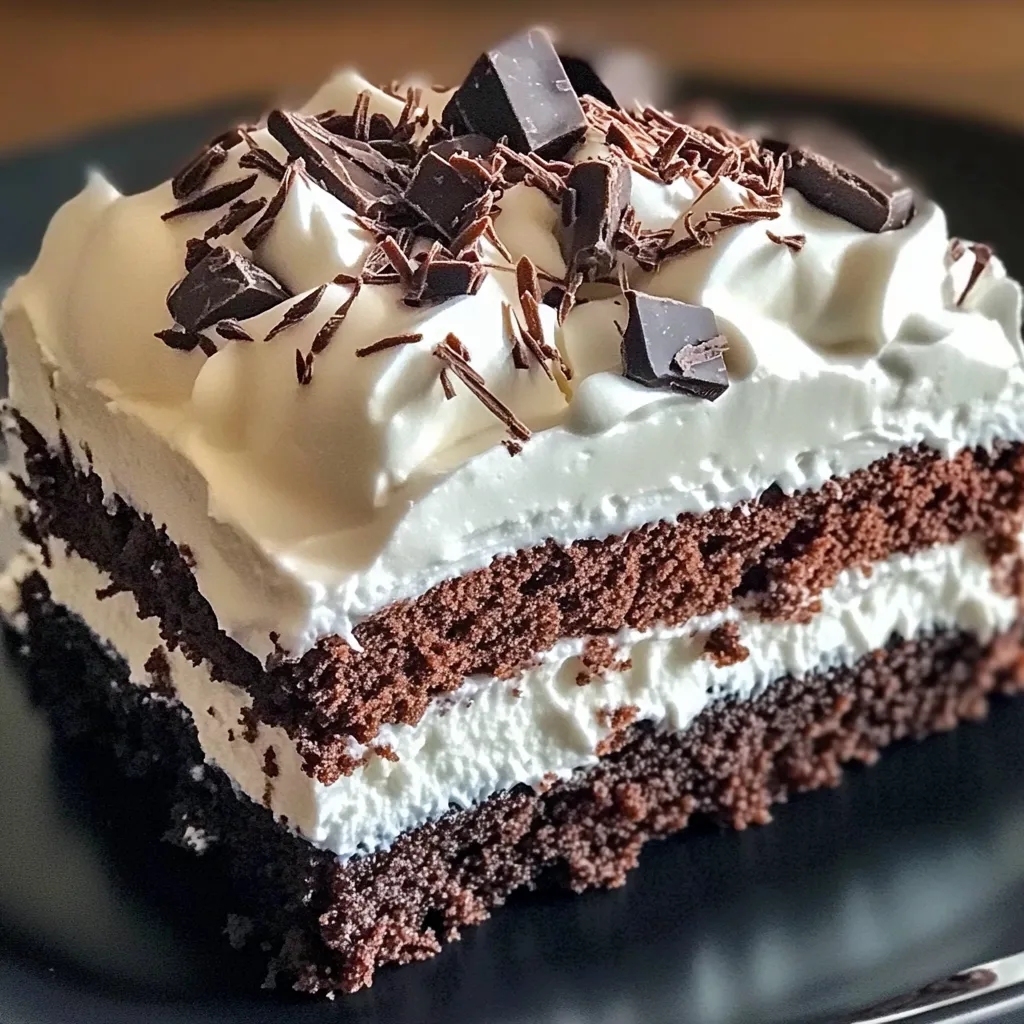
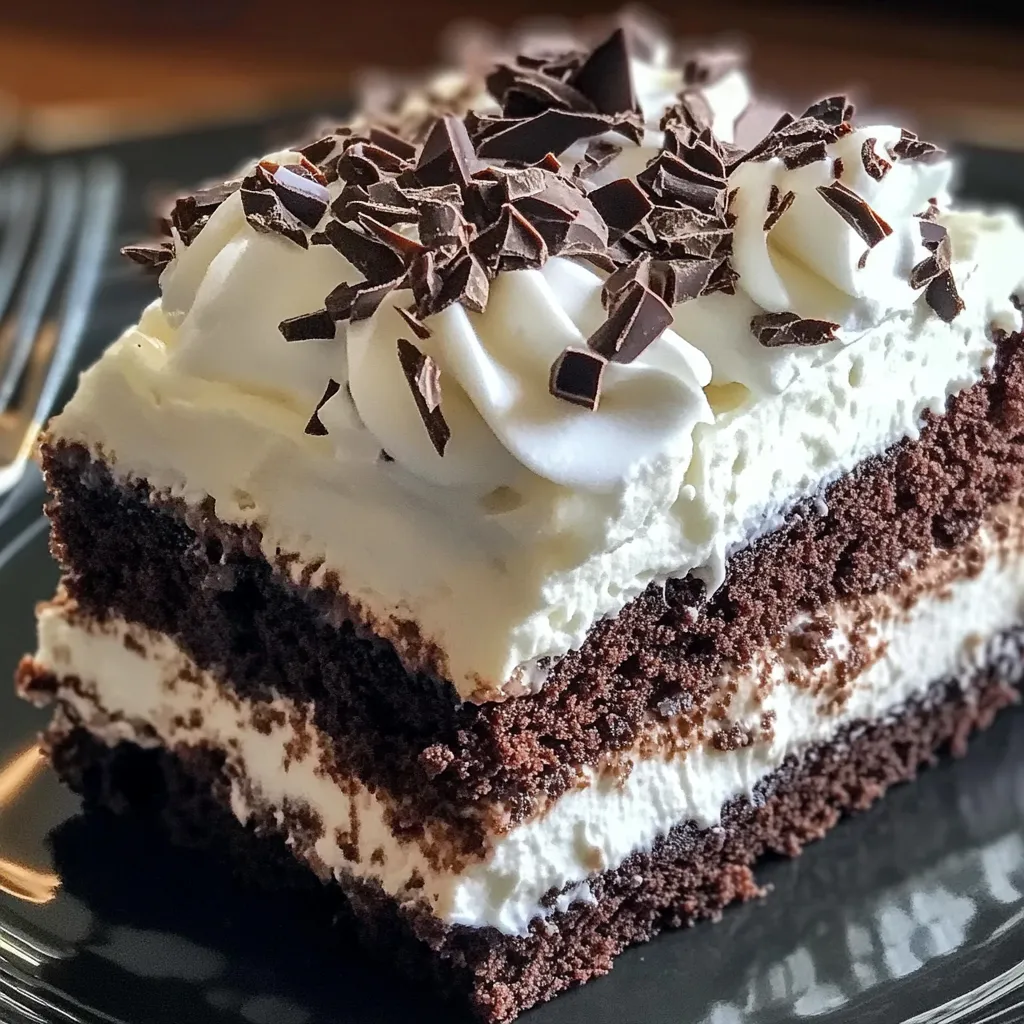
Rich layers of gooey brownie, smooth cream cheese, and fluffy whipped topping join forces in this incredible dessert. It's both fancy-looking and wildly tasty without breaking a sweat. This no-bake treat turns basic ingredients into something that'll wow your guests. They'll think you slaved away in the kitchen for hours when really, you barely lifted a finger for this cool, creamy delight.
I stumbled across this gem while digging through my grandma's old recipe collection, hidden among her most cherished kitchen secrets. She told me how this was her secret weapon for wowing company during tough times when ingredients weren't easy to come by but people still expected something special. The first time I brought it to a family dinner, everyone fell silent as they took their first bites. My super-picky aunt immediately asked me how to make it, and my brother, who usually turns his nose up at chocolate, grabbed another piece. What started as my way of connecting with Grandma's cooking has turned into the dessert everyone begs me to bring. It just goes to show that sometimes the simplest recipes make the biggest splash.
Smart Ingredient Choices
- Boxed Brownie Mix: Gives you a rich, fudgy foundation without messing around with lots of measuring
- Extra-Large Egg: Helps your brownie base hold together while keeping it nice and moist
- Cream Cheese: Adds a zingy creaminess that cuts through all the sweetness
- Powdered Sugar: Blends perfectly into cream cheese for a silky texture with no sandy feeling
- Whipped Topping: Creates a dreamy, light layer that balances the richer elements
- Instant Chocolate Pudding: Packs in tons of chocolate flavor with almost zero work
- Instant Vanilla Pudding: Works with the chocolate to create a more interesting flavor combo
- Whole Milk: Makes your pudding layers extra creamy and sets up just right
- Chocolate Bar or Syrup: Tops everything off with a gorgeous finishing touch
- Pure Vanilla Extract: Brings out the best in all the other flavors
Crafting Dessert Wonder
- Build Your Brownie Base:
- Heat your oven to 350°F and mix up the brownie batter following the box instructions. Pour it into a greased 9x13 pan, making sure it's spread out evenly. Bake until it's almost done—you want a toothpick to come out with a few sticky crumbs. This slight undercooking keeps the brownies soft and fudgy when they're chilled later.
- Whip Up The Tangy Middle:
- Let those brownies cool completely while you beat the softened cream cheese until it's fluffy. Slowly mix in powdered sugar and a dash of vanilla, beating until there's not a lump in sight. This creamy layer will sit between your dense brownie and airy top layers.
- Mix Your Dreamy Pudding:
- In another bowl, stir together both chocolate and vanilla pudding mixes with cold milk until smooth. Let it sit for about five minutes to thicken up. Using both flavors gives you a more interesting taste than just chocolate alone.
- Add Some Air:
- Carefully fold your whipped topping into the pudding mix. Don't stir too hard—you want to keep all that air in there for a mousse-like texture that still holds its shape when sliced.
- Stack It Up:
- Spread the cream cheese mix evenly over your cooled brownies, making sure to reach the corners. Then top with your pudding-whipped topping blend, smoothing it out nicely on top.
- Add The Fancy Touch:
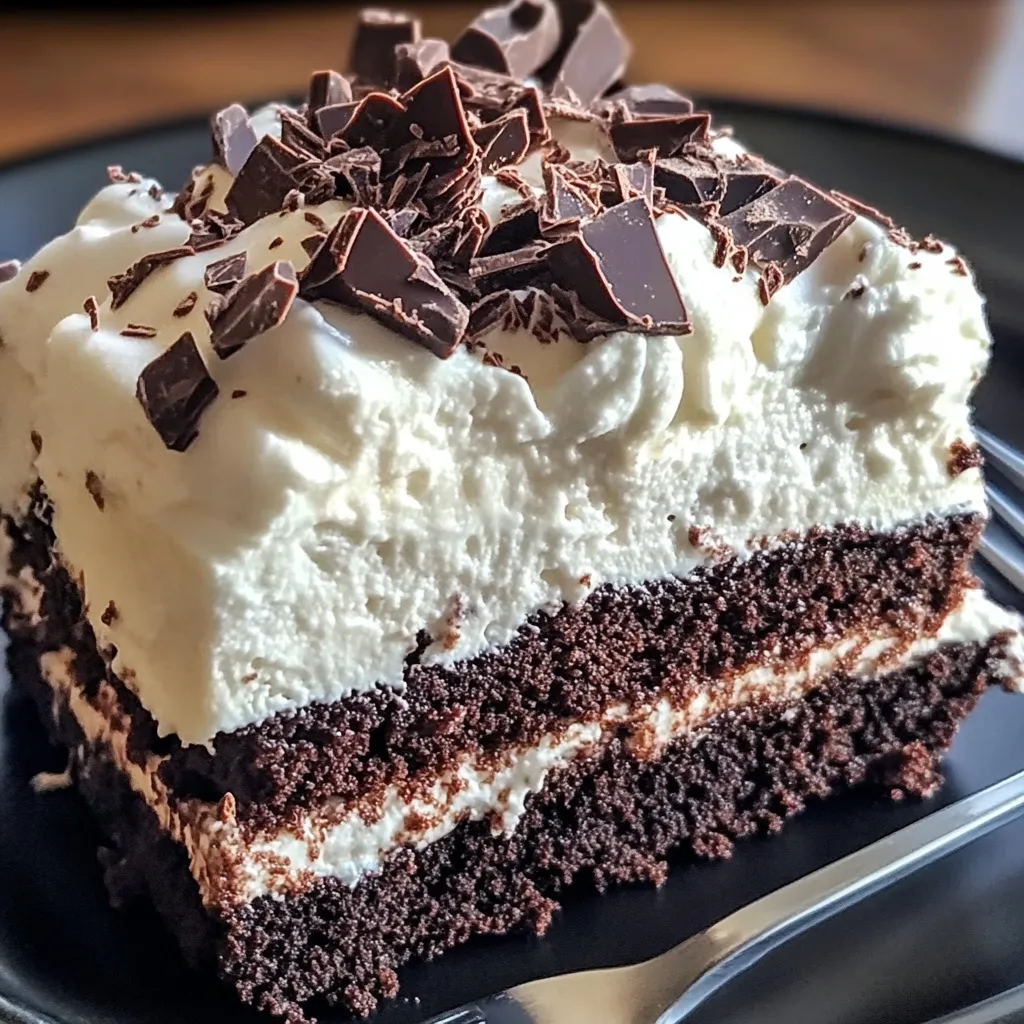
- Sprinkle chocolate shavings on top, dust with a bit of cocoa, or drizzle with chocolate syrup. This little extra makes it look even more impressive and adds one more hit of chocolate goodness.
- Let It Set:
- Cover with plastic wrap and stick it in the fridge for at least four hours, but overnight works even better. This resting time lets all the flavors mingle and helps everything firm up for clean slices.
- Show It Off:
- When you're ready to serve, dip your knife in hot water and wipe it clean between cuts for picture-perfect squares. The dark bottom and creamy top layers look stunning on a plate.
 Save
Save
My family goes crazy for this dessert during hot summer gatherings when nobody wants to turn on the oven. My hubby likes his with extra chocolate syrup on top, while my kids pile theirs with fresh raspberries for a tart kick against the sweetness. I've learned that springing for a fancy boxed brownie mix with chocolate chunks makes the base extra special and sturdy enough to hold up all those creamy toppings.
This recipe came from my grandma's collection, though she always called it "Company Cake" since it was her go-to whenever unexpected visitors dropped by. I've kept up her tradition of always having these ingredients in my pantry, ready for any dessert emergency that might pop up.
Delicious Companions
This rich treat really shines when you serve it with something to balance out all that decadence. Try offering small glasses of cold milk that wash away the sweetness between bites. Coffee lovers will appreciate a strong cup of joe or espresso whose bitterness plays nicely against the cake's sweetness. During summer, toss some fresh raspberries or sliced strawberries on the plate—their tartness cuts through the creaminess beautifully. For fancy occasions, add a scoop of good vanilla ice cream next to each slice, creating an awesome hot-cold contrast as the ice cream melts against the cool cake. For a grown-up twist, sprinkle just a tiny bit of sea salt on top right before serving to make all the flavors pop.
Tasty Twists
Play around with this flexible dessert while keeping its signature layered charm. Make a minty version by adding a few drops of peppermint extract to the cream cheese and sprinkling crushed candy canes on top. Coffee fans can stir a couple teaspoons of instant espresso into the pudding for a mocha flavor boost. In fall, mix some cinnamon into your brownie batter and swap the chocolate drizzle for caramel sauce. Fruit lovers can sandwich a layer of sliced strawberries between the cream cheese and pudding. Want to get fancy? Skip the boxed mix and use your favorite homemade brownie recipe with a spoonful of espresso powder mixed in for extra depth.
Keeping It Fresh
Get the most from this make-ahead wonder with smart storage that preserves all its delicious textures. Keep it covered in the fridge for up to five days—it actually gets better as it sits! For easy grabbing, cut it into squares and pack them in separate containers so you can snag just one piece without messing up the whole dessert. Need to store it longer? Wrap individual slices in plastic wrap, then foil, and freeze for up to a month. Thaw frozen pieces overnight in the fridge for best results. For the perfect bite, let refrigerated cake sit on the counter for 10-15 minutes before serving—this brings out the flavors and softens the texture just right.
I truly fell in love with this refrigerator cake when I hosted my first dinner party in my tiny apartment with a wonky AC unit. The fact I could make it ahead and serve something cool and refreshing solved both my limited kitchen space problem and the summer heat issue. Watching guests' faces light up with that first bite—that moment of surprise and pleasure—taught me that often the most impressive desserts aren't the complicated ones. This simple layered treat has followed me through every stage of life, from casual potluck dinners to fancy celebrations, always getting the same wow reaction. There's something really special about a dessert that connects different generations through its simplicity and taste—showing us that grandma's old solutions are sometimes still the best ones around.
 Save
Save
Recipe FAQs
- → Can I prepare this ahead of time?
- Totally! It’s better when set up in advance. Chill it 1-2 days before and the flavors will get even tastier while the layers firm up.
- → Can homemade brownies work in this dish?
- For sure. Use your favorite homemade brownie recipe, let them cool fully after baking in a 9×13 pan, and then layer away!
- → What’s a good replacement for whipped topping?
- Make fresh whipped cream instead! Just whip 3 cups of heavy cream with 1/3 cup powdered sugar until it’s stiff enough to hold its shape. Easy and delicious!
- → Will freezing this change its texture?
- Freezing might slightly affect the pudding and topping's texture. If you do freeze, tightly wrap it, then thaw overnight in the fridge before eating.
- → Can I customize the layers?
- Absolutely! Try sliced strawberries, add mini chocolate chips to the cream cheese layer, or swap in other pudding flavors like butterscotch or caramel.