
 Save
Save
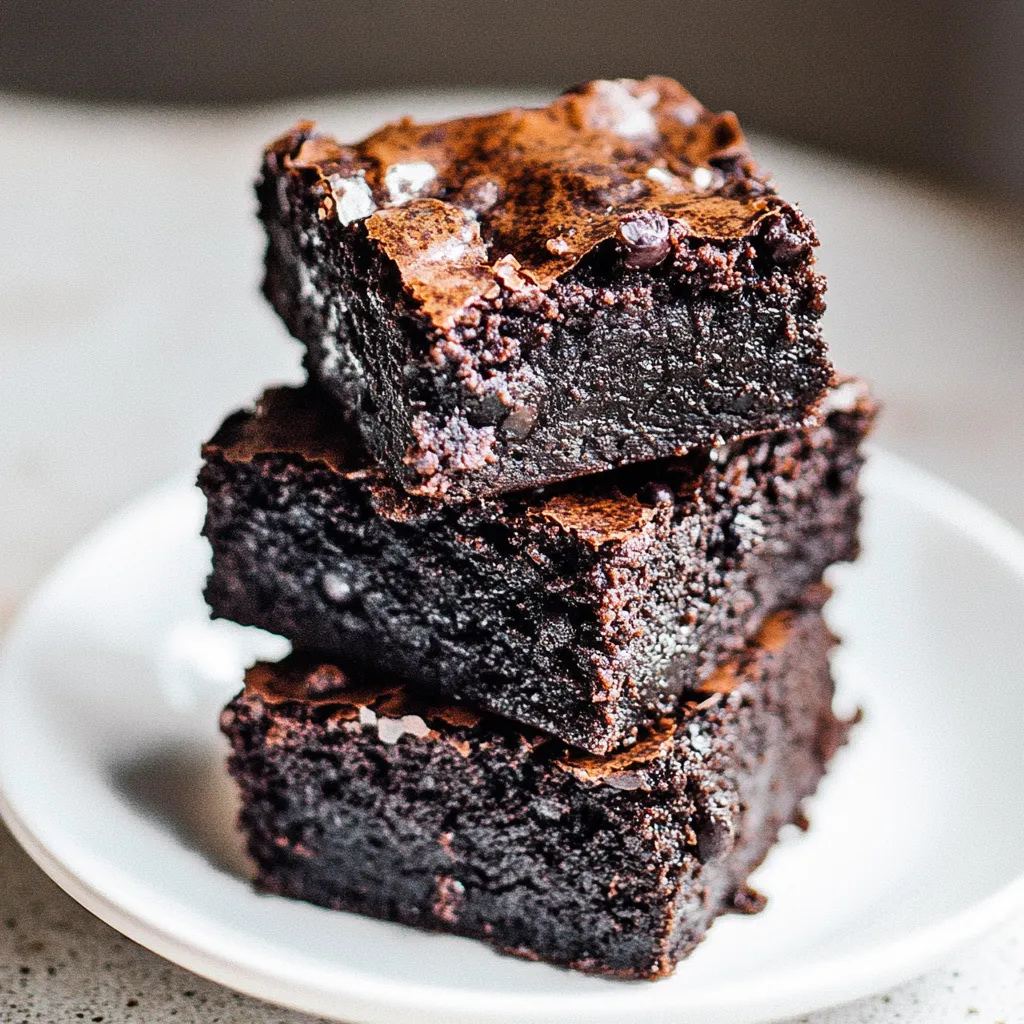
Turns out, using black beans in brownies is pure genius. After too many late nights and chocolate smudges, these fudgy treats became the talk of my kitchen. Even die-hard dessert fans can't believe the secret behind the thick chewy bites and bold chocolate taste that sticks with you.
Essential Kitchen Staples
Don’t rush rinsing the black beans – keep washing until the water’s clear. Found out the hard way what happens if you hurry: odd taste. Take your time.
Let eggs warm up on the counter for about half an hour. Cold ones made my first tries dense, till my baker neighbor let me in on this secret.
Dutch cocoa is my go-to for these. Keeps a rich, dark flavor that makes everyone curious what’s inside.
Oil-wise, anything goes. I’ve used both budget vegetable oil and the super fancy olive one. Still delicious.
 Save
Save
Flawless Brownie Journey
- Prep Your Pan:
- Line your baking dish with parchment so it hangs over the edges. Saved me so many times! The extra paper acts like handles to pull the whole thing out.
- Mash the Beans:
- Toss rinsed beans in your food processor and let it whirl till smooth—really smooth. Once found a whole bean in a brownie at book club. Never letting that happen again.
- Mix Dry Stuff:
- In another bowl, combine cocoa powder and sugar—it’ll look like dark sand when it’s mixed just right. Sifting seemed extra until Maria from the bakery showed me what a difference it made. Never skip it now.
- Blend Wet Stuff:
- Scoop in the eggs (room temp!) and pour in your oil to the bean paste, then add vanilla. I go a little heavy on the vanilla sometimes. Learned from grandma—it always works out.
- Bring It Together:
- Dump wet into dry and stir till it turns super glossy and thick—like melted chocolate. Can’t resist tasting a little. Gently fold in chocolate chips so they stay scattered perfectly.
Fun Ways To Serve
I sometimes pop a square in the microwave, then drop on vanilla ice cream and let it melt into all the gooey spots. For fancier dinners, I serve them on old china with some fresh berries and a quick shake of cocoa powder.
Make It Your Own
My kid loves peanut butter swirled on top before baking, making cool marble stripes on each piece. Come Christmas, I shake broken candy cane bits on top, and they melt into dreamy pink swirls against the dark chocolate.
Staying Fresh
Pop these in any airtight box—my family calls the one with the red lid the “brownie box.” They’ll keep that gooey-ness for up to a week in the fridge, but honestly, they’re usually gone in a day or two here.
 Save
Save
Insider Tricks
Pull them from the oven when they still look a bit soft in the center—they’ll get just right while cooling. Learned it after many not-quite-perfect rounds.
Wait for them to cool all the way before cutting—even if it’s tough! Totally worth it for tidy, fudgy squares.
Blend those beans longer than you think is needed. My mother-in-law once spotted a bean bit and never let me forget it—now I triple-check.
After endless experiments, happy smiles, and piles of empty plates at family get-togethers, these brownies have become more than just something to bake. They bring everyone together for good laughs and rich, chocolatey bites.
Recipe FAQs
- → Do these taste like beans?
- Nope! Once blended well with chocolate, the bean flavor completely disappears.
- → Why use beans instead of flour?
- They replace flour, making the brownies gluten-free. Plus, beans add protein and fiber.
- → How long do they stay fresh?
- Store them in the fridge for up to a week, or keep them frozen for up to three months.
- → Can I make them softer or firmer?
- Absolutely! For softer brownies, bake for less time. Want them firm? Bake a little longer. Just check the center!
- → Is it possible to double this batch?
- Yes, you can! Just double all ingredients and bake an extra 15-20 minutes for thicker brownies.