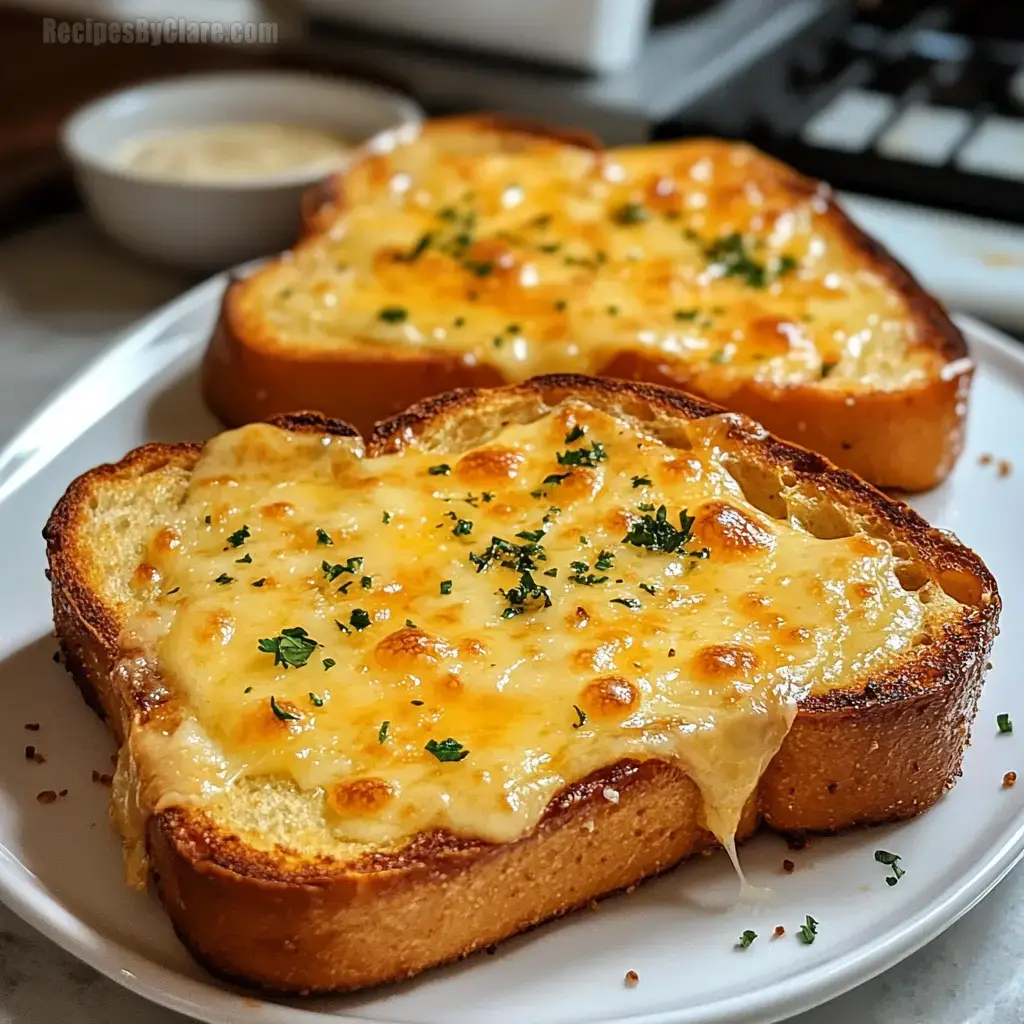
Cheesy Texas Toast

Category: Snacks That Bring People Together

This Cheesy Texas Toast is your must-try combo of crispy bread and buttery garlic topped with gooey cheese. Perfect for a quick dinner, potluck, or game-day! With Cheddar Jack and Parmesan, you’ll get both melt and sharp flavor. Pop some fresh parsley on top for a bright finish. Whether next to soup or pasta or on its own, it’s a surefire crowd-pleaser!

Hannah Author
Updated on Mon, 28 Apr 2025 20:22:14 GMT
Cheesy Texas Toast Save
Cheesy Texas Toast | recipesbyhannah.com

Gooey Texas Toast is a mouthwatering side that's crunchy, buttery, and packed with melty cheese and punch of garlic. This simple method takes minutes to make and will crush your hunger for warm, cheesy comfort food.

INGREDIENTS
  • Mayonnaise: 3/4 cup
  • Grated Parmesan cheese: 1/2 cup
  • Fresh parsley: 1/4 cup, chopped
  • Shredded Cheddar Jack cheese: 4 cups
  • Black pepper: 1/2 teaspoon
  • Seasoned salt: 1 teaspoon
  • Thick Texas toast: 8 slices
  • Salted butter: 1/2 cup
  • Garlic paste: 1 tablespoon
INSTRUCTIONS
Step 1:
Get your oven hot at 350°F (175°C). Put a crisping rack on a baking sheet.
Step 2:
Grab a bowl and combine mayo, both cheeses, parsley, salt, and pepper. Pop it in the fridge to keep it cool and firm.
Step 3:
Slowly melt your butter in a pan on low heat. Add garlic paste and cook it until it smells good, about 2-3 minutes.
Step 4:
Lay out bread slices on your rack. Brush each piece with lots of your garlic butter mix.
Step 5:
Scoop the cheese mixture on top of each buttered slice, making sure to cover all the bread.
Step 6:
Stick it in the oven for 10-12 minutes until it turns golden and starts bubbling. Want it extra crispy? Turn on the broiler for a minute or two at the end.
Step 7:
Toss some more parsley on top for a bit of freshness. Eat it while it's hot!
Serving and Storage Tips
  • Eat right away when it's warm and crunchy.
  • Got leftovers? Stick them in the fridge in a sealed container for up to 2 days. Warm them back up in the oven or toaster to keep them crispy.
Helpful Notes
  • Grate your cheese fresh instead of buying pre-shredded for better melting.
  • Make twice as much when you've got more mouths to feed.

Tips from Well-Known Chefs

  • Try adding a dash of smoked paprika to your cheese mix for a smoky kick.
  • Switch up your cheeses with some mozzarella and Gruyère to make the flavor more interesting.

Cheesy Texas Toast Save
Cheesy Texas Toast | recipesbyhannah.com

Cheesy Texas Toast

Crispy bread, melty cheese, and buttery garlic goodness come together for the tastiest side or anytime treat.

Preparation Time
10 min
Cooking Time
12 min
Total Time
22 min

Category: Party & Snacks

Difficulty Level: Easy

Cuisine: American

Yield: 8 Servings (8 slices)

Dietary Preferences: Vegetarian

Ingredients

01 4 cups of Cheddar Jack cheese, shredded.
02 3/4 cup of creamy mayonnaise.
03 1/2 cup of Parmesan, finely grated.
04 1/2 tsp of ground black pepper.
05 1/4 cup of parsley, freshly chopped.
06 8 slices of thick Texas-style bread.
07 1/2 cup of salted butter, melted.
08 1 tsp of seasoned salt for flavor.
09 1 tbsp of garlic paste, ready to use.

Directions

Step 01

Get your oven hot at 350°F (175°C). Place a rack on a baking tray to keep things crisp.

Step 02

Combine the shredded cheeses, mayo, chopped parsley, black pepper, and seasoned salt in a bowl. Chill the mix in the fridge for now.

Step 03

Heat up butter on low in a pan. Stir in the garlic paste and cook for a couple of minutes until it smells amazing.

Step 04

Lay out the Texas toast slices on the rack. Use a brush or spatula to coat each piece with the garlic butter.

Step 05

Take the cheesy mix from the fridge and spread it generously over the buttered slices of bread.

Step 06

Pop the tray into the oven for 10-12 minutes. Once it’s melted and golden, broil it briefly to make it crispier if you like.

Step 07

Top it off with a sprinkle of parsley to brighten it up. Best enjoyed warm, so dig in!

Notes

  1. Crunchy, buttery, and packed with cheesy goodness and garlicky aroma.
  2. A quick broil at the end gives it that perfect crispy finish.
  3. Serve it hot for the ultimate gooey, melty experience.

Required Equipment

  • An oven for baking.
  • A rack to keep things crisp.
  • A flat baking tray.
  • A skillet for melting.
  • A bowl for mixing stuff.
  • A brush or spatula to spread.

Allergen Information

Check all ingredients for potential allergens and consult a medical professional if uncertain.
  • Contains gluten.
  • Contains dairy products.

Nutritional Information (per serving)

These details are for reference only and shouldn't replace medical advice.
  • Calories: 350
  • Fats: 28 g
  • Carbohydrates: 25 g
  • Proteins: 10 g