
 Save
Save
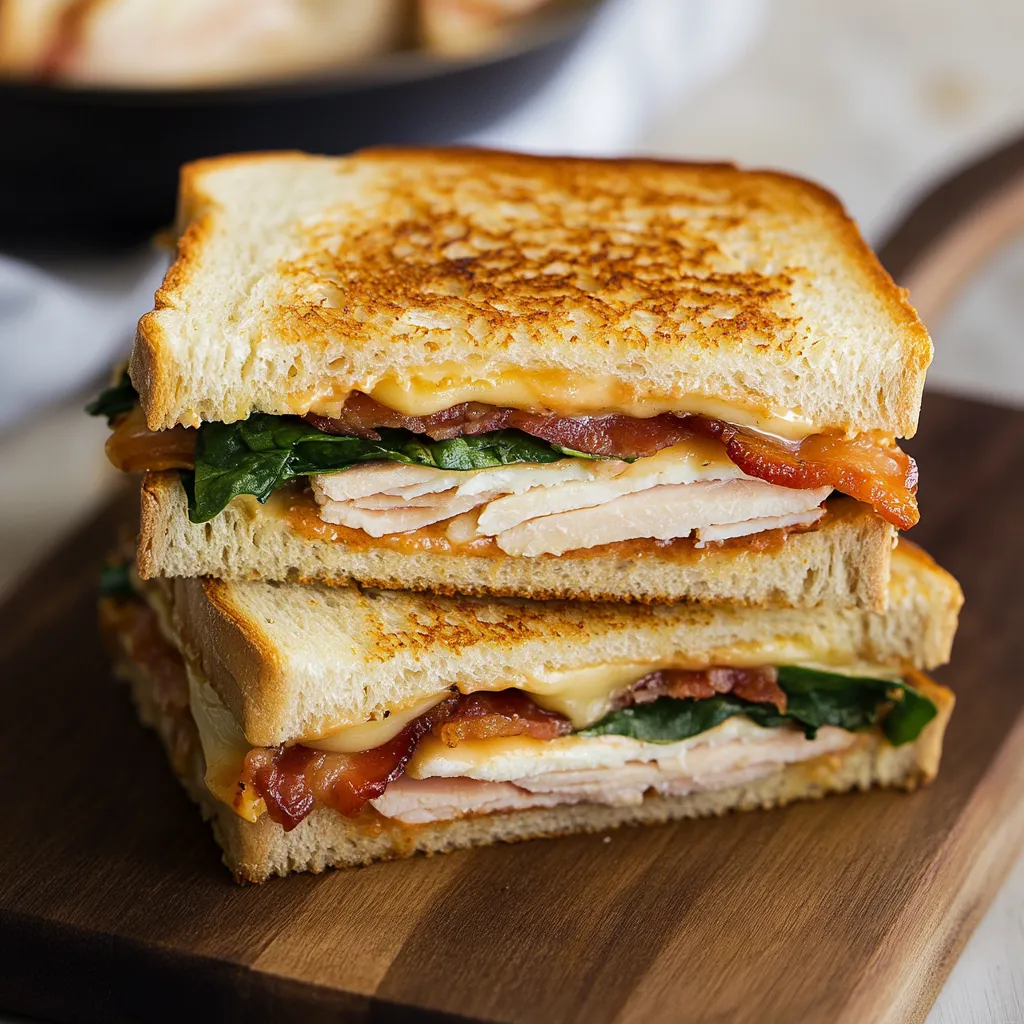
There's a kind of food magic in a truly great sandwich that hits all the right comfort notes with every mouthful. Through years of testing during my lunch breaks, I've refined this turkey melt that blends crunchy sourdough, gooey aged cheddar, and stacks of garden-fresh add-ins into what we now call at home "our top-tier comfort food." The simple stuff turns into this warm, melty creation right in my frying pan, sending smells through the house that always brings the family running to eat.
Key Ingredients Breakdown
Go for sourdough with a good firm crust that handles heat well - those fresh loaves from nearby bakers are spot-on.
Deli turkey sliced a bit thicker than normal gives you much better bite feel.
Get actual cheddar from behind the counter, not those weird plastic-wrapped singles.
Cook your bacon to that sweet spot - neither too hard nor too soft.
My big breakthrough with this sandwich happened when I stopped using pre-packaged cheese and started asking for fresh-cut slices at the deli. It creates this rich, melty layer over the turkey that boxed cheese just can't match.
 Save
Save
Crafting Your Delicious Melt
- The Build-Up Steps:
- Lay your sourdough pieces on a nice wooden cutting board - I use one my dad crafted years back.
- Smear honey mustard all the way to the edges like you're finishing a painting.
- Put cheese down first - it works as a shield that keeps your bread dry.
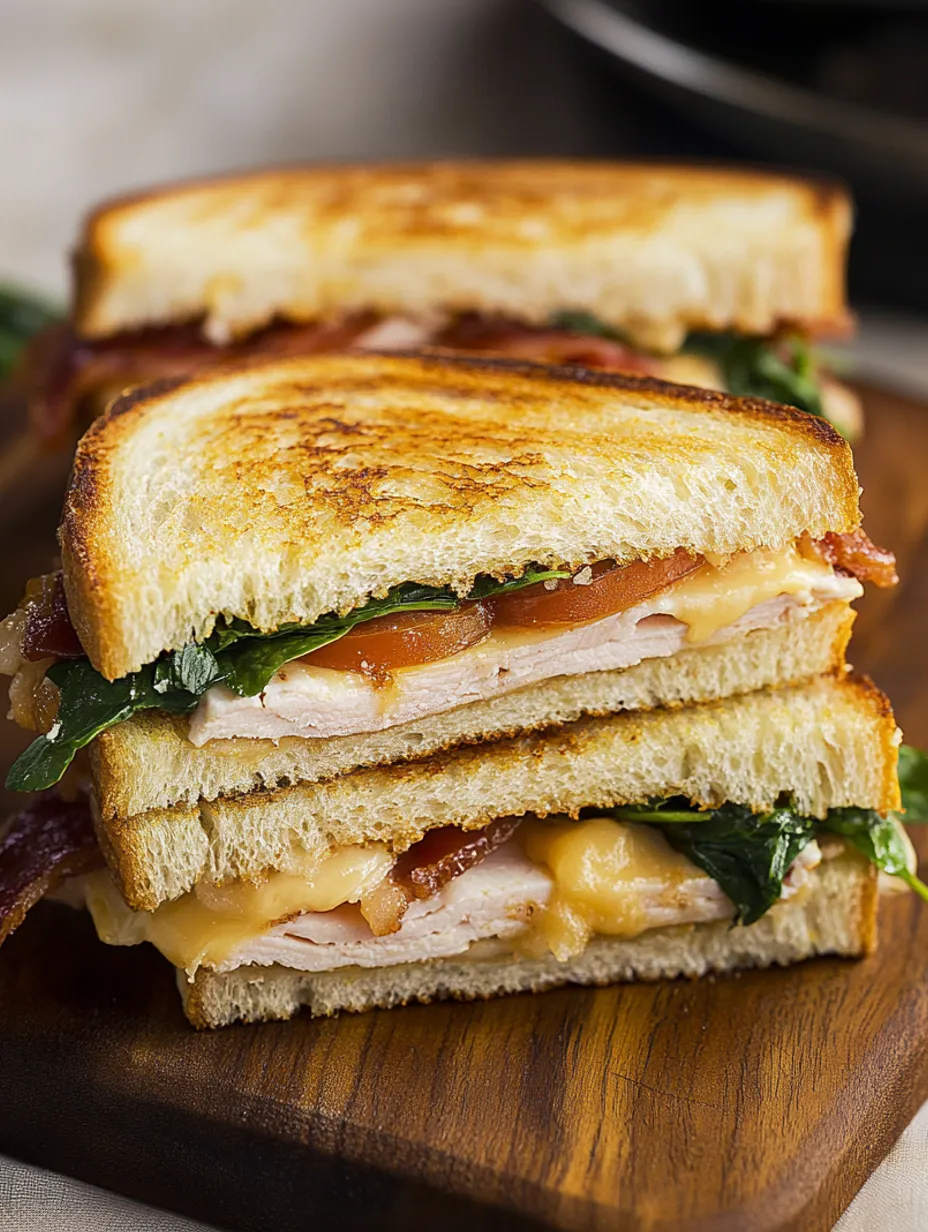
- Arrange turkey in loose waves instead of flat - this makes little spaces where cheese can melt in.
- Add tomato slices after patting them dry - a trick I figured out after making too many wet sandwiches.
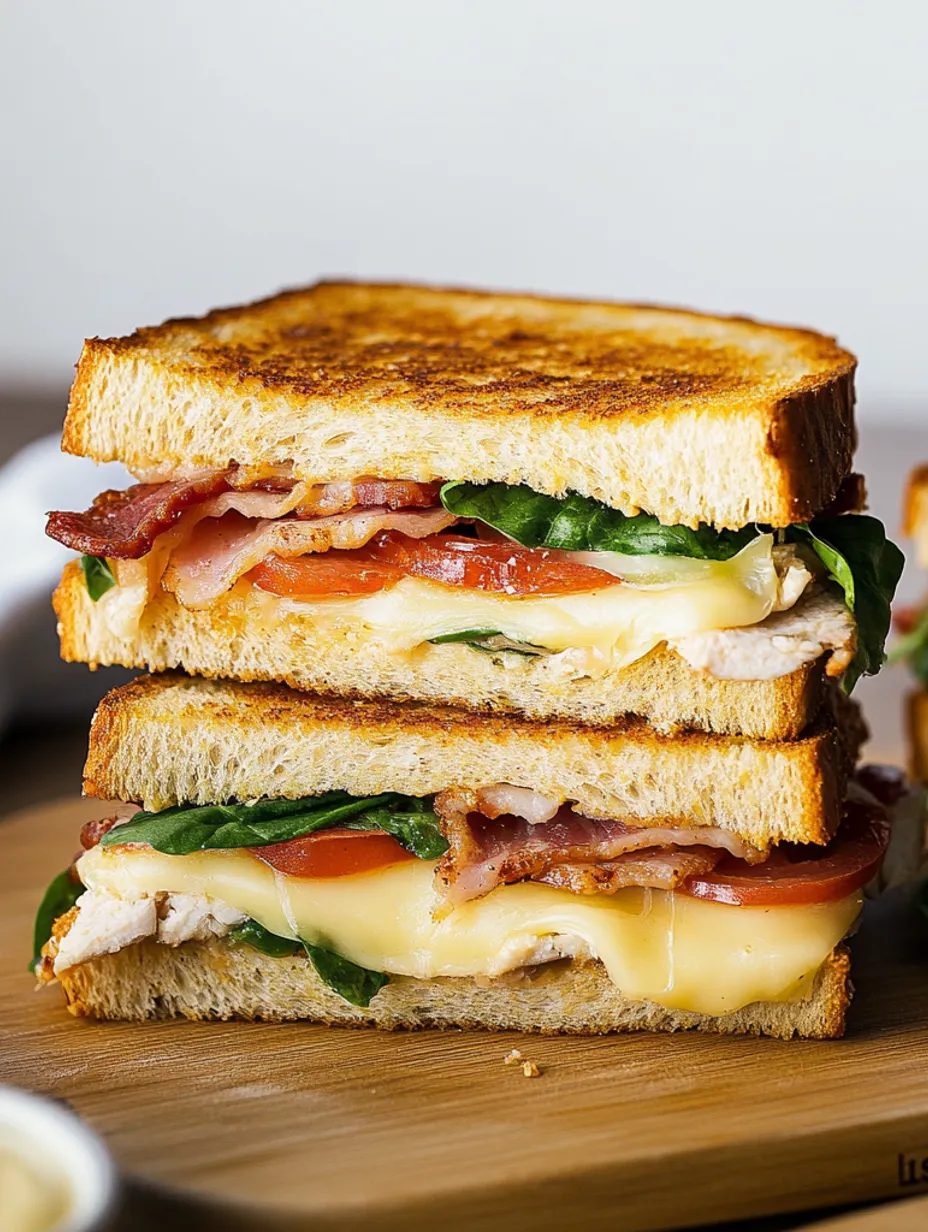
- Top with fresh spinach leaves and your perfectly done bacon.
- Press it all together gently so everything sticks but doesn't squish.
- The Cooking Secret:
- Use soft, room-temp butter on the outside - cold butter will tear your bread up.
- Give your pan time to warm gradually - going too fast means burnt outsides and cold middles.
- Set your sandwich down carefully, listening for that quiet sizzle that shows the heat's just right.
- Don't keep lifting it to check - waiting patiently gets you that golden-brown finish.
Tasty Combinations
These melts go perfectly with a cup of homemade tomato soup - it's such a staple at our place that my kids automatically start heating soup when they see me grab the sourdough. If you want something lighter, try them with a simple green salad with just lemon and olive oil. In hot weather, they taste great alongside cold cucumber soup or a handful of crunchy kettle chips for extra texture.
Personalize Your Sandwich
After making these for countless lunches and family get-togethers, I've found so many ways to switch things up. My husband can't get enough of his version with pepper jack and a few jalapeño slices - we discovered this by accident when we ran out of cheddar once. My daughter likes hers with avocado and sprouts, calling it her "West Coast style" melt. During holiday times, I often use leftover turkey from big meals instead of deli meat, which adds amazing flavor that makes these sandwiches even more special.
Keeping It Tasty
From years of making packed lunches and planning ahead for busy evenings, I've picked up some tricks to make these melts work for any situation. If you're taking them for lunch later, toast them a bit less than normal - they'll finish perfectly when warmed up in a toaster oven or sandwich press. For hectic weeknights, I cook bacon ahead of time and keep it between paper towels in the fridge, which cuts down prep time when everyone's starving and getting grumpy.
 Save
Save
Smart Storage Ideas
While these taste best right off the stove, sometimes you need to save them for later. Through plenty of tries, I've learned that wrapping in parchment paper works better than plastic wrap for keeping bread crispy. If you need to store a ready-made sandwich in the fridge, always add tomatoes just before eating - I found this out after too many soggy lunch fails.
Cooking Smarts
Cast iron pans give the most even cooking, but any thick-bottomed skillet will do fine.
When buttered bread first hits the hot pan, you want to hear a soft sizzle, not a loud popping sound.
Always buy extra cheese - sometimes you just need another slice or two.
Keep your stovetop at medium-low; going too hot only gets you burnt outsides and cold middles.
I started working on this turkey melt just trying to make lunch a bit more exciting. Now it's a family favorite that gets everyone running to the kitchen when they smell bread toasting and cheese melting. Whether we need a fast dinner, a comfy lunch on cold days, or something easy for weekend meals, these melts always bring happy faces and warm feelings. Isn't that what home cooking is really all about - making those simple happy moments that stick with you?
The best sandwiches come from taking your time and adding a bit of love, plus plenty of butter never hurts! Now I'm off to the kitchen - writing all this has got me craving a turkey melt!
Recipe FAQs
- → What type of cheese is ideal?
- Opt for freshly sliced cheddar from the deli for the best bite and flavor.
- → How can I make it dairy-free?
- Swap in vegan cheese and spread for a dairy-free version.
- → What are good sides?
- Pair it with a bowl of soup or a crisp garden salad.
- → Can I prepare it early?
- Ingredients can be prepped beforehand, but it’s best eaten fresh and warm.
- → What’s the best bread to use?
- Thick, crusty breads like sourdough are great for grilling.