
 Save
Save
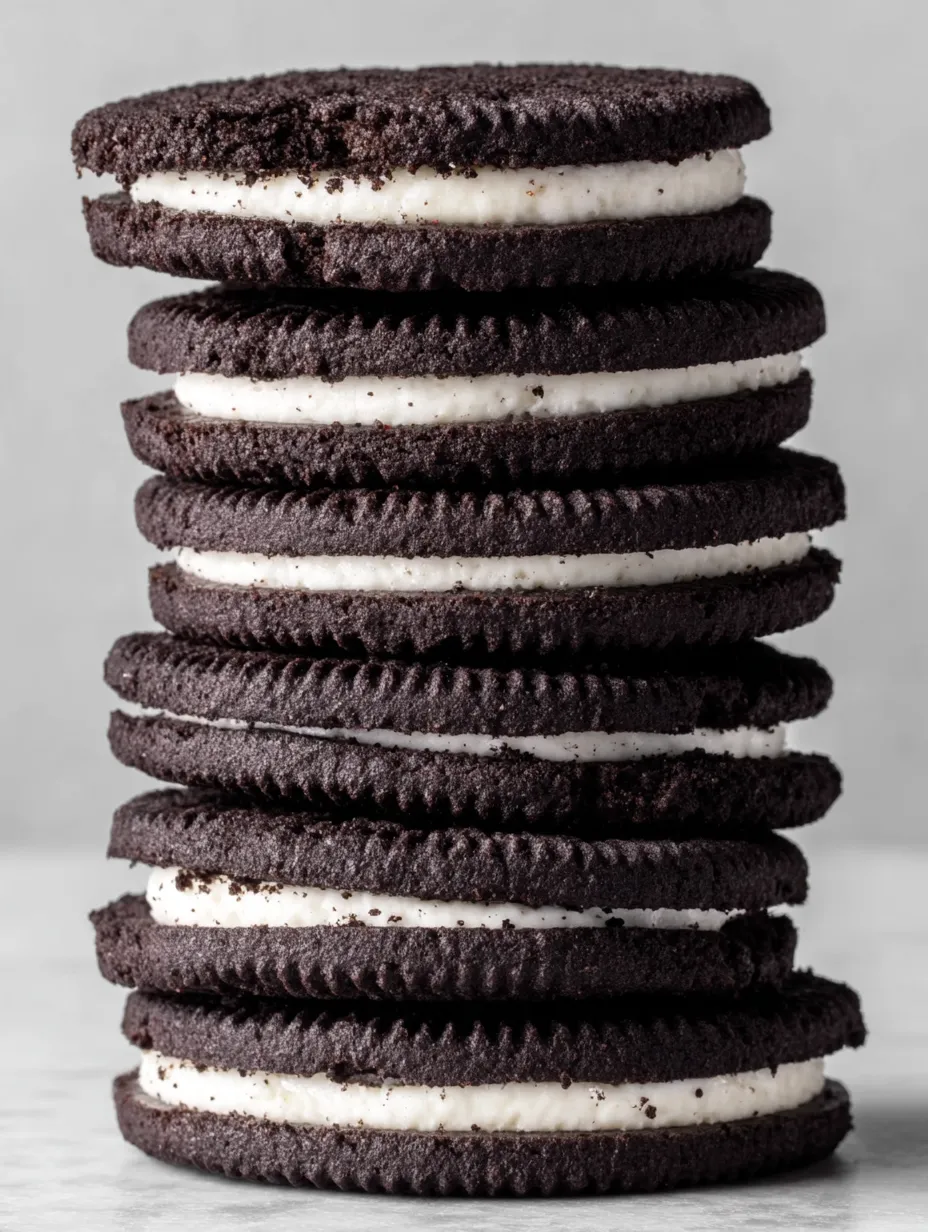
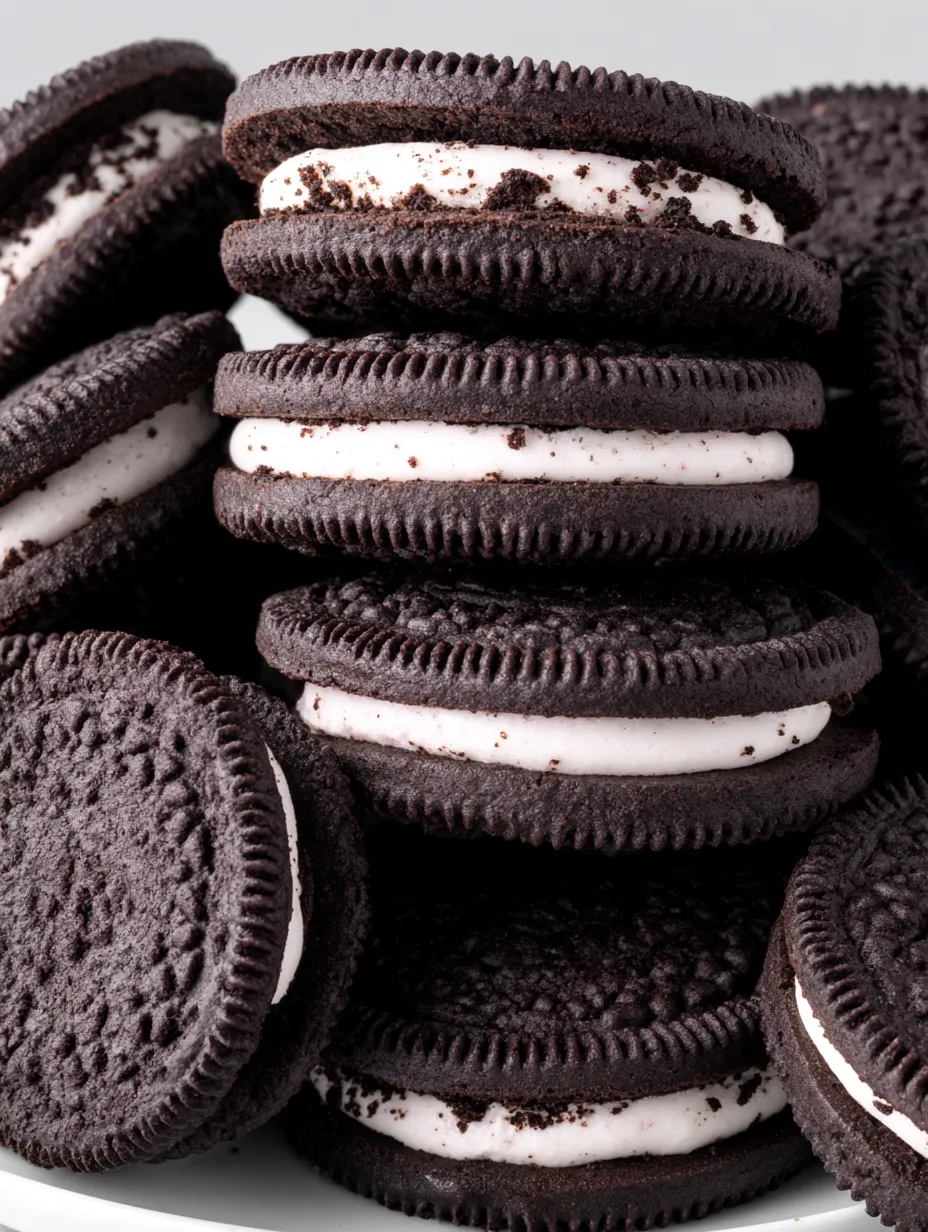
If you grew up loving classic chocolate sandwich cookies dunked in milk these homemade Oreo cookies will totally win your heart They are crisp deeply chocolatey and filled with fluffy vanilla cream Best of all you can tweak every part from the cocoa you use to the thickness of the filling After a single bite of these fresh made treats my friends all say they never want the store bought kind again
I made these for a bake sale and the plate was empty within minutes My teenagers now ask for homemade instead of store bought
Ingredients
- All purpose flour: essential for structure choose unbleached for the best texture
- Dutch process cocoa powder or black cocoa powder: brings deep chocolate flavor and dark color for that classic Oreo look opt for black cocoa for authenticity
- Baking soda: helps the cookies crisp up and spread for that signature snap check for freshness so your cookies rise properly
- Baking powder: adds a hint of lift for tenderness make sure it is not expired
- Salt: balances flavors and brings out the sweetness fine sea salt works best for even distribution
- Granulated sugar: creates crispness and sweetness use a fresh bag for best results
- Unsalted butter: adds richness and flavor use cool room temperature butter for easy blending
- Egg: binds the dough and boosts tenderness always use a fresh egg at room temperature
- Powdered sugar: for the filling creates that fluffy texture sift it well to avoid lumps in your cream
- Pure vanilla extract: makes the filling taste authentic use real vanilla for full flavor
- Fine sea salt: again in the filling it sharpens all the sweet cream notes
Step by Step Instructions
- Make the Cookie Dough:
- Combine all purpose flour cocoa powder baking soda baking powder salt and granulated sugar in a food processor or stand mixer Blend until well mixed so there are no streaks
- Blend in Butter and Egg:
- Add cool butter in small pieces then egg mixing until the dough forms a solid mass about one minute The dough should be cohesive but not sticky
- Shape and Flatten Cookies:
- Use a small cookie scoop to create balls of dough about one tablespoon each Drop them onto parchment lined baking sheets with space between each ball Wet your palm and gently flatten each ball to about one eighth inch thickness
- Chill Dough:
- Place the trays of flattened dough in the fridge for at least ten minutes Chilling prevents spreading and ensures crisp edges
- Bake:
- Bake the cookies in a preheated three hundred seventy five degree oven for nine to ten minutes turning trays halfway through They are ready when the tops are matte and the cookies smell deeply chocolatey Cool them on racks
- Make Filling:
- Beat cool unsalted butter and vanilla until well blended Add sifted powdered sugar and salt in stages then whip on high for two to three minutes until fluffy
- Assemble Cookies:
- Pipe or spread a spoonful of filling onto one cookie Top with an equally sized second cookie Gently press so filling goes to the edges
- Serve:
- Enjoy cookies the same day for best crispness Store extras airtight
 Save
Save
My favorite part of this recipe is the cocoa powder Swapping in black cocoa changes the whole experience One time my family got into a lively debate about whether the classic or double stuffed version was better I always double up the filling for mine
Storage Tips
Store homemade Oreos in an airtight container at room temperature for two days The cookies may soften slightly but they still taste incredible For longer storage keep them in the fridge which keeps them crispier You can also freeze assembled cookies for up to two months I layer them with parchment paper to prevent sticking and thaw before serving
Ingredient Substitutions
You can use Dutch process cocoa if you do not have black cocoa which gives a lighter color and more rounded flavor If you need dairy free use a plant based butter stick in both dough and filling A flax egg will work in place of the regular egg for a vegan option but the texture will be a bit softer
Serving Suggestions
These cookies are perfect for dunking in milk hot or cold I love to crush them over ice cream or blend them into milkshakes For a fun twist try pairing the cookies with a flavored filling like peppermint or chocolate hazelnut at the holidays
 Save
Save
Cultural and Historical Context
Oreo cookies were first created in the early twentieth century and quickly became a household staple worldwide The distinctive dark cookie and sweet white filling inspired countless copycats and spin offs Making them at home brings back the vintage bakery style version that is extra fresh and flavorful
Recipe FAQs
- → How do I get the classic dark cookie color?
Use black cocoa powder for deepest color and authentic bittersweet flavor. Dutch-process cocoa works but will be lighter.
- → How do I make the filling extra fluffy?
Beat the butter and vanilla well before adding sugar, then whip on high until the mixture is pale and airy for a lighter texture.
- → Can I flavor the filling differently?
Absolutely! Try adding lavender, peppermint, or citrus zest for a personalized twist on the classic vanilla cream.
- → What’s the best way to assemble even sandwiches?
Use a cookie scoop for uniform dough portions and pair cookies by size before filling for neat, even sandwiches.
- → How should I store these cookies?
Keep assembled cookies in an airtight container at room temperature. They are crisp the first day and soften over time.
- → Can these cookies be made in advance?
Yes! Bake the cookies ahead, store unfilled, and assemble with cream just before serving for optimal texture.