 Save
Save
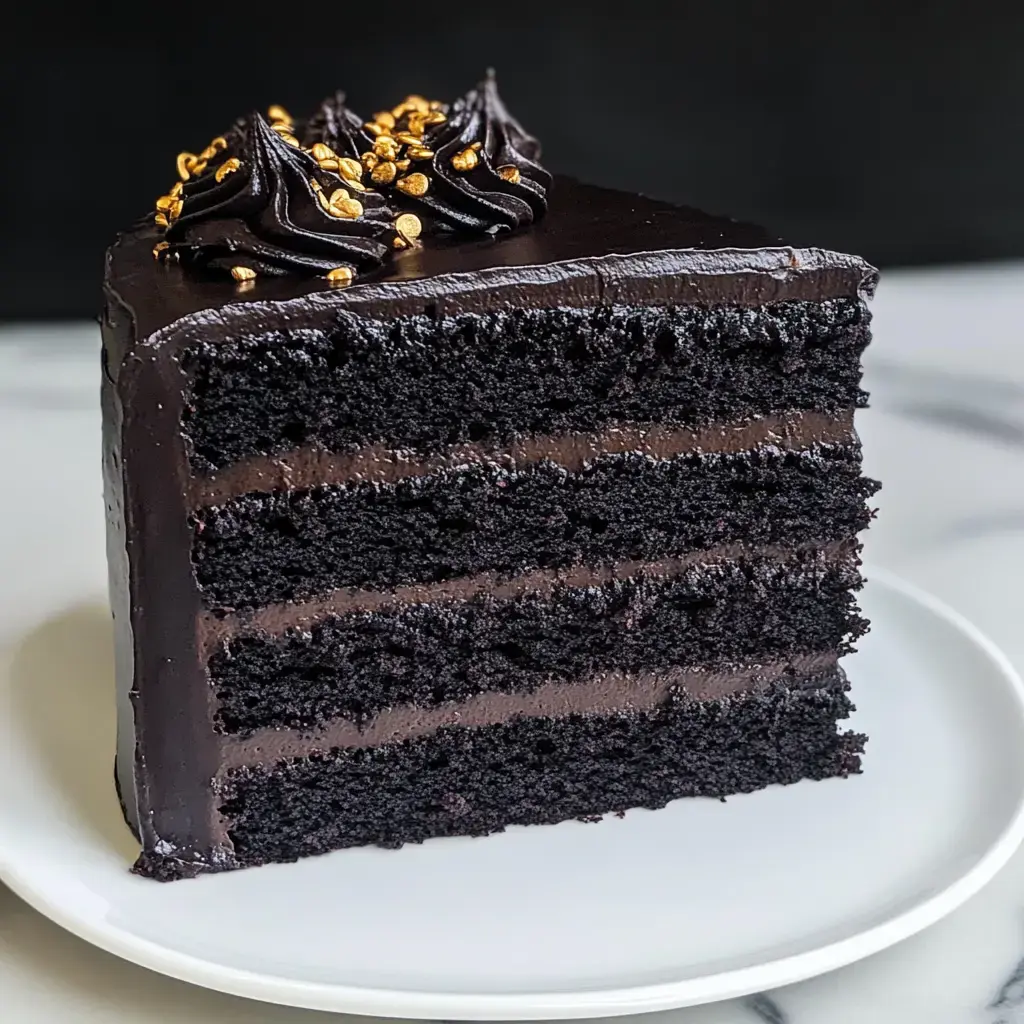
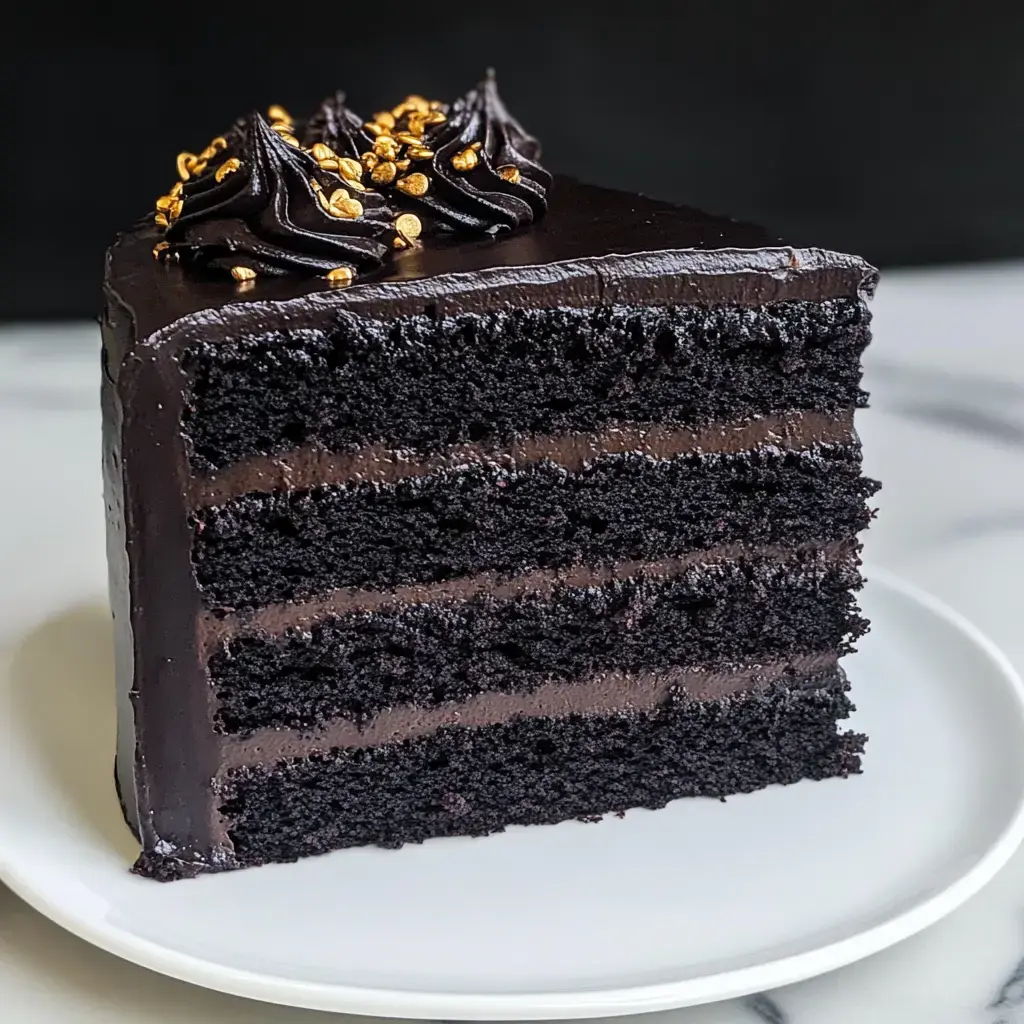
Can't wait to let you in on my Halloween spin on the traditional red velvet cake. My blog followers kept asking, and I've finally nailed this black velvet recipe. It gives you all the goodness of red velvet but with a hauntingly dark look that fits Halloween perfectly. You'll love how moist it is and the striking color will wow everyone at your spooky get-togethers.
Achieving That Mysterious Dark Shade
During my baking experiments, I stumbled upon black cocoa and wow, what a find! It adds this fantastic Oreo-like taste that's always a hit. I usually buy my black cocoa online but don't worry, regular dark Hershey's works too. I've tested both versions and while regular dark cocoa won't give you that same intense black, it still tastes wonderful.
Ingredients You'll Want
- Black Cocoa: 1 cup; grab top-notch stuff for deeper flavor and darker hue.
- Buttermilk: 1 cup, not cold; adds that special dampness and slight zing.
- Flour: 2 ½ cups, scoop with a spoon into measuring cup then level off, or weigh it if you can.
- Eggs: 3 large, not straight from the fridge; helps everything mix smoothly.
- Butter: 1 cup, unsalted and soft; makes your cake extra fluffy.
- Sugar: 2 cups; brings sweetness and helps texture.
- Baking Powder: 2 tsp; makes it puff up nicely.
- Baking Soda: 1 tsp; works with the tangy stuff in your mix.
- Black Gel Food Coloring (optional): 1 tsp; just if you're using dark cocoa instead of black.
Step-by-Step Baking Fun
- Prep Work
- Take butter eggs and buttermilk out early to warm up. Turn your oven on to 350°F and coat your cake pans with butter or some baking spray.
- Handle The Dry Stuff
- Sift all your dry things together. Don't skip this part as it breaks up those cocoa clumps completely.
- Whip That Butter
- Mix your butter and sugar until it looks almost like whipped cream. It'll take about 4 minutes but makes all the difference.
- Mix Everything
- Drop in eggs one by one then switch between adding buttermilk and your dry mix. Go easy on the mixing or your cake won't be soft.
- Baking Time
- Split your batter between pans and bake for around 30 minutes. Let them cool all the way before you frost them.
 Save
Save
Giving It That Wow Factor
Everyone at my house goes wild for this cake with cream cheese frosting. The slight tang works so well with the rich cake flavor. For Halloween parties I sometimes dye the frosting black too and it looks amazing. Just remember to keep all your frosting ingredients at room temperature for the smoothest results.
Plan Ahead Tips
You can definitely make this cake early. The layers freeze really well if you wrap them properly. I often whip up extra frosting to keep in the freezer and it saves so much time. After you've put everything together, your cake stays good in the fridge for up to a week, which is super handy when you've got holiday stuff going on.
Wrap-Up
A decadent chocolate masterpiece!Three layers of cake with rich black cocoa offer an unforgettable chocolate punch, elevated by dark chocolate buttercream frosting. A stunning centerpiece for any celebration or an indulgent treat for yourself and loved ones.
Recipe FAQs
- → Can I prepare this dessert ahead?
- Absolutely. Freeze the layers beforehand, and the frosting will stay good in the fridge for up to a month or in the freezer for three months.
- → How long will it stay fresh?
- Store the frosted cake in the refrigerator for about a week or freeze it for up to a month. The buttercream keeps it from drying out.
- → Why does my batter seem watery?
- It's meant to be slightly runny. This ensures the cake turns out soft and moist.
- → How do I ensure all cake layers are equal?
- Weigh the batter before you divide it into pans. This makes sure they bake evenly and are the same size.
- → Can I substitute regular cocoa powder?
- Regular cocoa works, but black cocoa gives it that bold, dark tone and distinct flavor.
