
 Save
Save
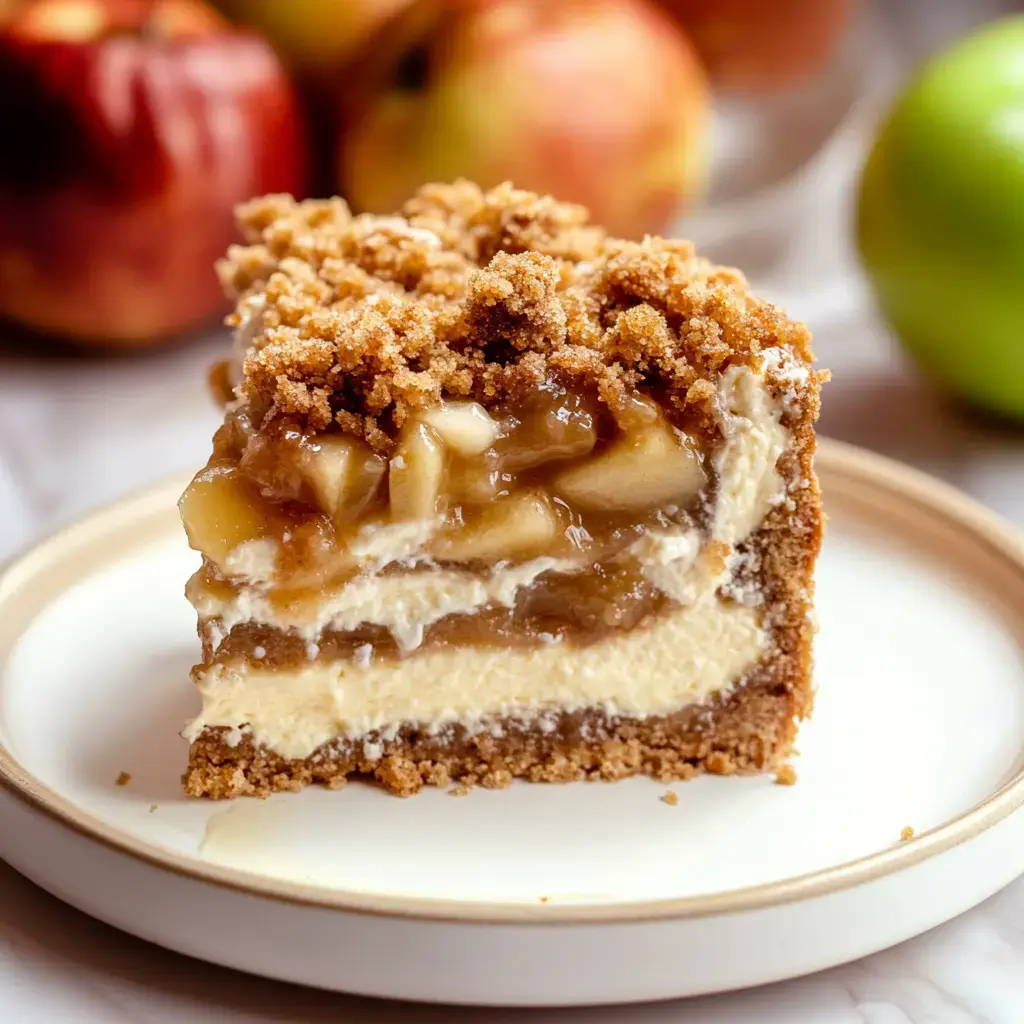
This Apple Crumble Cheesecake came to life one autumn day when I was torn between making apple pie or cheesecake. Now it's the dessert everyone asks for at family get-togethers. It blends my grandma's cozy apple pie flavors with a rich, smooth cheesecake. That crumbly topping just makes everything complete.
What Makes This So Special
The way the different layers work together is what you'll remember most. You get that buttery graham base, smooth creamy filling, and those warm, spiced apples in every mouthful. And guess what? You won't need any fussy water bath. I've made the whole process super easy but kept that amazing homemade taste.
Getting Your Base Just Right
- Graham Crackers: You'll need 3 cups finely smashed. Want my little trick? Sometimes I throw in some gingersnaps for extra flavor. Plain tea biscuits work wonderfully too.
- Sugar: Just the right amount for sweetness.
- Butter: I gently melt mine in the microwave to keep things tidy.
The Creamy Dream: Your Filling
- Cream Cheese: Go full fat and make sure it's soft. I found this out the tough way!
- Sugar: A single cup balances everything nicely.
- Eggs: Four big ones at room temperature for ultimate smoothness.
- Cornstarch: My little helper for keeping cracks away.
- Vanilla: Real extract really matters here.
- Sour Cream: Don't skimp - full fat gives that lovely tang.
- Spices: Cinnamon and nutmeg bring the comfort.
The Apple Layer Secret
- Apples: I always pick Granny Smiths. They stay firm and won't go soft on you.
- Brown Sugar: The dark kind gives you that deep, rich sweetness.
- Butter: Go for unsalted so you're in charge of the flavor.
- Lemon: A tiny bit keeps everything fresh tasting.
- Warm Spices: Loads of cinnamon with just a hint of nutmeg.
- Cornstarch: This thickens your sauce perfectly.
- Salt: Just a tiny bit makes all the flavors stand out.
 Save
Save
Cooking Your Apple Mixture
First thing's first with those apples. I find peeling and slicing them relaxing while watching TV. Then everything goes into my favorite pot - the butter, brown sugar, and all those wonderful spices. Your whole house will smell amazing as it cooks down into that gorgeous filling.
Starting With The Crust
There's something so satisfying about making the crust. I usually blast some tunes while crushing those graham crackers. Mix everything with the melted butter and sugar, press it down, and watch it turn golden brown. Those few minutes in the oven really bring out the flavor.
Creating The Creamy Center
Here comes the fun part - whipping up that smooth cheesecake mixture. Be patient when mixing the cream cheese and sugar until there are no lumps left. Then add your sour cream, eggs and that splash of vanilla. I can't help sampling a tiny bit - it's so good.
Whipping Up The Topping
Think of the crumble as a snuggly blanket for your cheesecake. I combine flour, oats, brown sugar and plenty of cinnamon with melted butter until it feels just right. Sometimes I toss in some chopped pecans for extra crunch.
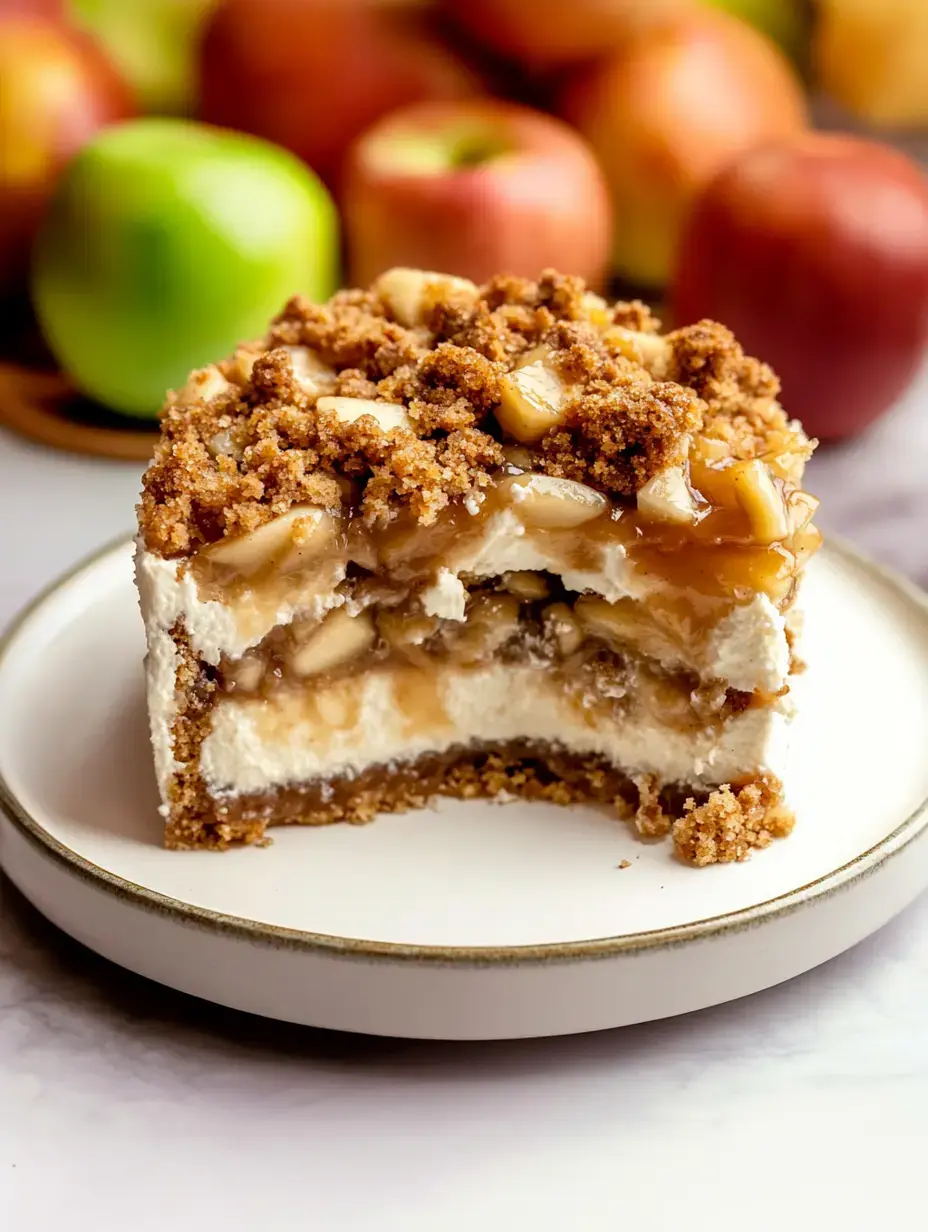
Putting Everything Together
Now for the best part. Spread half your creamy mixture, add those fragrant apples, top with the rest of your cheesecake batter and finish with that buttery crumble. Pop it in the oven and now comes the tough part - waiting!
 Save
Save
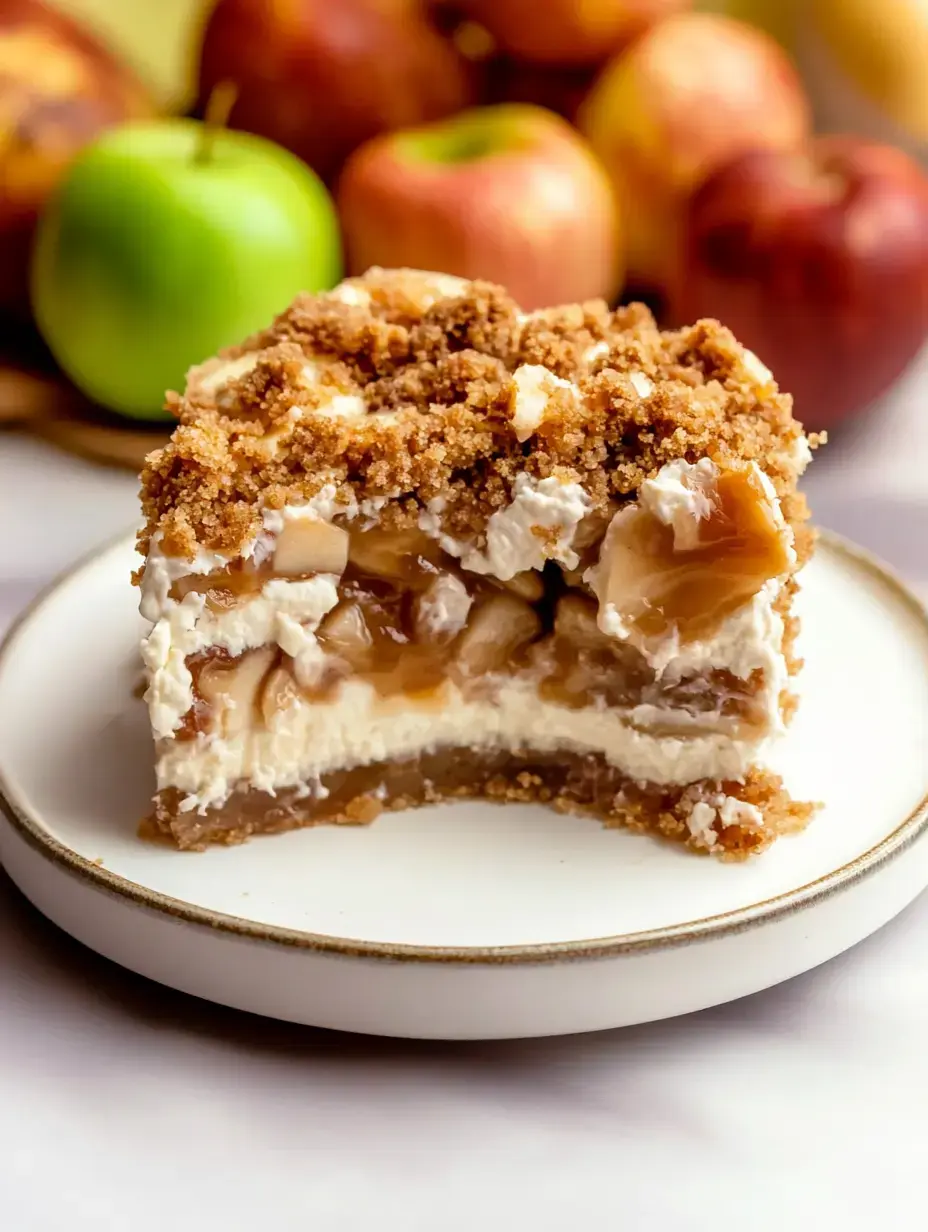
Time To Cool Down
You'll need to be patient here. Let it cool gradually in the oven with the door slightly open. Then give it several hours in the fridge to set properly. I know you want to dig in right away but hang on - it gets even better with time.
Showing Off Your Creation
Getting the cheesecake out is always thrilling. I gently slide my knife around the edges, then unlock the springform pan. It feels like Christmas morning every time I do this.
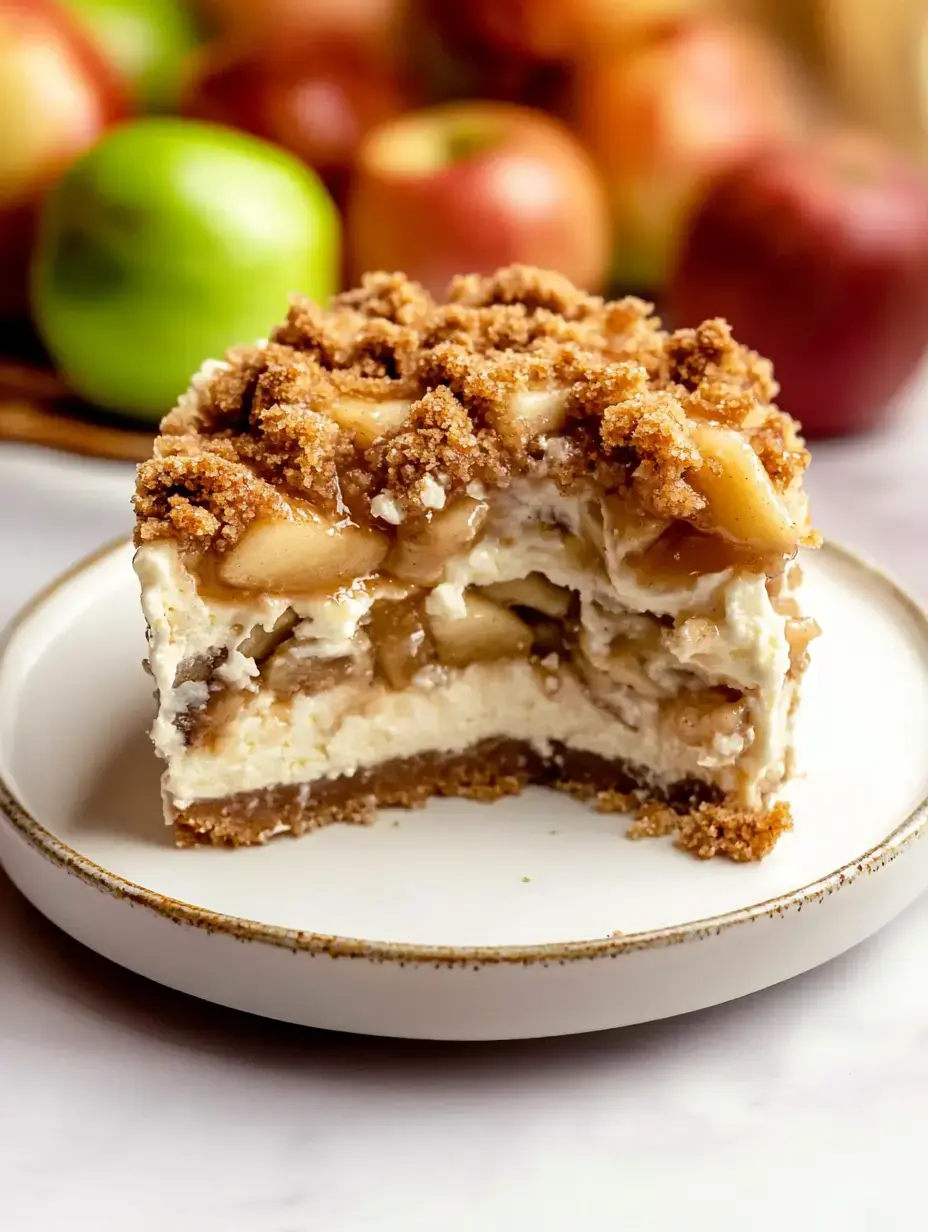
The Perfect Finishing Touch
A little warm caramel sauce poured over the top makes this absolutely divine. I always make extra sauce cause everyone asks for more. Sometimes I lightly dust it with powdered sugar too for that pretty look.
Tried And True Advice
I've made this so many times now and learned a few things. Don't skip bringing ingredients to room temp. Mix thoroughly and always scrape the bowl down. These small steps really make your cheesecake better.
Oven Strategies
Bake it slow and at a lower temp. Don't open that oven door even if you're dying to look. Your reward will be a beautifully smooth top without cracks.
 Save
Save
Storage Solutions
Your cheesecake will stay yummy in the fridge for several days. Just wrap it well. You can even freeze individual slices for when you need a sweet treat fast. They thaw out perfectly.
Customize It Your Way
Want it gluten free? I've used gluten free graham crackers with great results. You can also play around with different sweeteners if you're watching your sugar intake.
Switching Things Up
Try adding walnuts to your crumble or swap apples for pears when they're at their peak. Each little change gives you what feels like a completely new dessert.
Quick Answers
- Testing doneness: Look for a slight jiggle in the middle, similar to set jello.
- Avoiding cracks: Avoid sudden temperature shifts and don't beat your mixture too much.
Enjoying Your Creation
I find it's best straight from the fridge with a little extra caramel sauce on the side. Watching people's reactions when they take that first bite makes all the work worthwhile. This cheesecake has become my go-to special dessert, and I bet it'll be yours too.
Recipe FAQs
- → Why does cheesecake crack sometimes?
Overmixing or sudden temperature changes usually cause cracks. Mix on low speed and cool the cheesecake gradually with the oven door slightly open.
- → Can I prepare this dessert in advance?
Yep! It stays fresh in the fridge for up to five days. Making it a day early gives it plenty of time to set.
- → What type of apple works here?
Granny Smith or Honeycrisp hold their texture well. They also bring the right mix of tart and sweet flavors.
- → Can you freeze it for later?
For sure! Wrap it in plastic wrap, then foil and freeze for 3 months max. Thaw overnight in the fridge before serving.
- → Why do my ingredients need to be room temperature?
They mix together smoothly, avoiding lumps. Cold ingredients can mess up the batter and how it bakes.