
 Save
Save
Funeral potatoes show up at every family get-together I attend. Thanksgiving, Christmas, Easter—you name it, I'm bringing these potatoes by request. Despite their grim name (they're traditionally served at post-funeral meals), they're honestly too tasty to save just for somber occasions.
My first time trying these was at a neighborhood gathering about a decade ago. I ended up going for three servings—talk about awkward! When I asked how to make them, three ladies immediately pulled out their recipe cards, each one convinced their version was the authentic one. That's when I realized these aren't just potatoes—they're a family tradition people feel strongly about.
Your Shopping List
- Frozen hash browns because who's got time to chop fresh potatoes
- Sour cream to add that rich tanginess we all crave
- Cream of chicken soup straight from the can (and I won't apologize for it)
- Butter—plenty of it, since we're not counting calories here
- Sharp cheddar that's better when you shred it yourself
- Cornflakes to create that fought-over crunchy topping
 Save
Save
The Cooking Process
Starting With The BaseThe very first step is emptying those frozen hash browns into a strainer and letting them fully thaw. Don't even think about skipping this—unless you want soggy potatoes nobody will enjoy. I typically wait about an hour, giving the strainer a shake now and then to help water drain away.
Creating The MixtureWhile my potatoes thaw out, I combine the sour cream, soup and melted butter in my largest bowl. It starts out looking pretty unappealing, but hang in there. Next comes the cheese, salt and onion powder. Sometimes I sneak in some garlic powder too, but I keep that secret from my mother-in-law who thinks the original recipe is sacred.
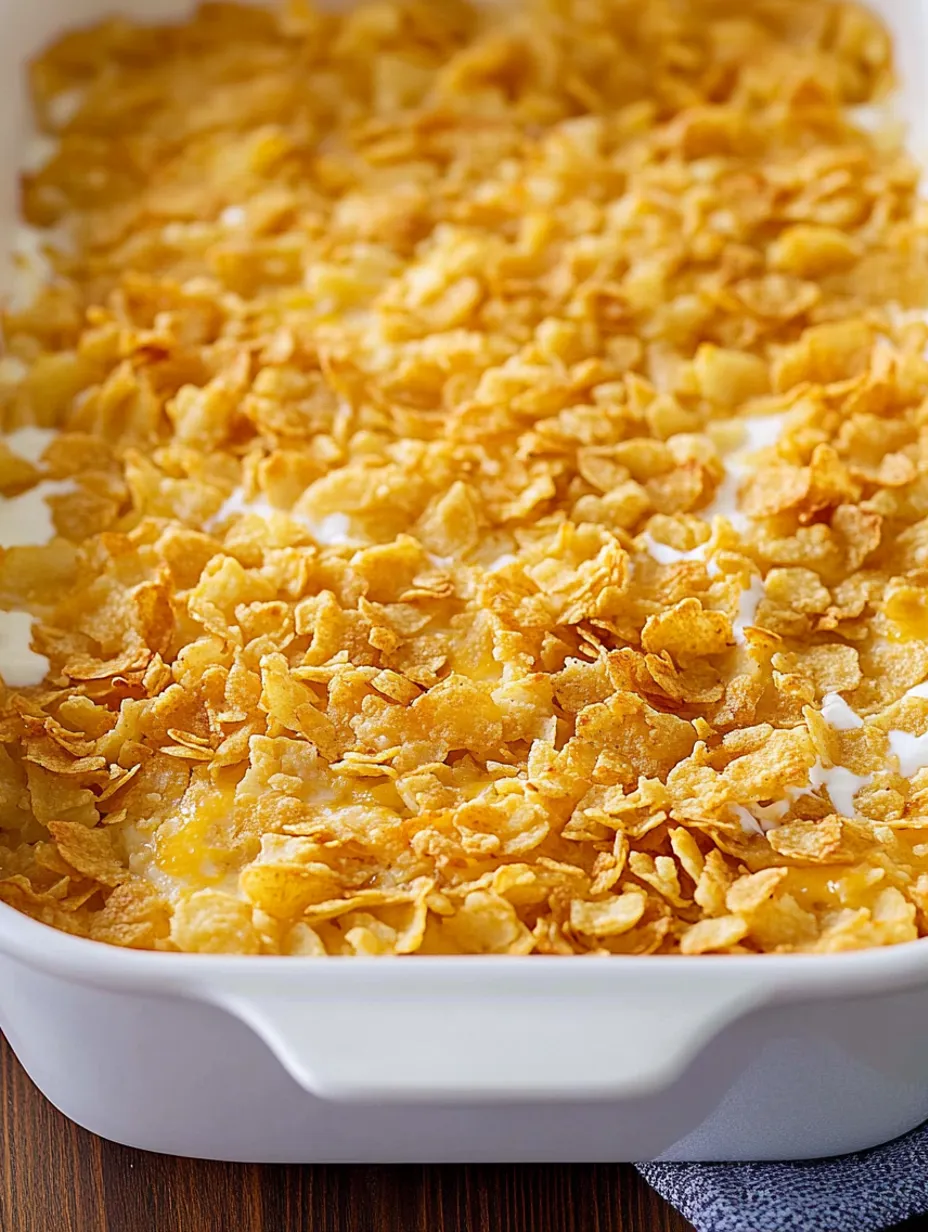
Mixing It AllAfter the potatoes have thawed completely, I gently fold them into my cream mixture. You want to be careful here—mix too hard and you'll break up all those potato pieces. Once everything's coated, I spread it all into a 9x13 dish. Glass works best because you can watch the sides get all bubbly and golden.
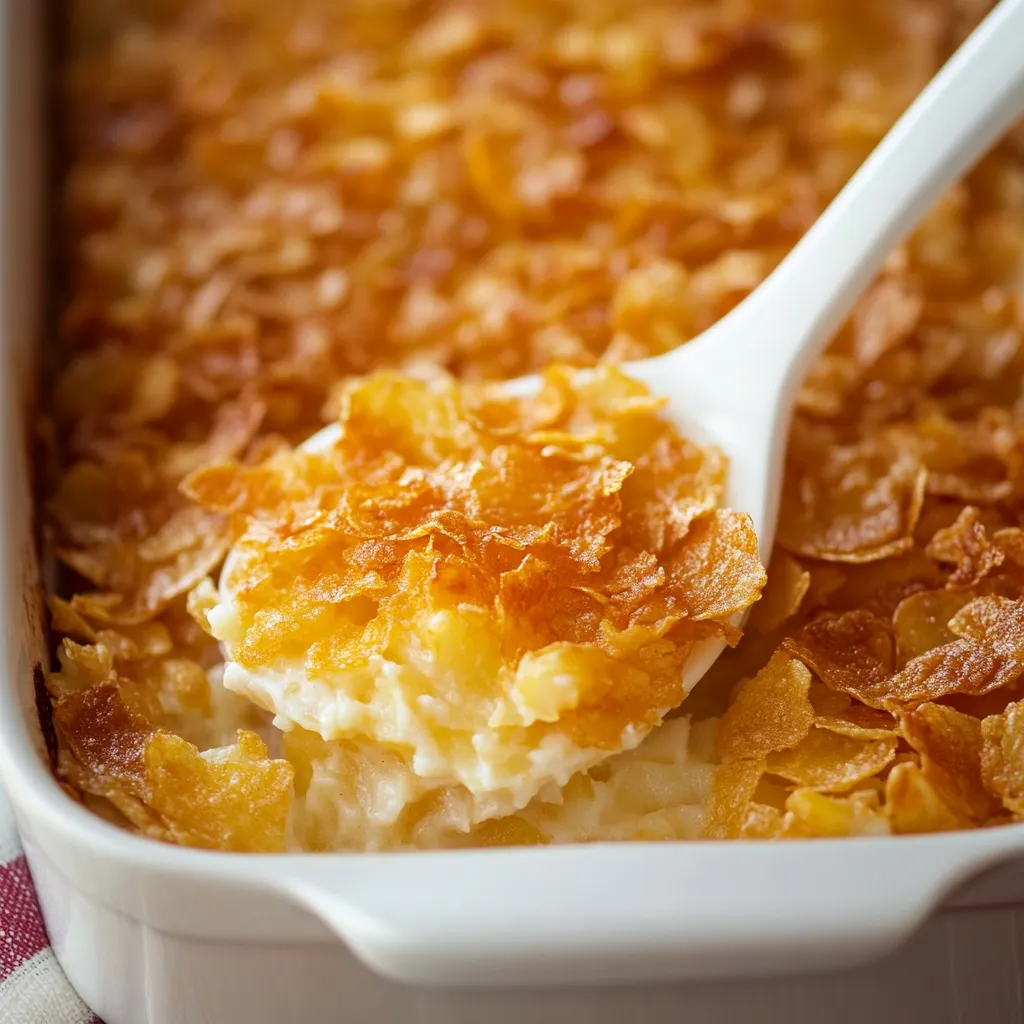
The Perfect ToppingWhat makes these potatoes stand out is definitely the cornflake layer. My trick is putting cornflakes in a plastic bag with melted butter and shaking it all up. This gets butter on every single flake without turning them mushy. Then I scatter them across the potato mixture, making sure to cover it all the way to each corner.
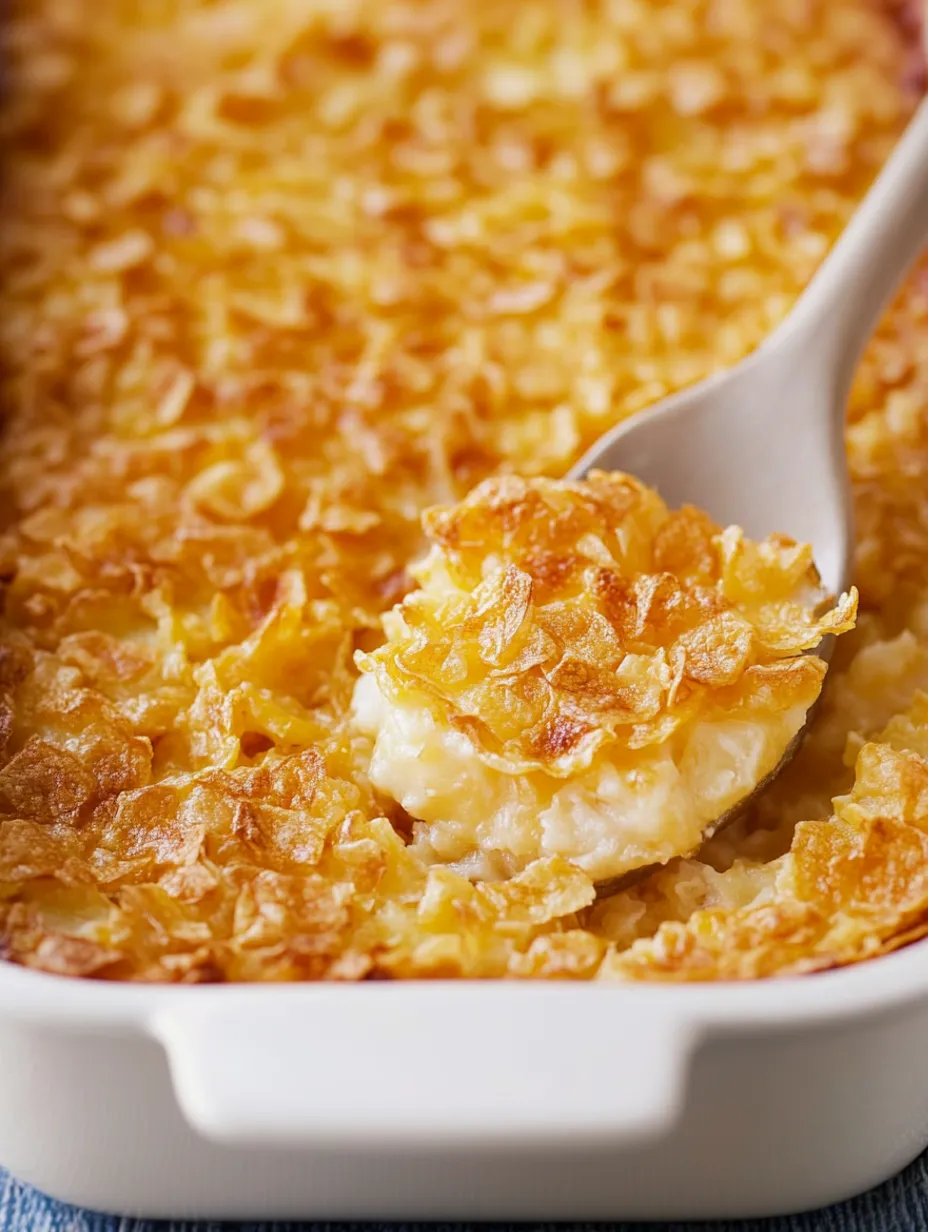
Cooking To PerfectionThen it's oven time until everything turns golden on top and bubbles at the edges, about 45 minutes total. By now my whole house smells incredible and family members start drifting into the kitchen asking when food will be ready. Just remember to let it cool a bit before digging in—I learned the hard-way that mouth burns are no joke.
The first time I cooked these potatoes for my husband's family holiday dinner, his father—a man known for taking tiny, polite portions—grabbed a huge helping and came back for more later. He pulled me aside in the kitchen and quietly asked, "Can you make these potatoes again for Christmas?" Now I can't show up to any family event without them.
Pairing Suggestions
While these go perfectly with holiday turkey or ham, they work just as well alongside a store-bought rotisserie chicken on an ordinary weeknight. I also take this dish to folks who just had babies or neighbors going through tough times—it's comfort food that truly comforts.
Tasty Variations
I sometimes mix in diced ham or bacon bits when I want to turn this side into more of a main course. Adding green chilies gives a nice kick if your family can handle a bit of heat (mine can't). The traditional topping is cornflakes, but in a rush I've used crushed Ritz crackers and nobody minded. My aunt swears potato chips make a better topping, but we'll have to disagree on that one.
Prep In Advance
During busy holiday seasons, I often put this together the night before, cover it, and stick it in the fridge. Just remember to save the cornflake part for right before baking so they stay crunchy. If you're cooking it straight from the refrigerator, add about 15 more minutes to your baking time. I've even frozen the potato mixture (without topping) when preparing large batches for community events.
 Save
Save
Smart Shortcuts I've Found
- Always go for regular sour cream—I've tried the reduced-fat kind and the results just aren't the same
- Bags of pre-shredded cheese contain additives that stop it from melting smoothly
- Onion powder usually passes undetected for those family members who claim to hate onions
Somehow this simple casserole has become my claim to fame—people text me weeks ahead of gatherings to confirm I'm bringing it. There's something about this specific blend of ingredients that hits the ultimate comfort food sweet spot. Whether you call them funeral potatoes, cheesy potato bake, or just "that cornflake potato thing," trust me when I say they'll vanish faster than you'd think possible for a dish named after funerals.
Recipe FAQs
- → Why are they called funeral potatoes?
- They got the name because they’re often served at funerals, especially in western Mormon communities. They’re easy to make in big batches and feel comforting during difficult times.
- → Can I use fresh potatoes instead of frozen hash browns?
- Sure, but it's more work. Peel, shred, and slightly cook about 3 pounds of fresh potatoes. Let them cool before using. Frozen ones are just quicker!
- → Can I make this dish vegetarian?
- Definitely! Just swap the cream of chicken soup with something vegetarian-friendly, like cream of mushroom or celery soup. It’ll taste just as comforting.
- → How do I keep the topping crispy when reheating?
- The crunchy topping can soften in the fridge. When reheating, use an oven at 350°F instead of a microwave. Add a layer of fresh butter-coated cornflakes before baking if needed.
- → Can I freeze this dish?
- Yes, it freezes well! If freezing before baking, hold off on the cornflake topping until you're ready to bake. Thaw it in the fridge overnight before baking. Already-baked ones last in the freezer for about 3 months.
- → What goes well with funeral potatoes?
- These potatoes pair fantastically with turkey, ham, grilled chicken, or roasted beef. Add a salad or green veggie on the side for a nice balance.