
 Save
Save
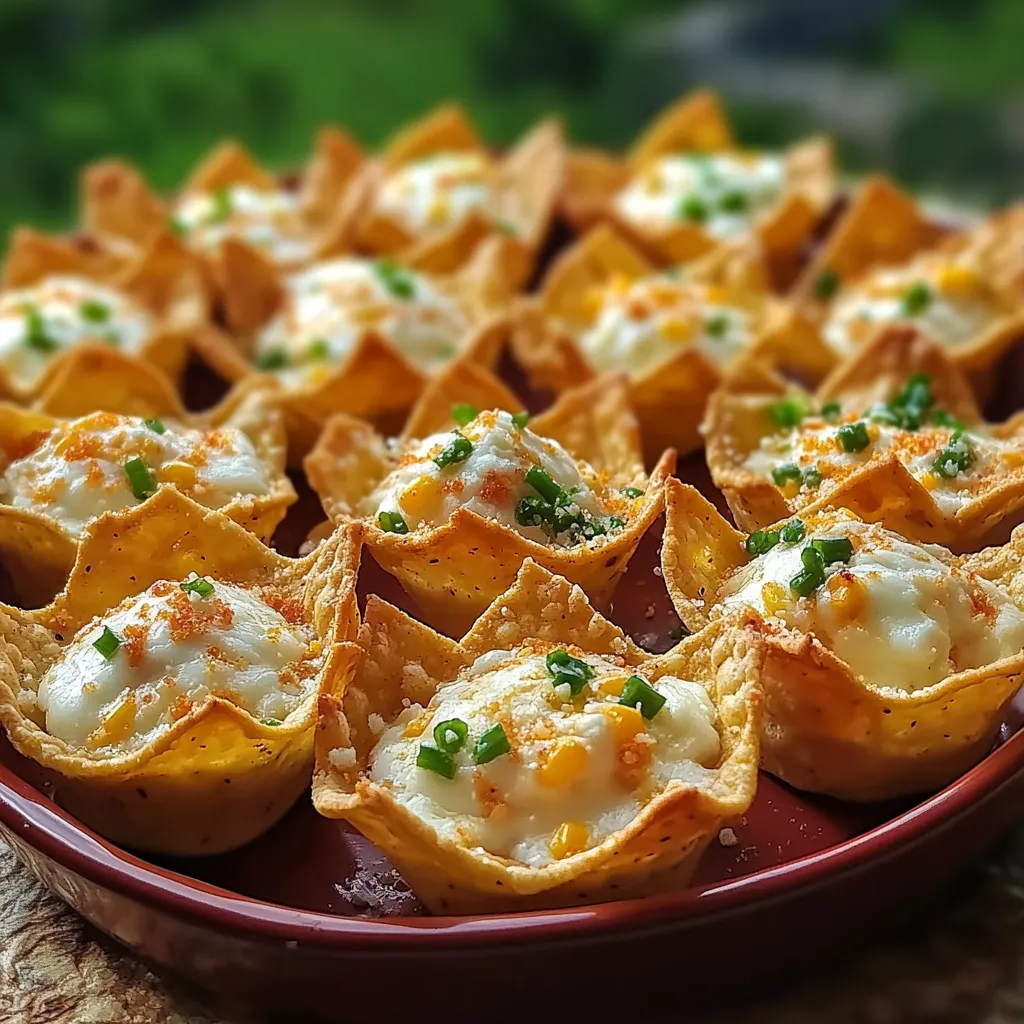
Oh man, these Iowa party nibbles. I first whipped these tasty little morsels up for my sister's new place celebration, when I wanted something that would wow everyone without keeping me stuck cooking all night. These crunchy tortilla cups filled with creamy, corn-loaded goodness vanish from the serving plate before I can even step back.
I actually stumbled across these at a block party where I totally followed the host right into her kitchen begging to know how to make them. She smiled and told me they were her "go-to trick" for every get-together. Now they're my secret weapon too, and I make them whenever I need something that'll definitely please a crowd.
Ingredients You'll Want
- Tostitos Scoops make the ideal edible containers thanks to their perfect cup shape
- Cream cheese creates the smooth foundation for your filling
- Mozzarella adds that must-have gooey pull when it's heated up
- Sweet corn brings little bursts of sweetness and nice texture
- Green chiles add just a touch of kick without being too much
- An egg helps everything stick together for that perfect soft center
- Common spices pull all the flavors together
- Parmesan sprinkled on top gives that beautiful golden crust
 Save
Save
My Cooking Method
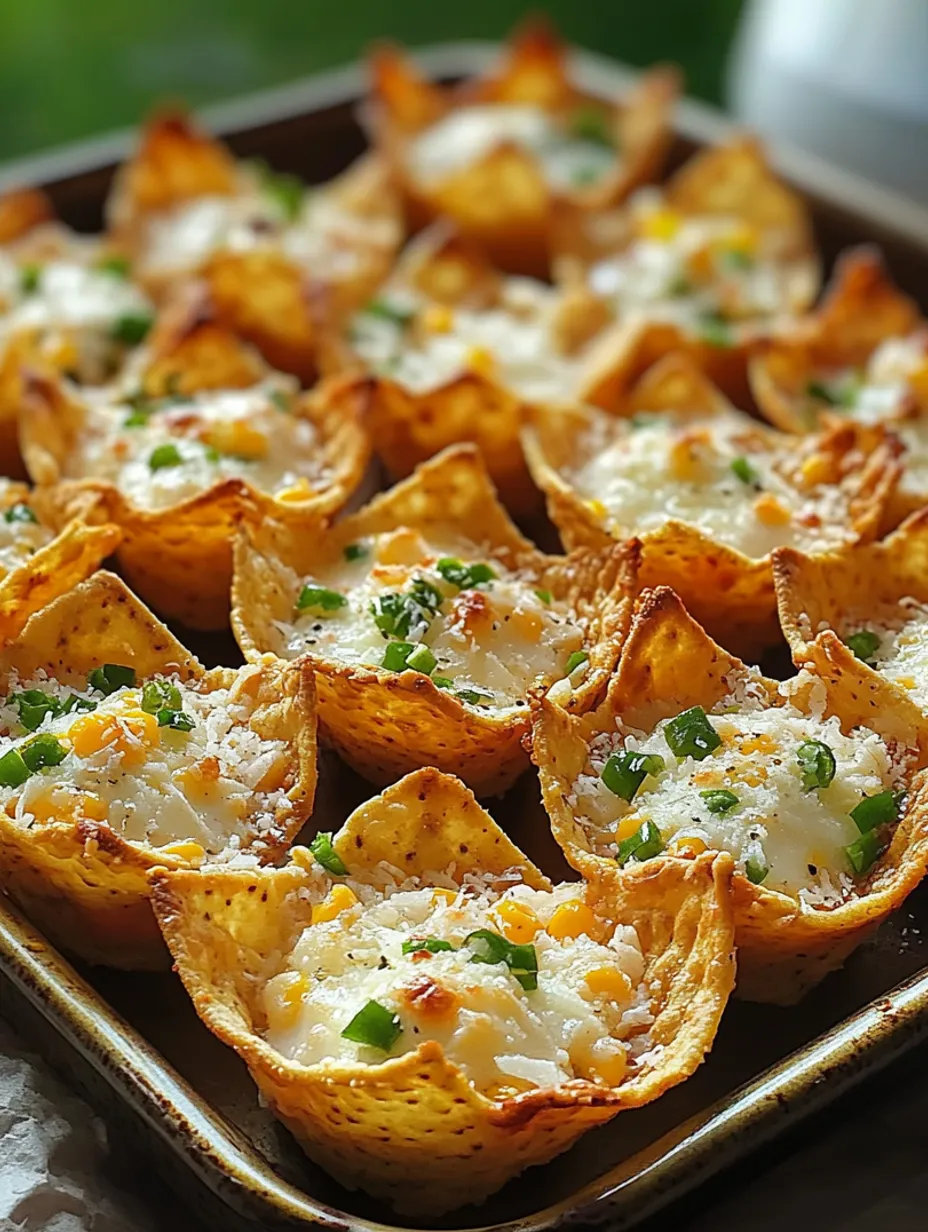
Setting UpTo start, I arrange those Tostitos Scoops on a baking sheet, making sure they're all facing up like tiny bowls ready for filling. I've learned to leave some room between them so the filling doesn't overflow and make everything stick together (trust me, I've made that mistake before).
Making The MixIn a mixing bowl, I combine soft cream cheese (I zap it in the microwave if I forgot to let it soften), shredded mozzarella, one beaten egg, well-drained corn, green chiles, and a few spices. Nothing complicated—just mix until it's all nicely blended. I usually throw in extra garlic powder because who doesn't love more garlic?
Load Them UpWith a teaspoon, I drop the mixture into each chip cup, filling them generously but carefully. It's weirdly fun—sort of like playing with food but in a grown-up way. A light dusting of Parmesan over everything gives them that finishing touch before baking.
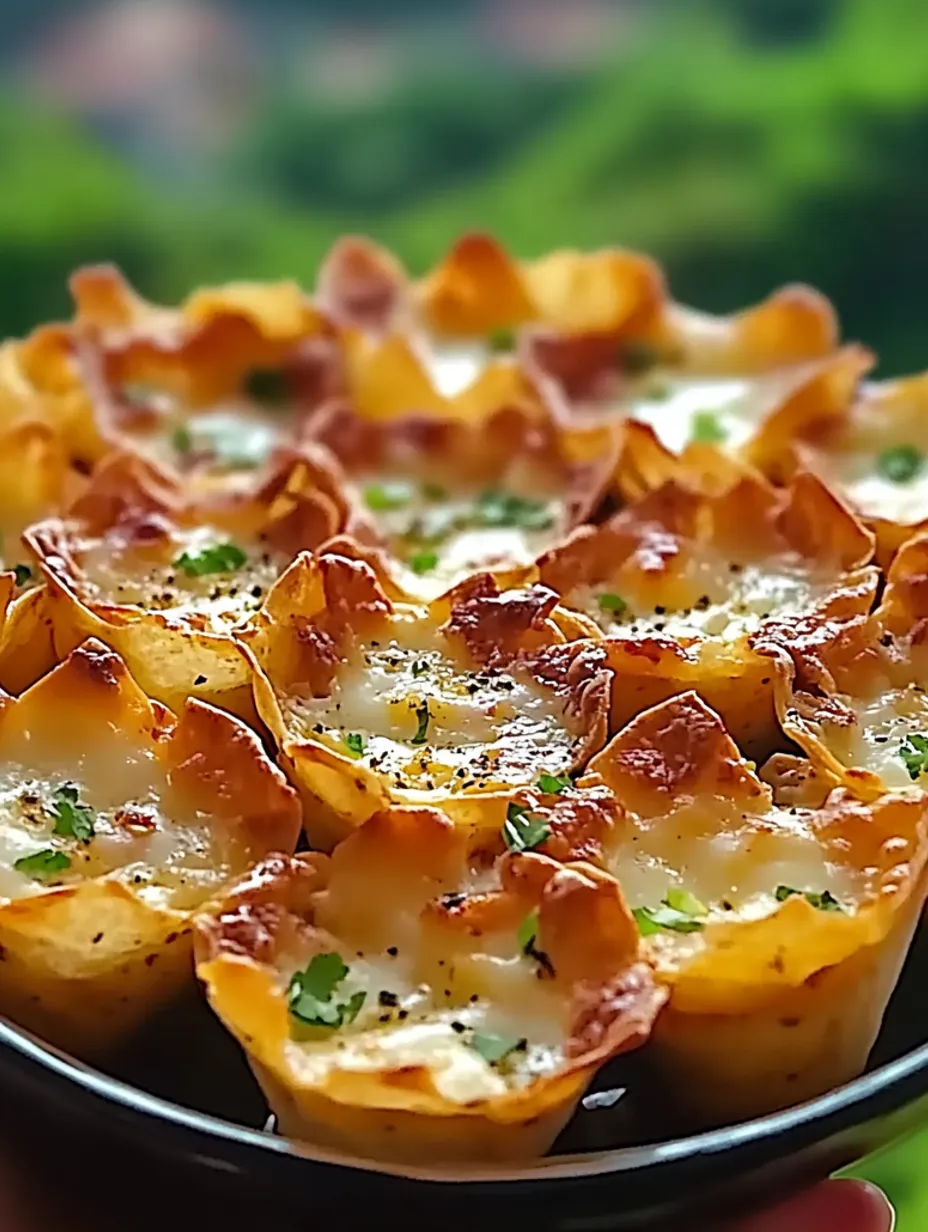
Baking TimeThese little treats need around 13-15 minutes in a hot oven at 425°F. I look for that perfect moment when they're bubbly and just turning golden on top. The aroma while they cook is absolutely torture—there's something about melted cheese and corn that makes waiting nearly impossible.
Ready To EatThe trickiest part is waiting just long enough so people don't burn their tongues. I always say "Careful, they're hot!" at least three times, but somebody always grabs one too soon anyway.
When I brought these to my in-laws' Christmas party, my mother-in-law (who typically wants to make everything herself) asked me how I made them. That's when I knew these simple appetizers had real magic. My brother-in-law now asks for "those crunchy cheese corn things" every single time we get together.
Tasty Variations
I sometimes toss in bits of crispy bacon or cooked ground sausage to fancy them up. For my veggie friends, I'll add chopped bell peppers or black beans instead. When I'm cooking for people who love heat, I swap in pepper jack and add a splash of hot sauce to the mixture. What's great about these is how easily you can change them based on what you have or what your friends like.
How To Serve
I usually set these out on a big plate with a few dips nearby—fresh salsa, guacamole, and sour cream work great. For bigger parties, I make two batches and keep the second tray warm in the oven until the first batch gets gobbled up (which happens super fast).
Keeping Leftovers
If you somehow end up with extras, they'll stay good in the fridge for a couple days. When you want to eat them, warm them up in the oven for a few minutes—don't use the microwave or your chips will get all soft and nobody wants that kind of letdown.
 Save
Save
Smart Shortcuts I've Discovered
- Put parchment paper on your baking sheet to make cleanup a breeze
- You can get everything ready earlier in the day and just pop them in the oven when company shows up
- Grab some extra chips just in case you have filling left over
These humble little bites have somehow given me a reputation as someone who "really knows their way around the kitchen," which makes me laugh because they're honestly one of the simplest things I cook. But I'm not gonna tell anyone—sometimes the easiest recipes are exactly what make everyone think you're amazing in the kitchen. And isn't that what we're all secretly hoping for?
Recipe FAQs
- → Can I prep Cheesy Corn Cups in advance?
- Feel free to make the cheesy filling up to 24 hours before and store it covered in the fridge. Wait to fill and bake the tortilla chips until you’re ready to serve so they stay nice and crunchy.
- → Why are they called Cheesy Corn Cups?
- The name highlights the star ingredients—cheese and sweet corn. Corn, a nod to Iowa's famous crop, shines in these crispy snacks perfect for sharing.
- → Can I swap out green chiles?
- Absolutely! Use diced bell peppers for a milder twist or jalapeños if you like spicier bites. Pickled jalapeños, roasted red peppers, or even your favorite salsa work too.
- → How do I keep the tortilla shells crispy?
- Avoid overloading the chips with filling since too much moisture can make them soggy. Bake in a properly preheated oven, and serve shortly after pulling them out.
- → What should I serve with Cheesy Corn Cups?
- Pair them with dips like guacamole, salsa, or sour cream. For a party spread, combine these bites with wings, sliders, or veggie trays.
- → Are these cups vegetarian-friendly?
- They sure are! For a plant-based protein boost, toss in some black or pinto beans (drained and rinsed) to the mixture.