
 Save
Save
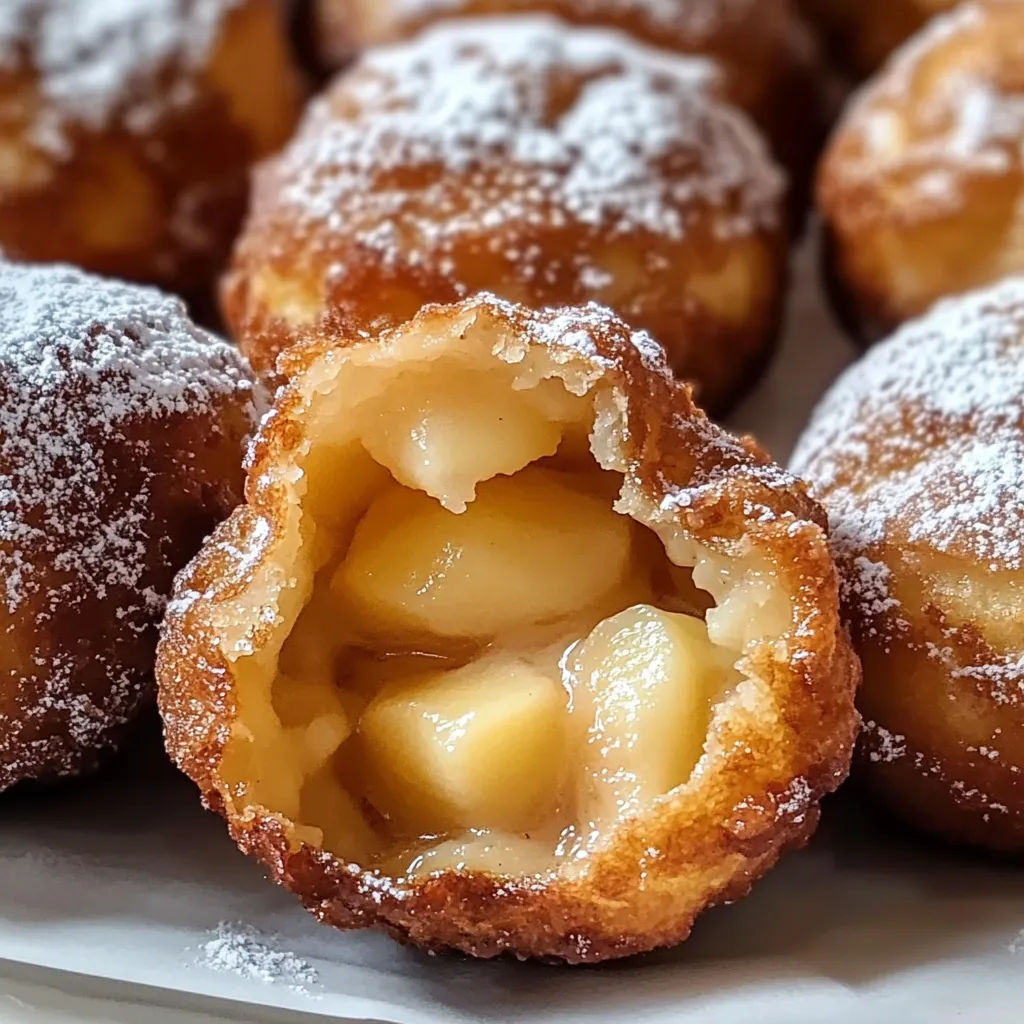
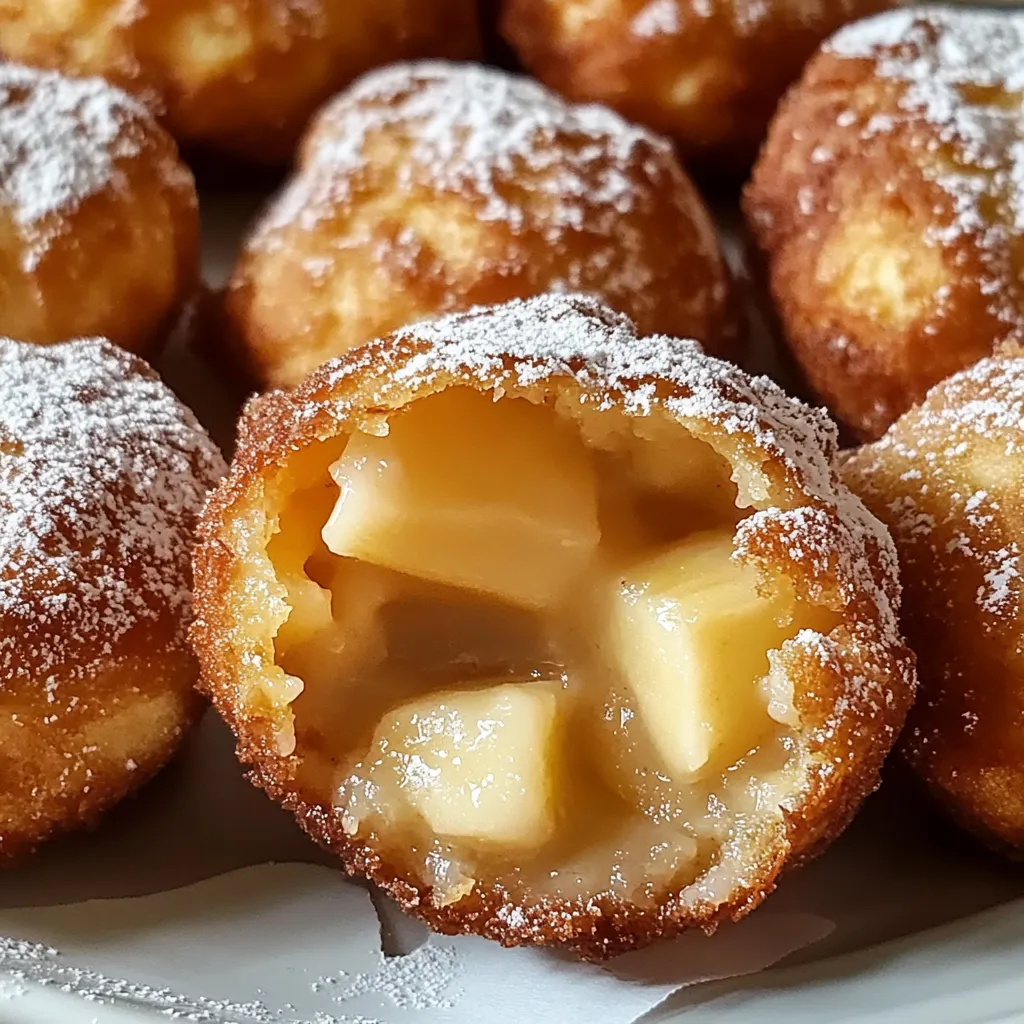
These bite-sized apple pie bombs pack all the warm, cozy flavors of traditional apple pie into handy, portable treats. They're stuffed with spicy apple filling and wrapped in buttery, flaky pastry. You'll get that classic American dessert taste without spending hours in the kitchen. Their small size makes them perfect for parties, quick treats, or anytime you want apple pie flavor without making a whole pie.
I created these apple pie bombs for a family outing when carrying a whole pie seemed too tricky. Everyone's faces lit up when they tasted these warm, spicy bundles, and I knew they'd become a regular in my baking lineup. My picky nephew shocked me by eating three in a row and saying they were 'way better than normal pie' – that's huge coming from a choosy kid!
Tasty Apple Guide
- Granny Smith Apples: These sour, hard apples keep their shape while baking and balance out the sweet pastry nicely. They stay firm so your filling won't turn mushy, giving you real apple chunks in each bite.
- Honeycrisp Apples: With their ideal sweet-tart mix and extra juiciness, Honeycrisps make a naturally sweet filling so you won't need tons of sugar. They hold up well when cooked, staying in pieces rather than turning to mush.
- Puff Pastry: Those many buttery layers create that wonderful flaky shell that breaks apart with each bite. Try to find all-butter brands for the best taste, and keep it cold until you're ready to use it so it puffs up nicely.
- Cinnamon: This cozy spice goes hand-in-hand with apples, adding richness to your filling. If you can find it, Ceylon cinnamon offers a lighter, more complex flavor than regular Cassia cinnamon.
- Nutmeg: Just a tiny bit adds extra warmth without taking over. If you grate it fresh, you'll get much more smell and flavor than from the pre-ground stuff.
- Brown Sugar: Its molasses content brings caramel-like notes that work beautifully with apples. Dark brown sugar has more molasses than light, giving you a deeper flavor.
- Butter: It makes the filling richer and helps turn the outside golden-brown when brushed on before baking. European butter with its higher fat content makes everything taste even better.
- Lemon Juice: A little bit brightens the filling, stops it from being too sweet, and keeps the apples from browning while you work. The acid also cuts the sweetness for a more interesting flavor.
Baking Instructions
- Apple Preparation:
- Take off the skin and remove the cores before cutting your apples into tiny, same-sized bits about ¼-inch big. When they're all the same size, they'll cook evenly and won't poke through the pastry while baking. Mix the chopped apples right away with a spoonful of fresh lemon juice to keep them from turning brown and add some zing to the filling. In a pot, mix your apples with brown sugar, cinnamon, nutmeg, and a tiny bit of salt. Cook them on medium for about 5 minutes, stirring often until the apples start to soften but still have some bite. Take them off the heat and mix in a spoonful of flour or cornstarch to soak up extra juice that might make your pastry soggy. Let this cool completely before you start making your pie bombs.
- Dough Handling:
- Unwrap your cold puff pastry on a lightly floured counter, making sure it doesn't get too warm as you work. Roll it a bit to smooth out any folds and make it slightly thinner so it bakes more evenly. Cut it into equal squares about 3 inches across using a sharp knife or pizza cutter. Keep any pastry you're not using in the fridge so it stays firm. For each bomb, put a spoonful of cooled apple filling in the middle of a pastry square. Don't stuff too much in or they'll leak while baking. Fold all four corners toward the middle, then pinch and seal all the edges well. Roll it between your hands to make a smooth, sealed ball with no visible lines that might open up in the oven.
- Baking Excellence:
- Heat your oven to 375°F and put parchment paper on a baking sheet so nothing sticks. Put your pie bombs seam-side down on the sheet, keeping them at least 2 inches apart so they can grow. Brush each one with melted butter so they'll turn golden and look amazing. For extra sweetness, sprinkle the tops with cinnamon and sugar before they go in the oven. Bake them for 15-20 minutes, turning the pan halfway through so they brown evenly. Watch them closely at the end, since all that butter means they can go from perfectly golden to too dark really fast. When they're done, they should be puffy, deep gold, and firm when you touch them.
- Finishing Touches:
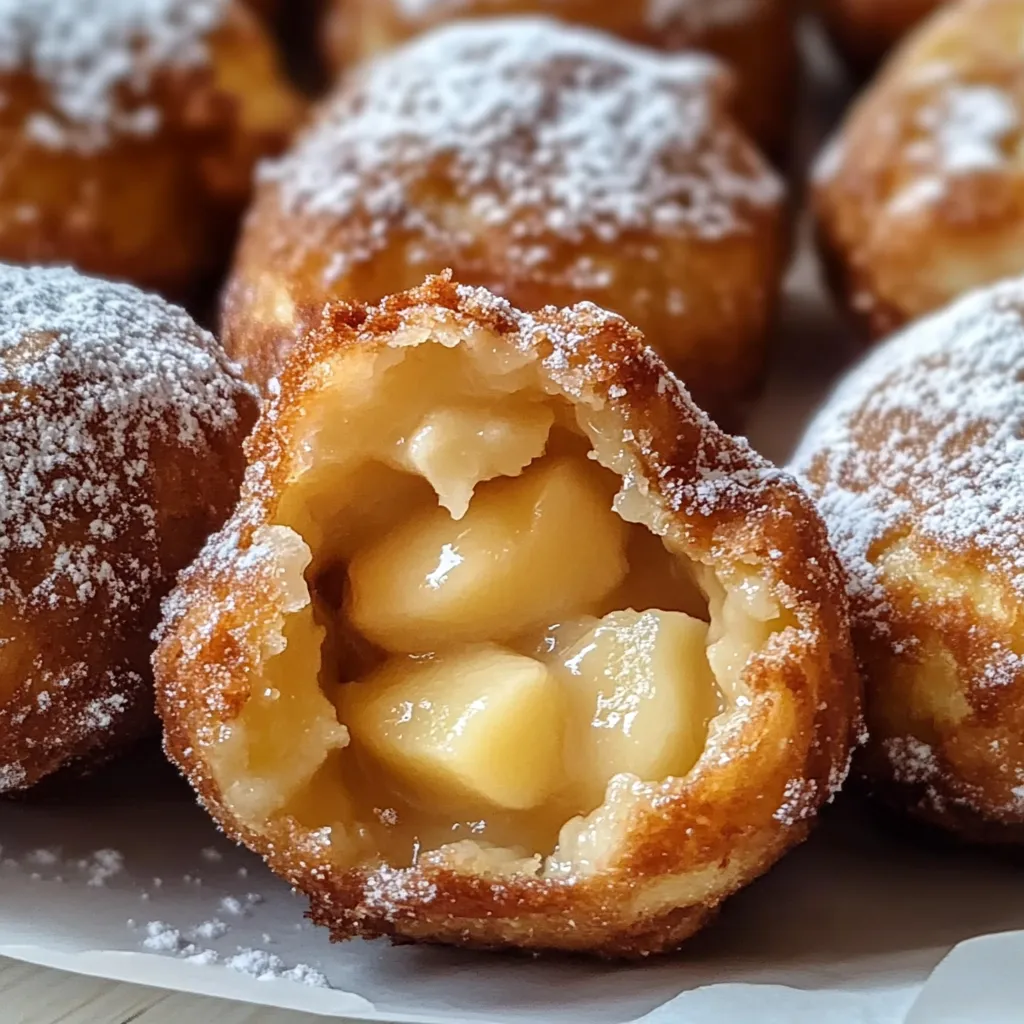
- Take the baked pie bombs out and let them cool for 5 minutes before you handle them. While they're still warm but not hot, roll each one in cinnamon and sugar for a sweet, fragrant coating that adds flavor and texture. For special times, drizzle cooled bombs with a simple mix of powdered sugar and milk, or with warm caramel for an extra-indulgent treat. Serve them while they're still a bit warm to get that perfect contrast between the crisp outside and warm, spicy filling. Each bite should give you that classic apple pie experience in a handy, grab-and-go package.
 Save
Save
My grandma always told me that a tiny splash of apple cider vinegar in the filling was her secret for perfect apple pie. I didn't believe it at first, but this small addition really does make the flavors pop. You can barely taste the tang, but it cuts through the sweetness and makes the apple flavor stand out more. My family loves these served warm with a scoop of vanilla ice cream for Sunday dessert - the mix of warm, spicy filling and cold, creamy ice cream creates that homey comfort food feeling that brings everyone together at the table.
Perfect Pairings
Turn these simple apple treats into a fancy dessert experience with the right side items. Make an apple pie bomb sundae by putting a warm bomb in a bowl, adding top-quality vanilla ice cream, and pouring warm caramel sauce and crushed walnuts over it. For brunch parties, serve them with warm maple syrup and crispy bacon for a sweet-savory combo that works like classic breakfast flavors. Coffee drinks go really well with these treats—try serving them with cappuccinos dusted with cinnamon or spicy chai lattes that match the warm spices in the filling. For casual family movie nights, put them on a big plate surrounded by different dips like salted caramel, vanilla custard, or melted chocolate.
Delicious Twists
The standard apple pie bomb works great as a starting point for creative changes that fit any taste or diet needs. Try swapping the regular filling with a mix of apples and fresh cranberries for a tangy twist that's perfect for holiday gatherings. The bright red berries look beautiful and their sourness balances the sweet pastry. For a fall flavor, mix some pumpkin puree and pumpkin pie spice into the apple mixture, making a combo dessert that captures autumn in every bite. Add some texture by mixing in chopped toasted pecans or walnuts with the filling. Their light crunch creates a nice contrast to the soft apples and flaky pastry. If you're avoiding white sugar, try using maple syrup or honey as natural sweeteners that bring their own unique flavors beyond just sweetness.
Leftover Magic
When stored right, apple pie bombs keep their quality surprisingly well, so you can make them ahead without losing any taste. Store completely cooled bombs in a single layer in an airtight container with paper towels on the bottom to soak up any extra moisture. At room temperature, they'll stay at their best for about 24 hours before the pastry starts to soften from the moisture in the filling. To keep them longer, put them in the fridge for up to three days, though the pastry will slowly become less crisp. When you want to enjoy refrigerated bombs, warm them in a 300°F oven for 5-7 minutes to bring back some crispness to the outside. The microwave works in a pinch but you'll lose that textural contrast that makes these treats special. For freezing, wrap each bomb tightly in plastic wrap then aluminum foil before putting them in freezer bags with the air squeezed out. They'll stay good for up to two months when frozen properly.
Learning to perfect these apple pie bombs taught me that less filling actually works better—what looks too small before baking expands just right in the oven. I've brought these to so many gatherings and always get recipe requests, especially after people realize that something so impressive isn't that hard to make. While they definitely satisfy my sweet tooth, what I love most is watching people's faces when they take their first bite—that moment of surprise and joy when they discover the warm, spiced apples inside the crisp, buttery shell. These little treats deliver all the comfort and nostalgia of traditional apple pie in a modern, convenient form that fits our busy lives while still creating those special moments of happiness around the table.
 Save
Save
Recipe FAQs
- → Which apples are best for these?
- Crisp ones like Granny Smith or Honeycrisp keep their texture well and balance the sweetness with a tart touch.
- → Can puff pastry be swapped in?
- Sure! Puff pastry gives these a lighter, flakier feel. Either dough works great, depending on your choice.
- → How to stop the filling from leaking?
- Don't fill them too much (1 tablespoon is perfect). Pinch the seams tight, and place the seam side facing down on your tray.
- → Could these be prepped early?
- Yes, you can prep ahead and store in the fridge for 2 days or freeze up to 3 months. Frozen ones should sit out a bit before baking.
- → What extras can I add for flair?
- Mix in caramel, cream cheese, or nuts with the apples. Drizzle caramel or icing on top after baking for extra sweetness.