
 Save
Save
I first came up with these chicken tenders in my country kitchen, where cooking aromas would fill every corner on Sundays. After lots of tries and lucky cooking mishaps, I found this version that's now our family's go-to comfort meal. One crisp fall evening, while watching oil heat up in my grandma's old iron skillet, I got it just right - a buttermilk dip that turns the chicken super tender, plus a coating that stays crunchy long after cooking.
Essential Ingredients
Choose chicken tenders that feel solid and bouncy - avoid the soft ones you sometimes find at the store.
You can't skip the real, thick buttermilk - I learned this mistake when I tried that milk-vinegar trick at my first dinner gathering.
Stick with unbleached flour - it creates a tougher shell that handles dipping sauces better.
Don't use old garlic powder - that container from three years back won't give you the same flavor.
Speaking of what goes in these, my cooking took a surprise turn after meeting Martha at our farmers market. Her fresh buttermilk changed these tenders into something completely different. Now I plan my cooking days around when she'll be selling.
 Save
Save
Cooking Success Steps
- Creating The Marinade:
- Dump the buttermilk into a deep glass container - I use my mother's ancient Pyrex dish.
- Add your spices and mix everything well until it looks like a creamy, speckled pool.
- Put the tenders in one at a time, making sure each piece gets fully covered.
- Store them in the fridge overnight - this is the crucial part, don't try shortcuts.
- Making The Crunchy Coating:
- Put your flour in a wide, shallow dish - those wedding gift pasta bowls finally came in handy.
- Add just enough buttermilk to form small lumps in the flour - these become extra crunchy spots.
- Go in small batches, letting excess liquid drip off before coating each tender.
- Press the coating firmly - these tenders need a good squeeze in the breading.
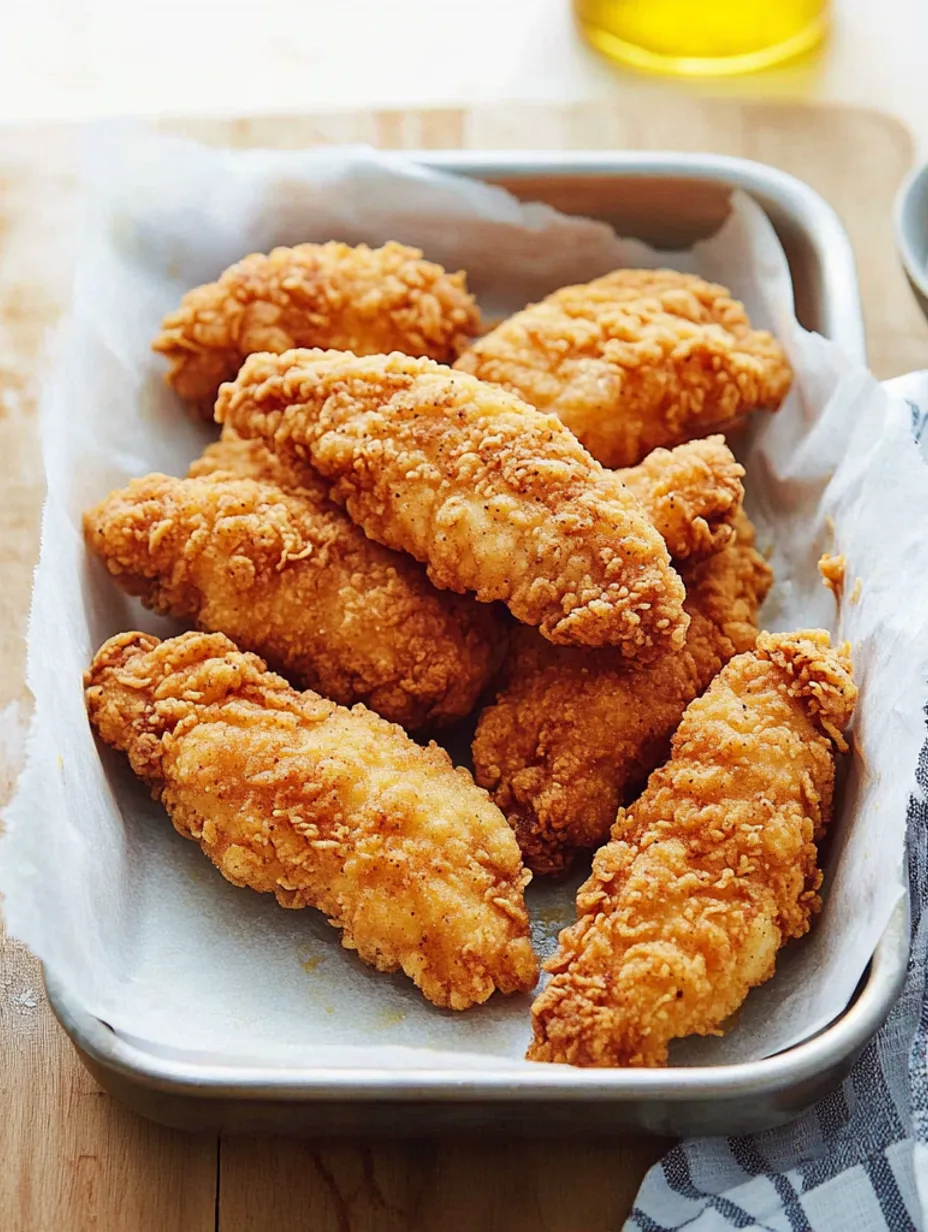
- The Cooking Process:
- Heat your oil until it's shimmering in a heavy pot - my grandma's Dutch oven works perfectly.
- Lower those tenders in carefully - hot oil can tell if you're nervous and will bubble up if you drop them.
- Wait for that right sizzling sound - not too loud, not too soft, just a gentle bubbling.
- Let them turn golden before you flip them - don't rush this step.
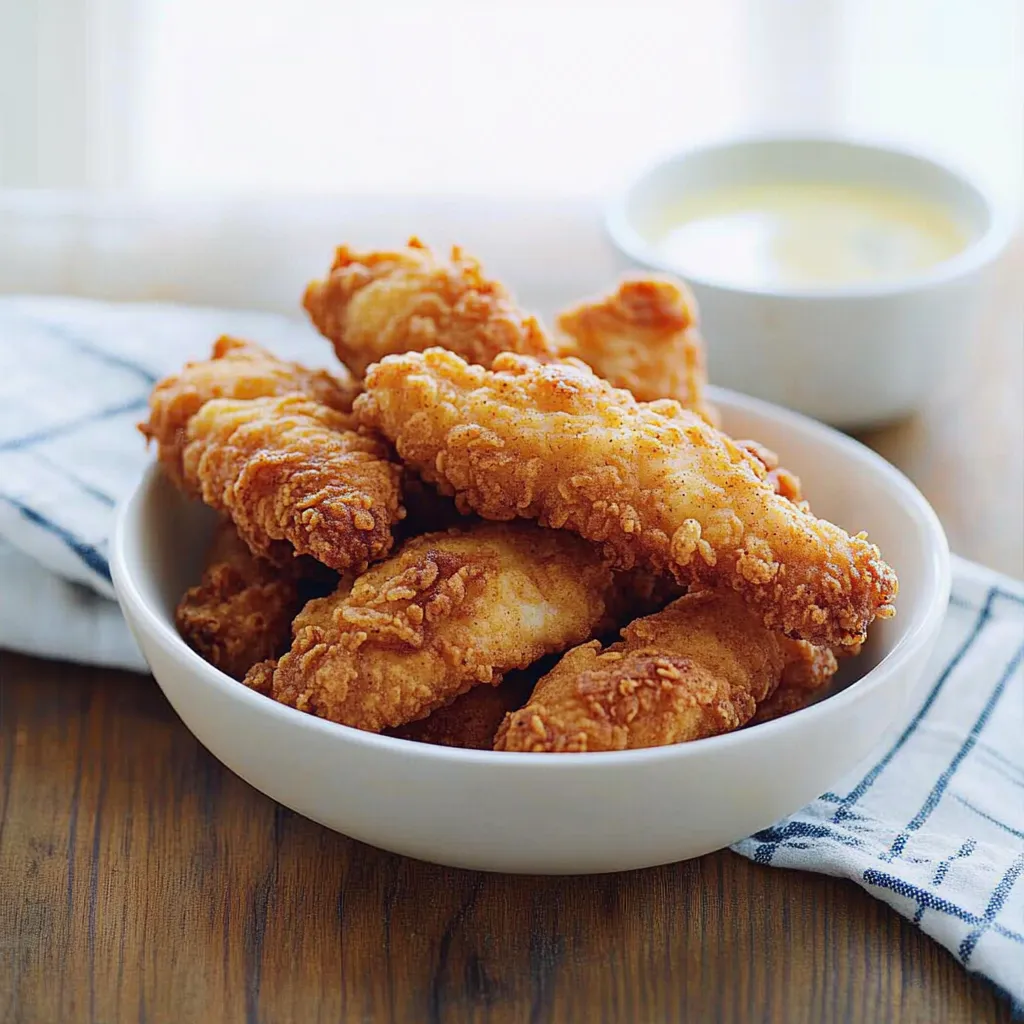
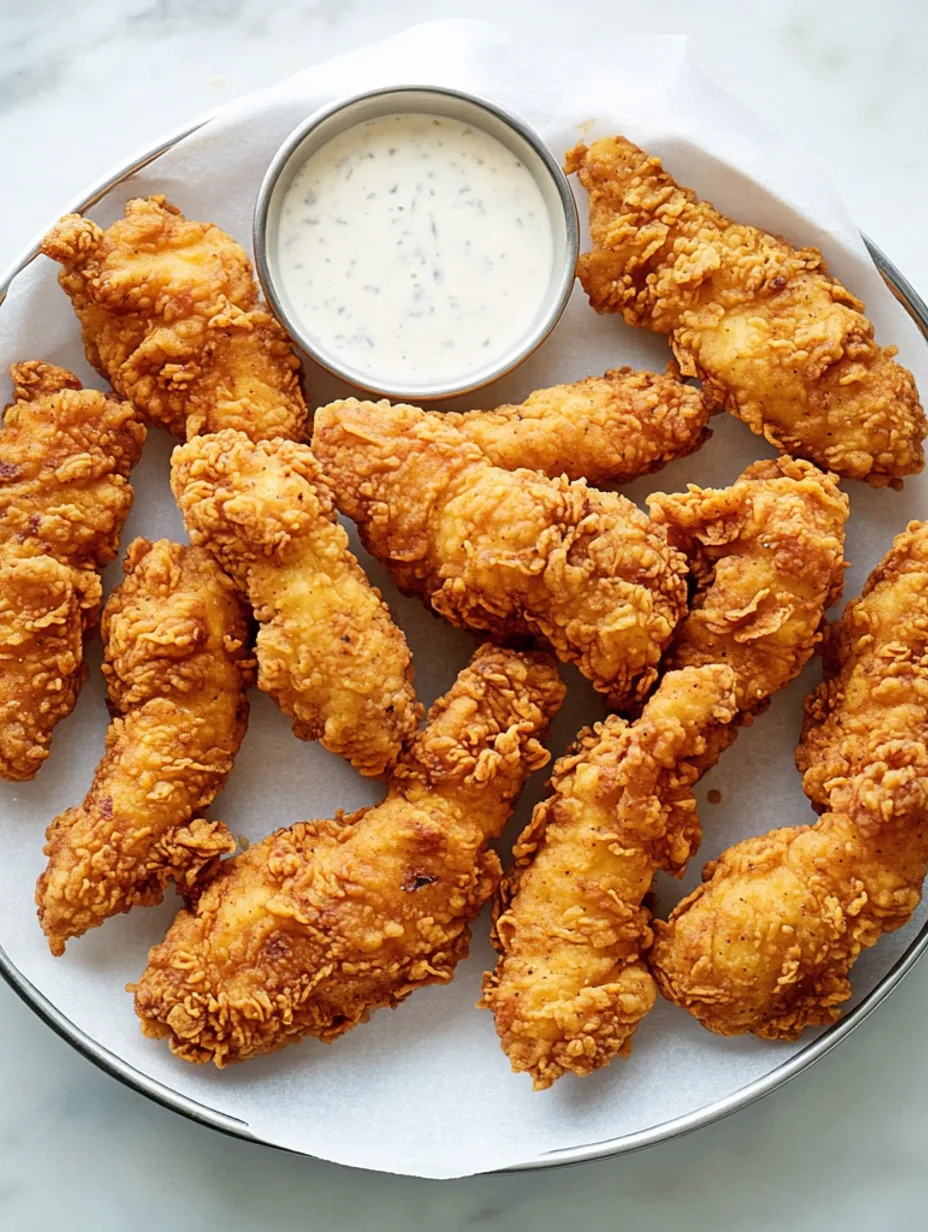
Delightful Serving Ideas
Whenever I put these tenders on our family dinner table, I think about all our Sunday meals together. They work with so many things - fancy them up with some spicy honey and herbs for dinner guests, or keep it simple with ranch dip for movie nights. During hot weather, I pair them with my sister's potato salad and grilled corn on the cob. When it's cold outside, nothing's better than these tenders with creamy mashed potatoes and roasted brussels sprouts that get all crispy and sweet in the oven.
Custom Variations
This recipe has changed so many times over the years. My neighbor Rosa got me to try adding grated Parmesan and dried basil to the flour mix - it was totally worth it. During my hot food phase (which almost destroyed my husband's taste buds), I found that adding some hot sauce to the marinade gives a nice slow burn that grows with each bite. When my daughter went through her "ranch on everything" stage, we started putting ranch mix in the coating - now we make it that way all the time.
Storing Crispy Leftovers
About leftovers - though they hardly ever happen at my house. If you manage to save some, let them cool all the way on a wire rack. Put them in the fridge with parchment paper between layers, or they'll stick together like best friends. Don't use the microwave unless you want soggy chicken. Instead, warm them in a 350-degree oven for about 10 minutes - they'll get crispy again like they're freshly made.
 Save
Save
Advanced Techniques
When my kids started taking these in their school lunches, I picked up some tricks. Pack them while they're still a bit warm, and they'll stay just right until lunchtime. For cooking extra, I freeze them on a baking sheet first, then move them to a freezer bag - this stops them from turning into one big chicken clump. They'll stay good for three months, though they've never stuck around that long in our house.
Smart Cooking Advice
Get your oil just the right heat - when a tiny bit of flour bubbles in the oil, you're ready to go.
Add more spices to your flour mix than you think you should - the flavors get milder during cooking.
Put the cooked tenders on a wire rack instead of paper towels - keeps the bottom from getting soft.
I've cooked these tenders for tons of birthday parties, group dinners, and quiet family meals. Each batch has its own story - from when I dropped my spoon in the hot oil (total mess) to watching my youngest learn to bread chicken without covering my kitchen in flour. There's something special about a recipe that brings folks together, makes memories, and still tastes amazing even after making it hundreds of times. Now I need to go soak another batch - tomorrow's dinner won't cook itself!
Recipe FAQs
- → What’s the ideal marinating time?
- For best taste, go for at least 4 hours, but overnight is even better.
- → Can these be frozen?
- Yep, you can freeze them for up to 3 months. Warm in a 350°F oven for 25 minutes.
- → How can I tell when they’re cooked?
- Fry them until both sides turn a perfect golden brown, even if they look light in oil.
- → What does buttermilk do for this?
- It gives you that lovely clumpy coating that fries up extra crispy.
- → Which oil is good for frying?
- Go with vegetable oil, and heat it to about 350°F for great results.