
 Pin it
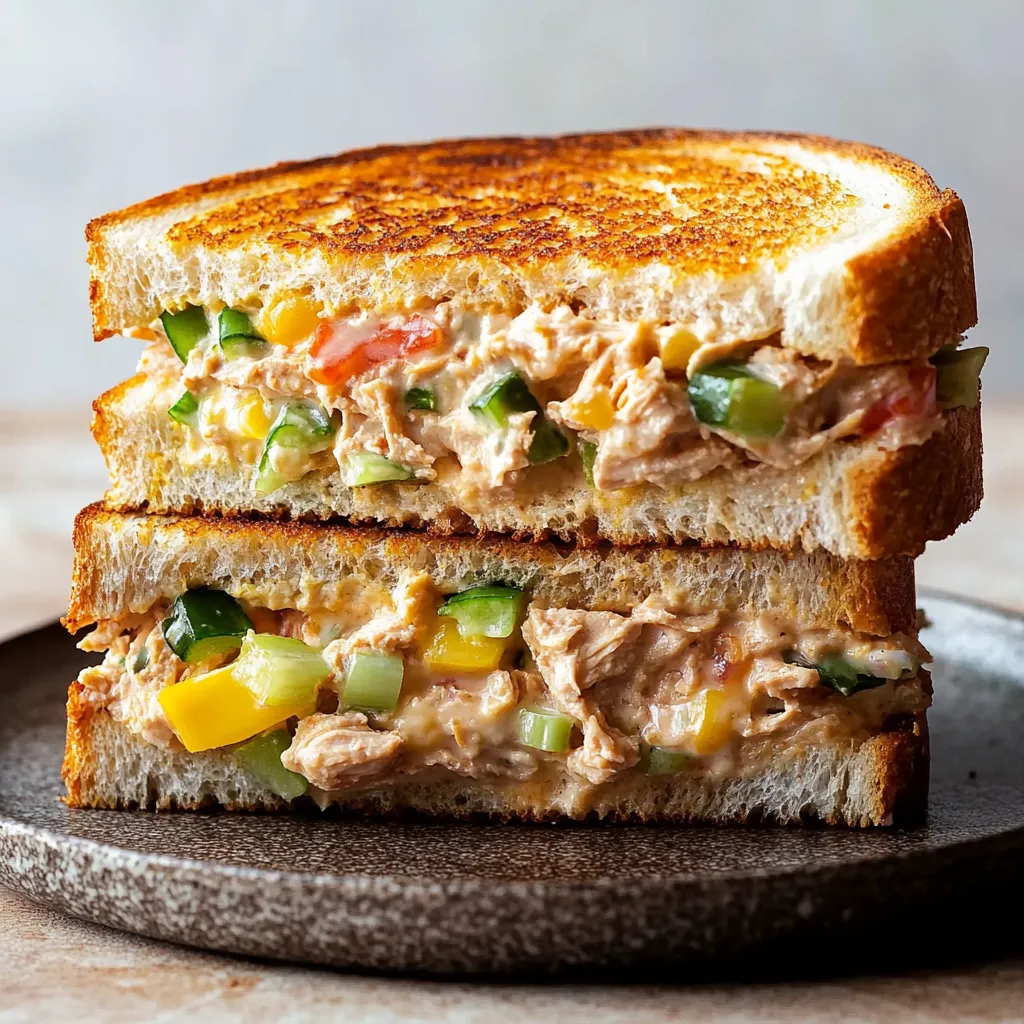
Quick tuna melts have been my lunch go-to countless times. This super-fast sandwich gives you that amazing mix of crunchy bread and melty cheese surrounding well-seasoned tuna salad, somehow managing to be both cozy and practical. It's what I whip up when I'm craving something that feels special but won't make me sleepy afterward.
I began making this lighter version after noticing my traditional diner-style tuna melt left me tired for hours. This tweaked approach gives me all the same comfort without knocking me out—exactly what I need during busy workdays.
Necessary Ingredients
- Water-packed canned tuna forms the protein base without unnecessary fat
- Greek yogurt adds creaminess and extra protein instead of using just mayonnaise
- Celery delivers necessary crunch and brightness to the mixture
- Roasted red peppers offer gentle sweetness and extra moisture
- Scallions provide a light onion flavor without being too strong
- Dijon mustard boosts the taste without adding many extra calories
- Cheddar cheese makes that wonderful stretchy melt everyone loves
- Whole-grain bread offers important fiber plus sturdy support
- Mayonnaise (just a small amount!) goes on the outside for perfect toasting
 Pin it
My Cooking Method
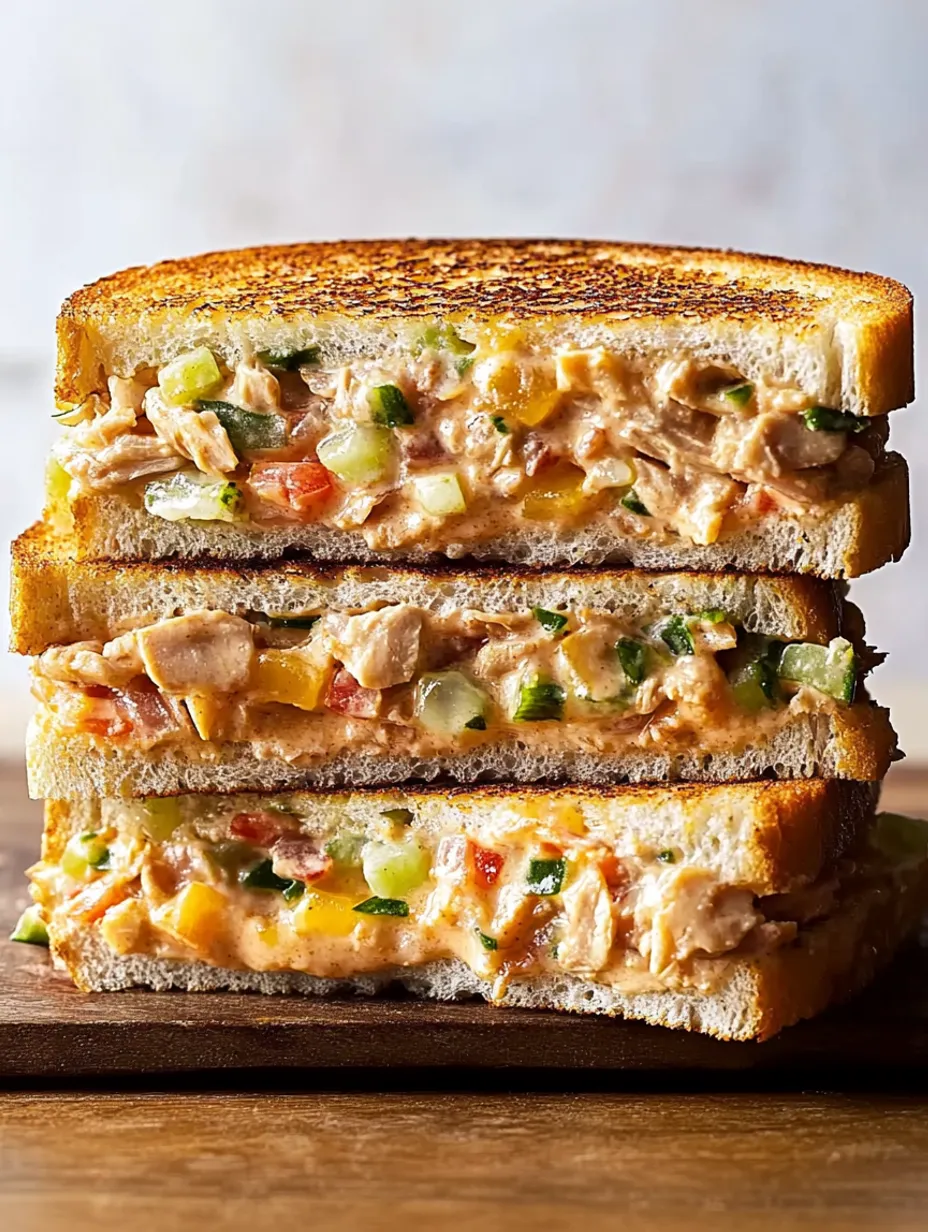
Fast Tuna MixtureI start by draining the tuna completely and breaking it up in a bowl using a fork. Then I throw in finely diced celery, chopped roasted red peppers, and sliced scallions. After that, I add the yogurt, mustard, and some pepper, mixing everything until it's well blended. The result is creamy but still has bits of veggies for texture, making it much more exciting than basic tuna salad.
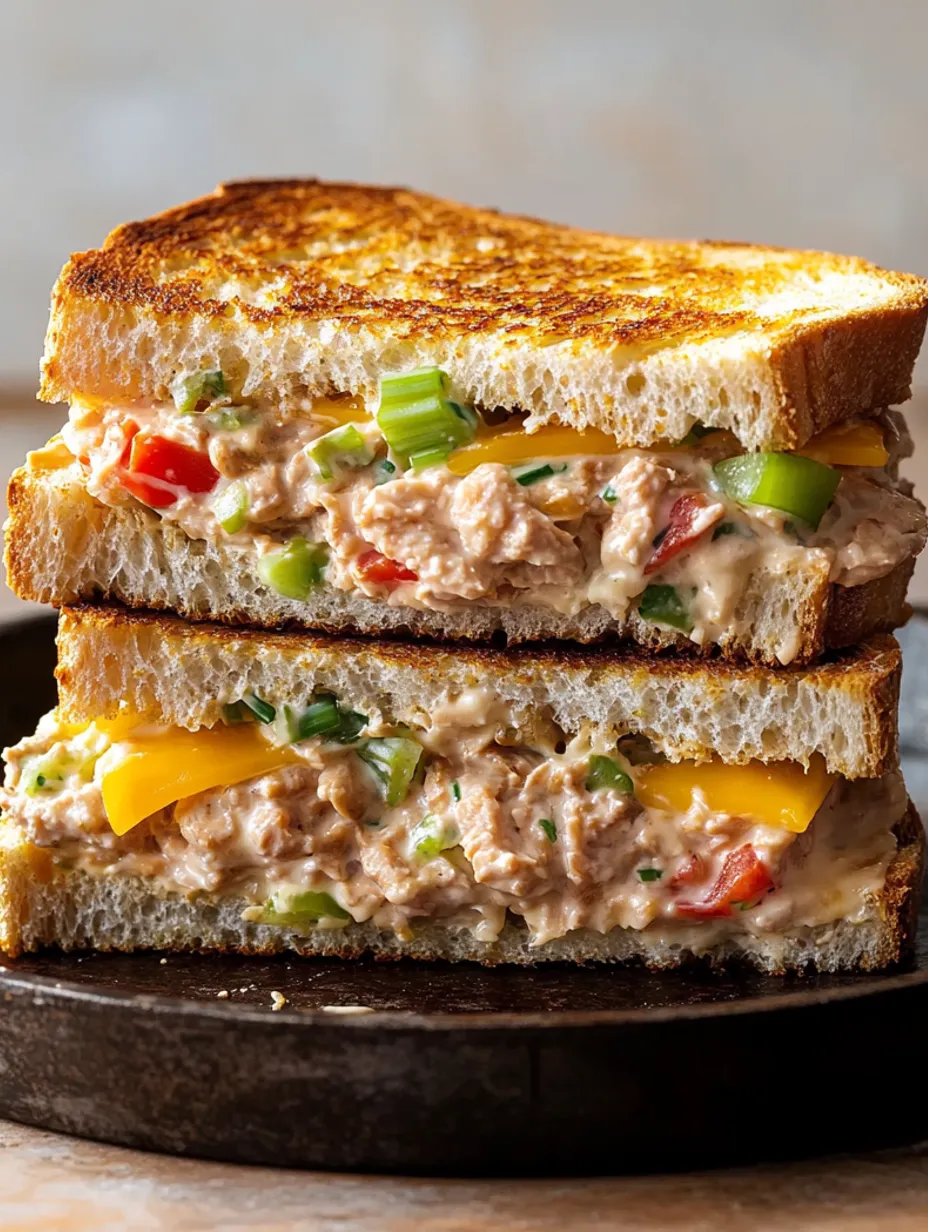
Building Your SandwichNow for the smart part—instead of using butter, I put a thin coat of mayo on the outer side of each bread slice. This creates that beautiful golden crust in the pan. Then I turn two slices over (mayo facing down), share the tuna mix between them, place a slice of cheddar on top, and finish with the other bread slices, making sure the mayo faces outward.
Pan CookingA heated pan on medium works perfectly for these sandwiches. I carefully put them in and let them cook without moving for about 3-4 minutes, until the bottom turns golden and crisp. Then I carefully flip them and cook the other side until the cheese gets all melty and both sides turn nicely browned.
Eat Right AwayThese taste best when you eat them immediately, while there's still that amazing difference between the crunchy outside and gooey inside. I usually cut mine corner to corner because it somehow makes everything taste better (that's real, right?).
When I first made these for my husband, a tuna melt traditionalist, he wasn't sure about using yogurt. But after trying it, he said it was "actually better than the original" because it wasn't so heavy. Now we have them regularly for lunch, especially on work-from-home days together.
Tasty Variations
If you don't like tuna, this works great with canned salmon or even chicken. Sometimes I'll use Swiss or pepper jack instead of cheddar for different flavors. When I have them around, adding pickled red onions to the tuna mix brings extra tang and nice color.
Good Side Options
I normally eat this with a basic green salad or some fresh apple slices to complete the meal. When I'm starving, adding a small cup of tomato soup makes it feel like a proper cafe lunch without all the grease.
 Pin it
Smart Time-Savers
Some Sunday evenings, I'll prepare the tuna mixture ahead and store it in the fridge for quick weekday lunches. It stays good for roughly two days, meaning I can have a hot meal in just five minutes on hectic workdays—simply assemble and grill.
Handy Tricks I've Discovered
- Lightly pushing down on the sandwich with a spatula helps it brown evenly
- Waiting a minute after cooking keeps the filling from spilling when you cut it
- Spreading the mayo very thinly on the outside makes the browning more consistent
This basic sandwich has become my favorite lunch when I want something tasty but don't have much kitchen time. It finds that perfect balance between effort and payoff—just enough hands-on cooking to feel accomplished, but quick enough that I don't mind making it. The fact that it's healthier than an old-school tuna melt is just a bonus.
Frequently Asked Questions
- → Can I use regular yogurt for this?
- Of course! It'll be a bit thinner than Greek yogurt, so try using less to avoid making the filling runny. Greek yogurt gives more creaminess and protein, though.
- → What's a good way to make this lighter?
- Swap out regular mayo for a lighter version (or skip it), opt for reduced-fat cheese, and go for thin-sliced bread. Adding more veggies to the mix is another great trick.
- → Can I prep the tuna mix beforehand?
- Yes! You can make it up to two days early. Keep it chilled in an airtight container until you're ready to assemble and grill.
- → What other veggies work well in the tuna mix?
- You can try adding diced cucumbers, shredded carrots, chopped pickles, or even some avocado. Customize it based on what you like or have handy.
- → Could I use a toaster oven or panini press instead?
- Totally! In a toaster oven, toast it till the bread crisps up and the cheese melts. For a panini press, add some cooking spray or butter on the bread for a golden finish.
- → What pairs nicely with this sandwich?
- A salad, veggie soup, or a handful of baked chips make great sides. For something filling, a pickle spear or a bowl of soup works wonderful.